
It’s done! The “Office Sideboard” project I began in late October is finished. As always, it took longer than I wanted, but mistakes happen, plans change, and all of that results in more time. Sounds like life in general. The result, however, is more beautiful and functional than I originally conceived or imagined. Some changes, particularly the adding of details and the final finish, came from asking my wife to “come look!” multiple times during the construction. Sometimes she would ask a question, other times I would ask for a preference. Since she is the end user I want her to like it most of all. I think she does.
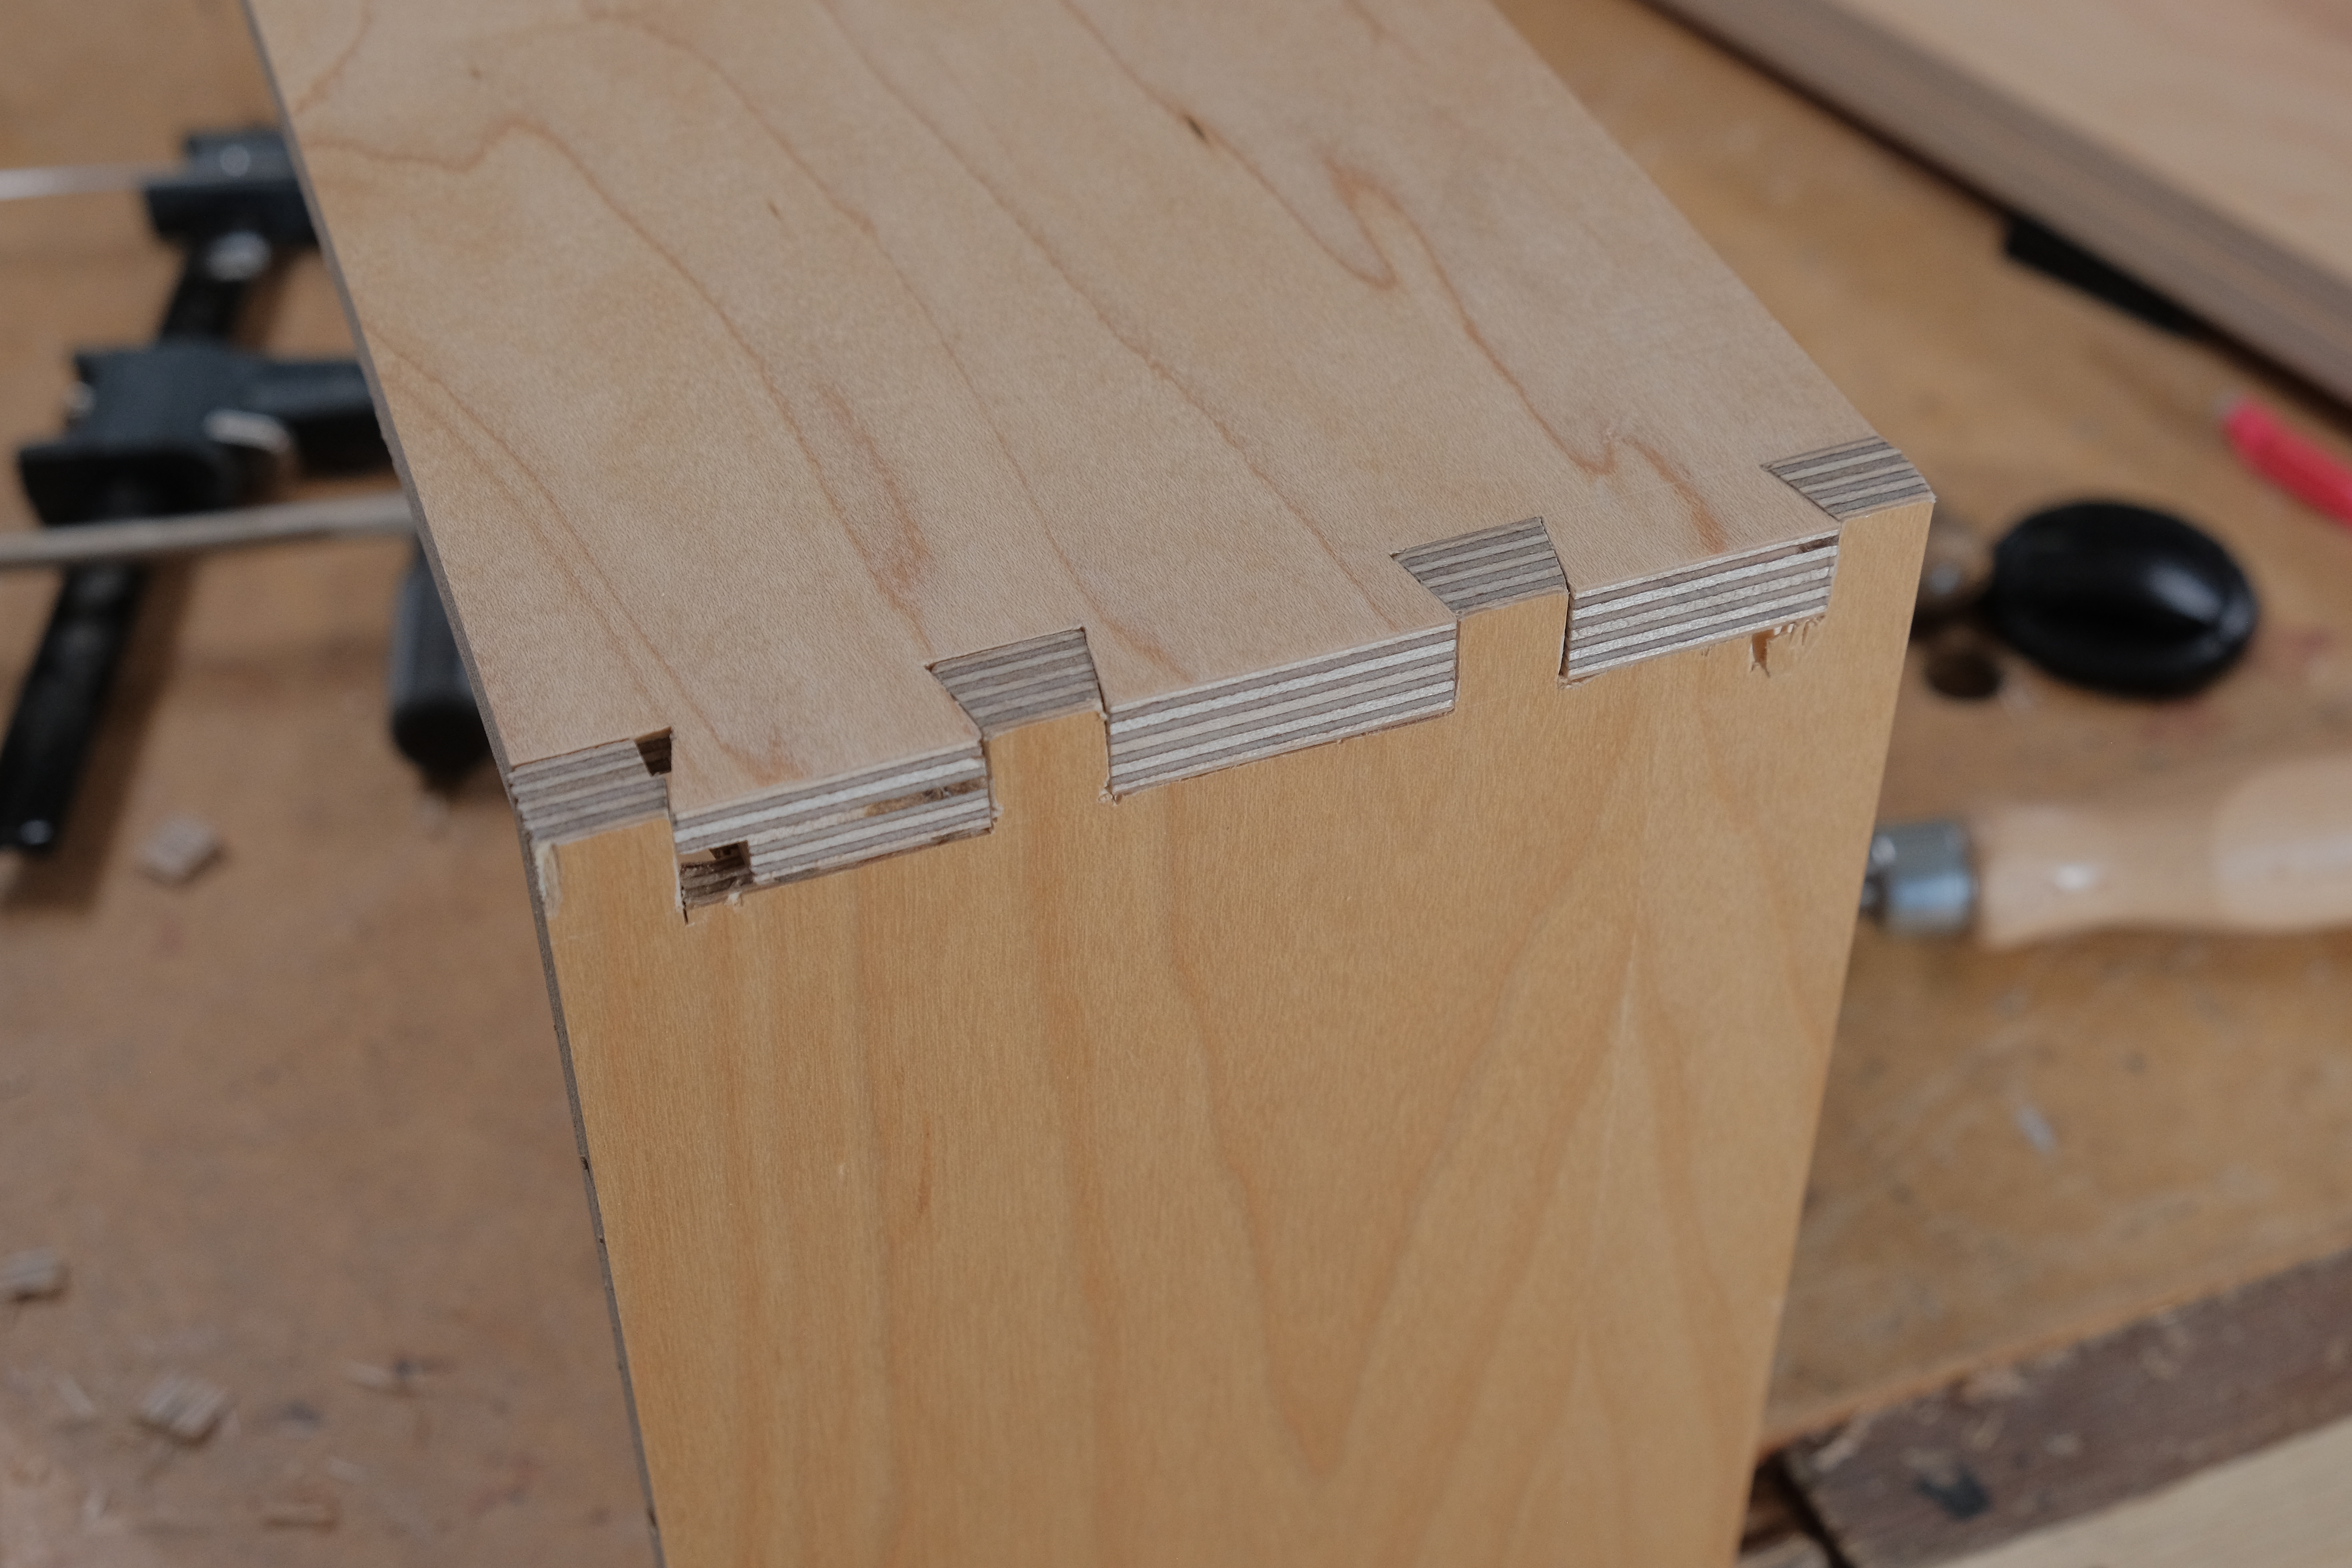
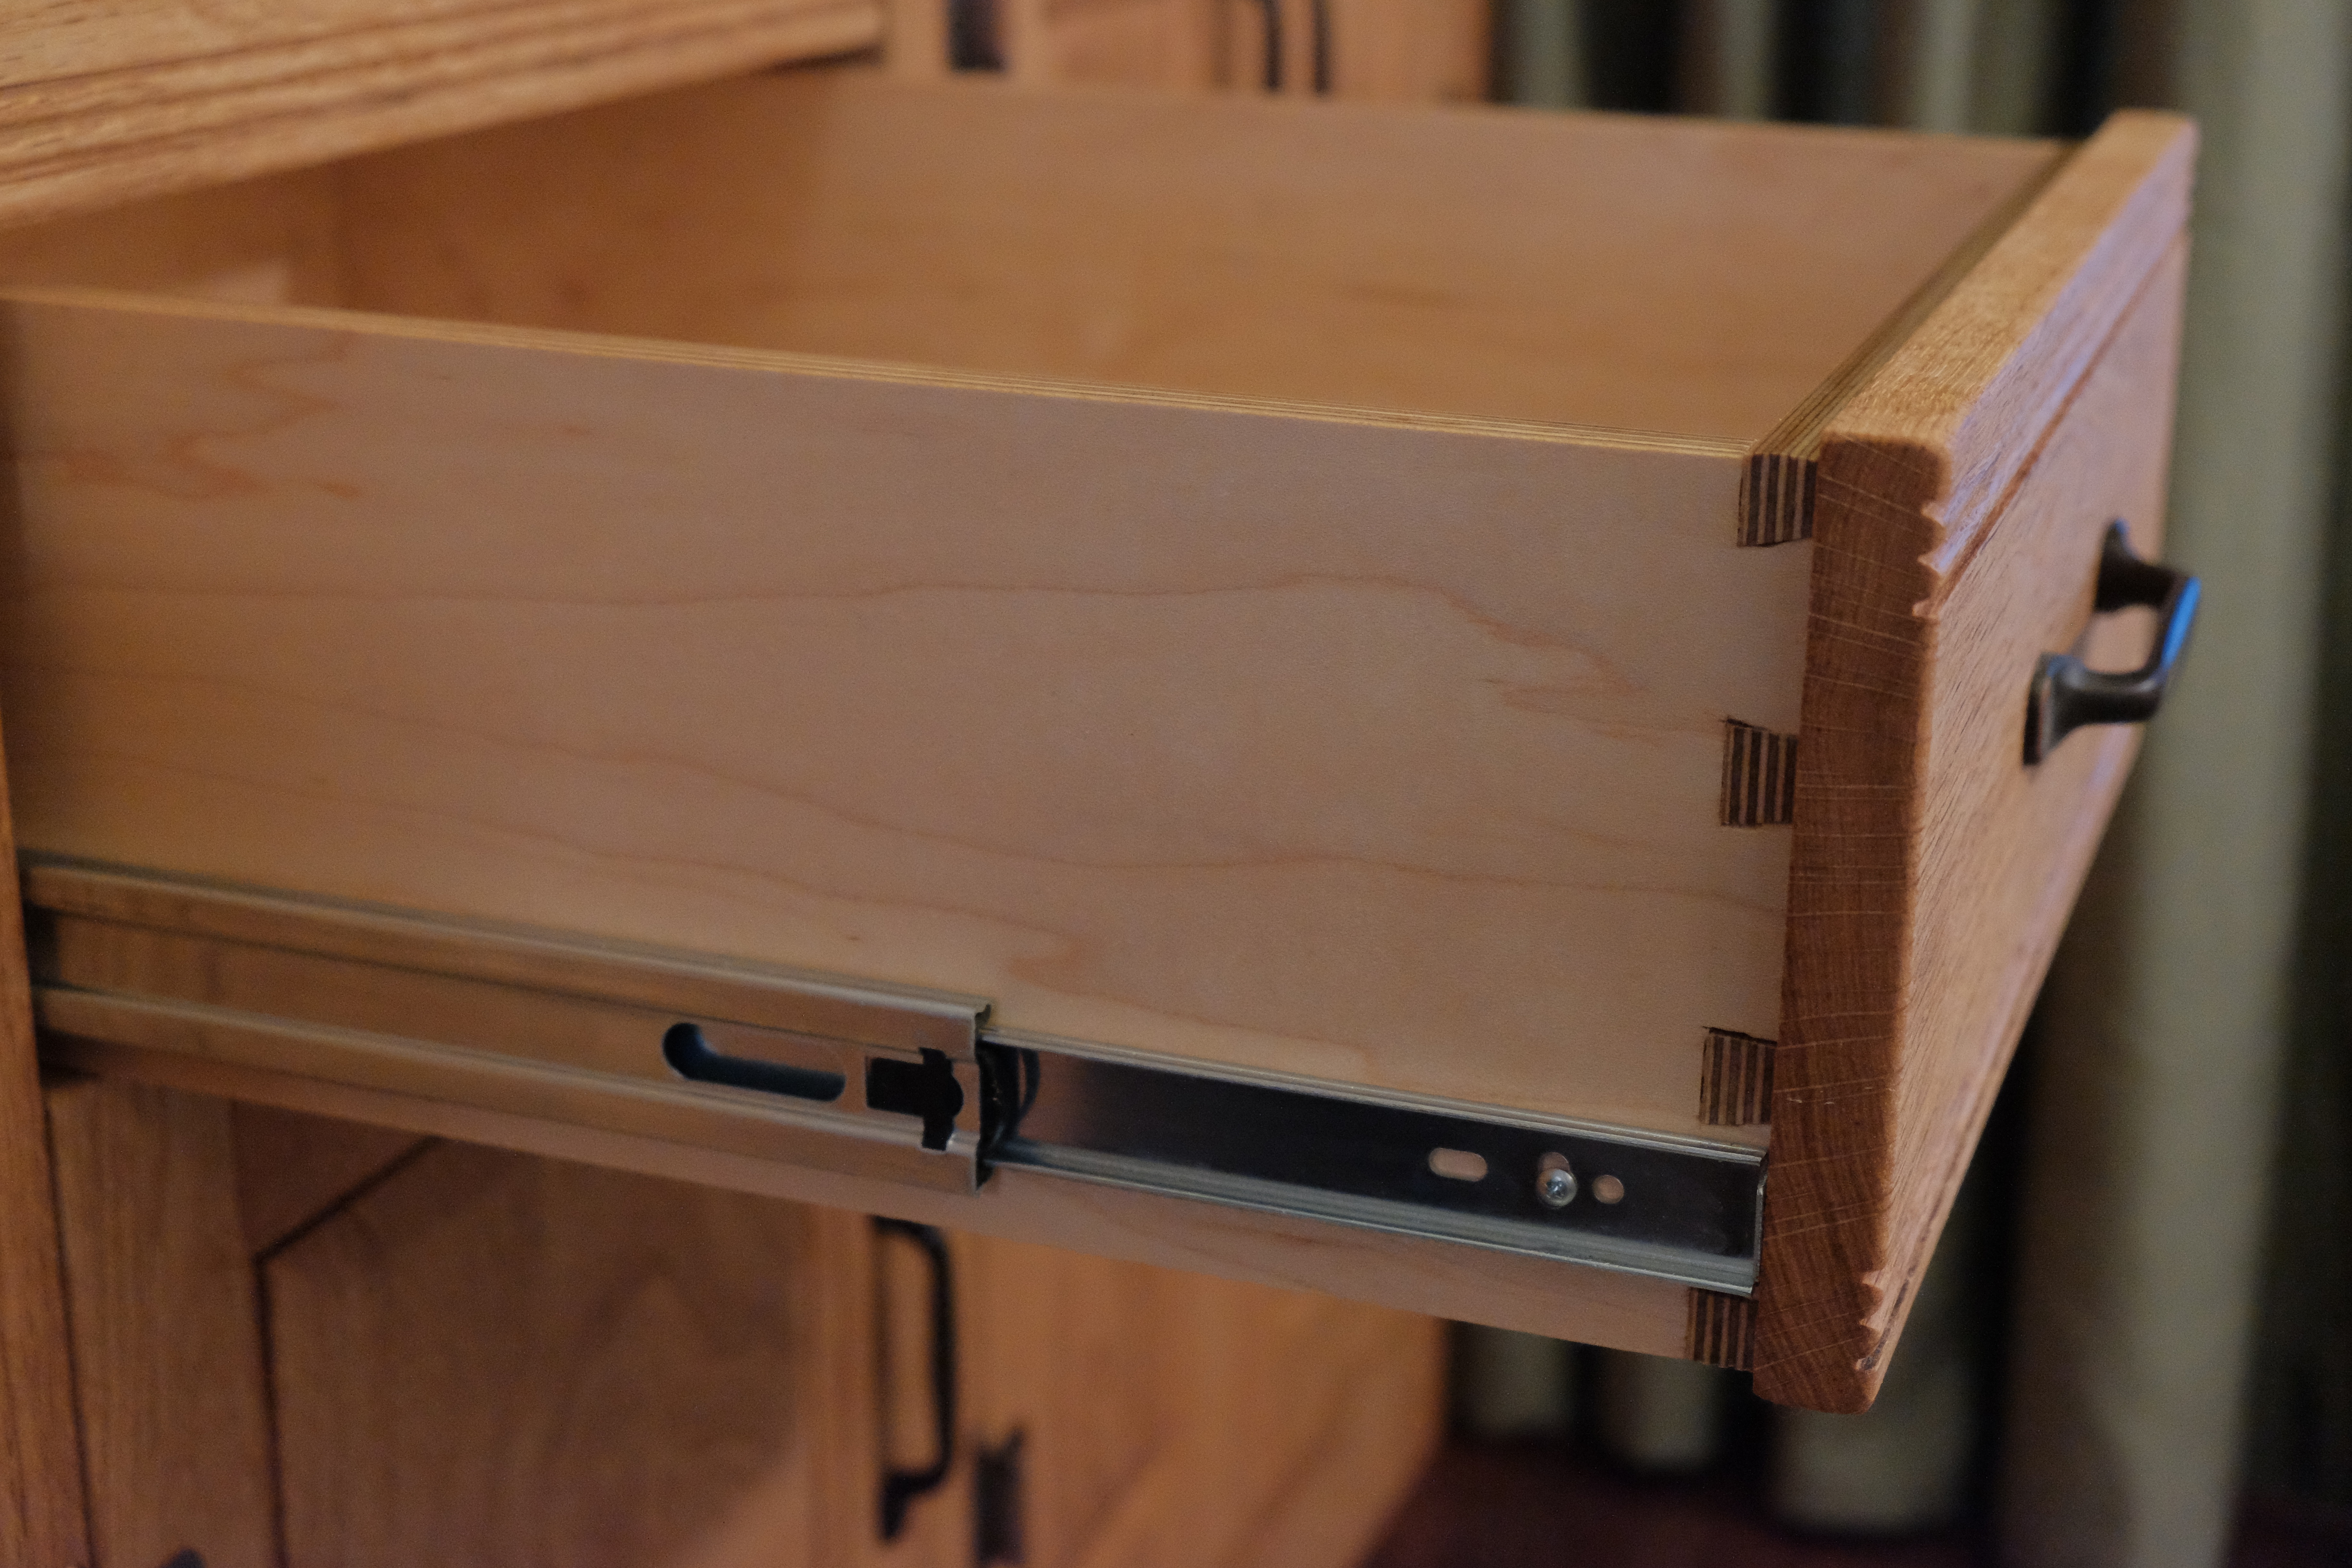
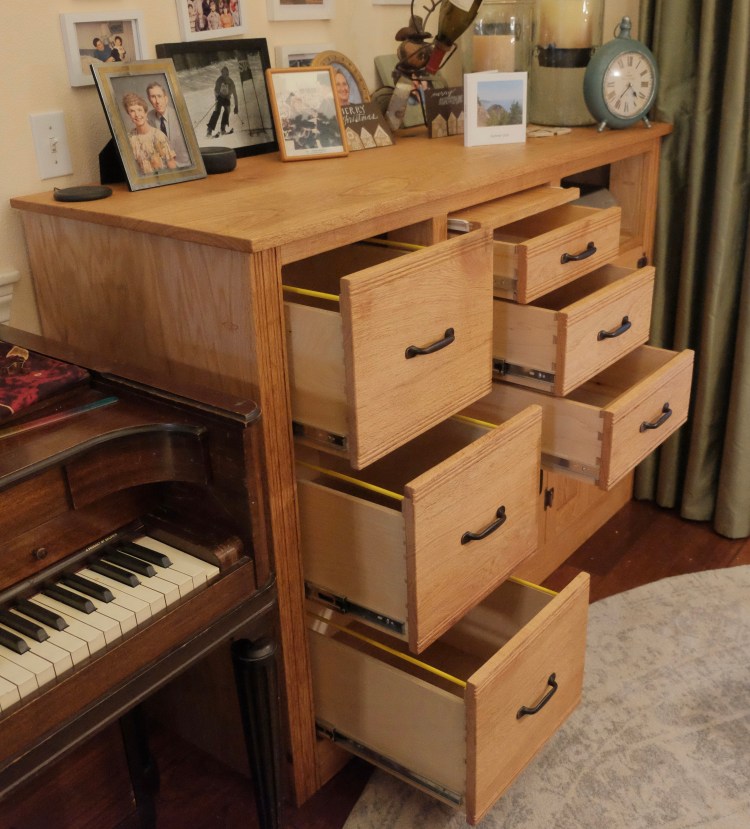
In the post “A Dove Tale” I described my attempts at dovetails. After completing those three file drawers, I constructed three more normal drawers for simple storage. The dovetails, though not flawless, are way better than the first ones. I still hand measured and cut the dovetails, but this time I used the table saw to clear out most of the waist, then I used my router plane to flatten the bottoms and sharpen the angles for a perfect fit. What a difference those two changes made. (Speaking of the router plane, I plan to devote a number of posts this year to favorite tools I use in the shop. The router plane is definitely on the list.) Another change I made with cutting the dovetails was to clamp multiple boards together for sawing. Not only was this faster and more efficient, but both the tails and pins were more uniform. Of course this was easier for the tails because I could line them up equally one behind the other, while I had to offset the end boards to line up the pins marks.
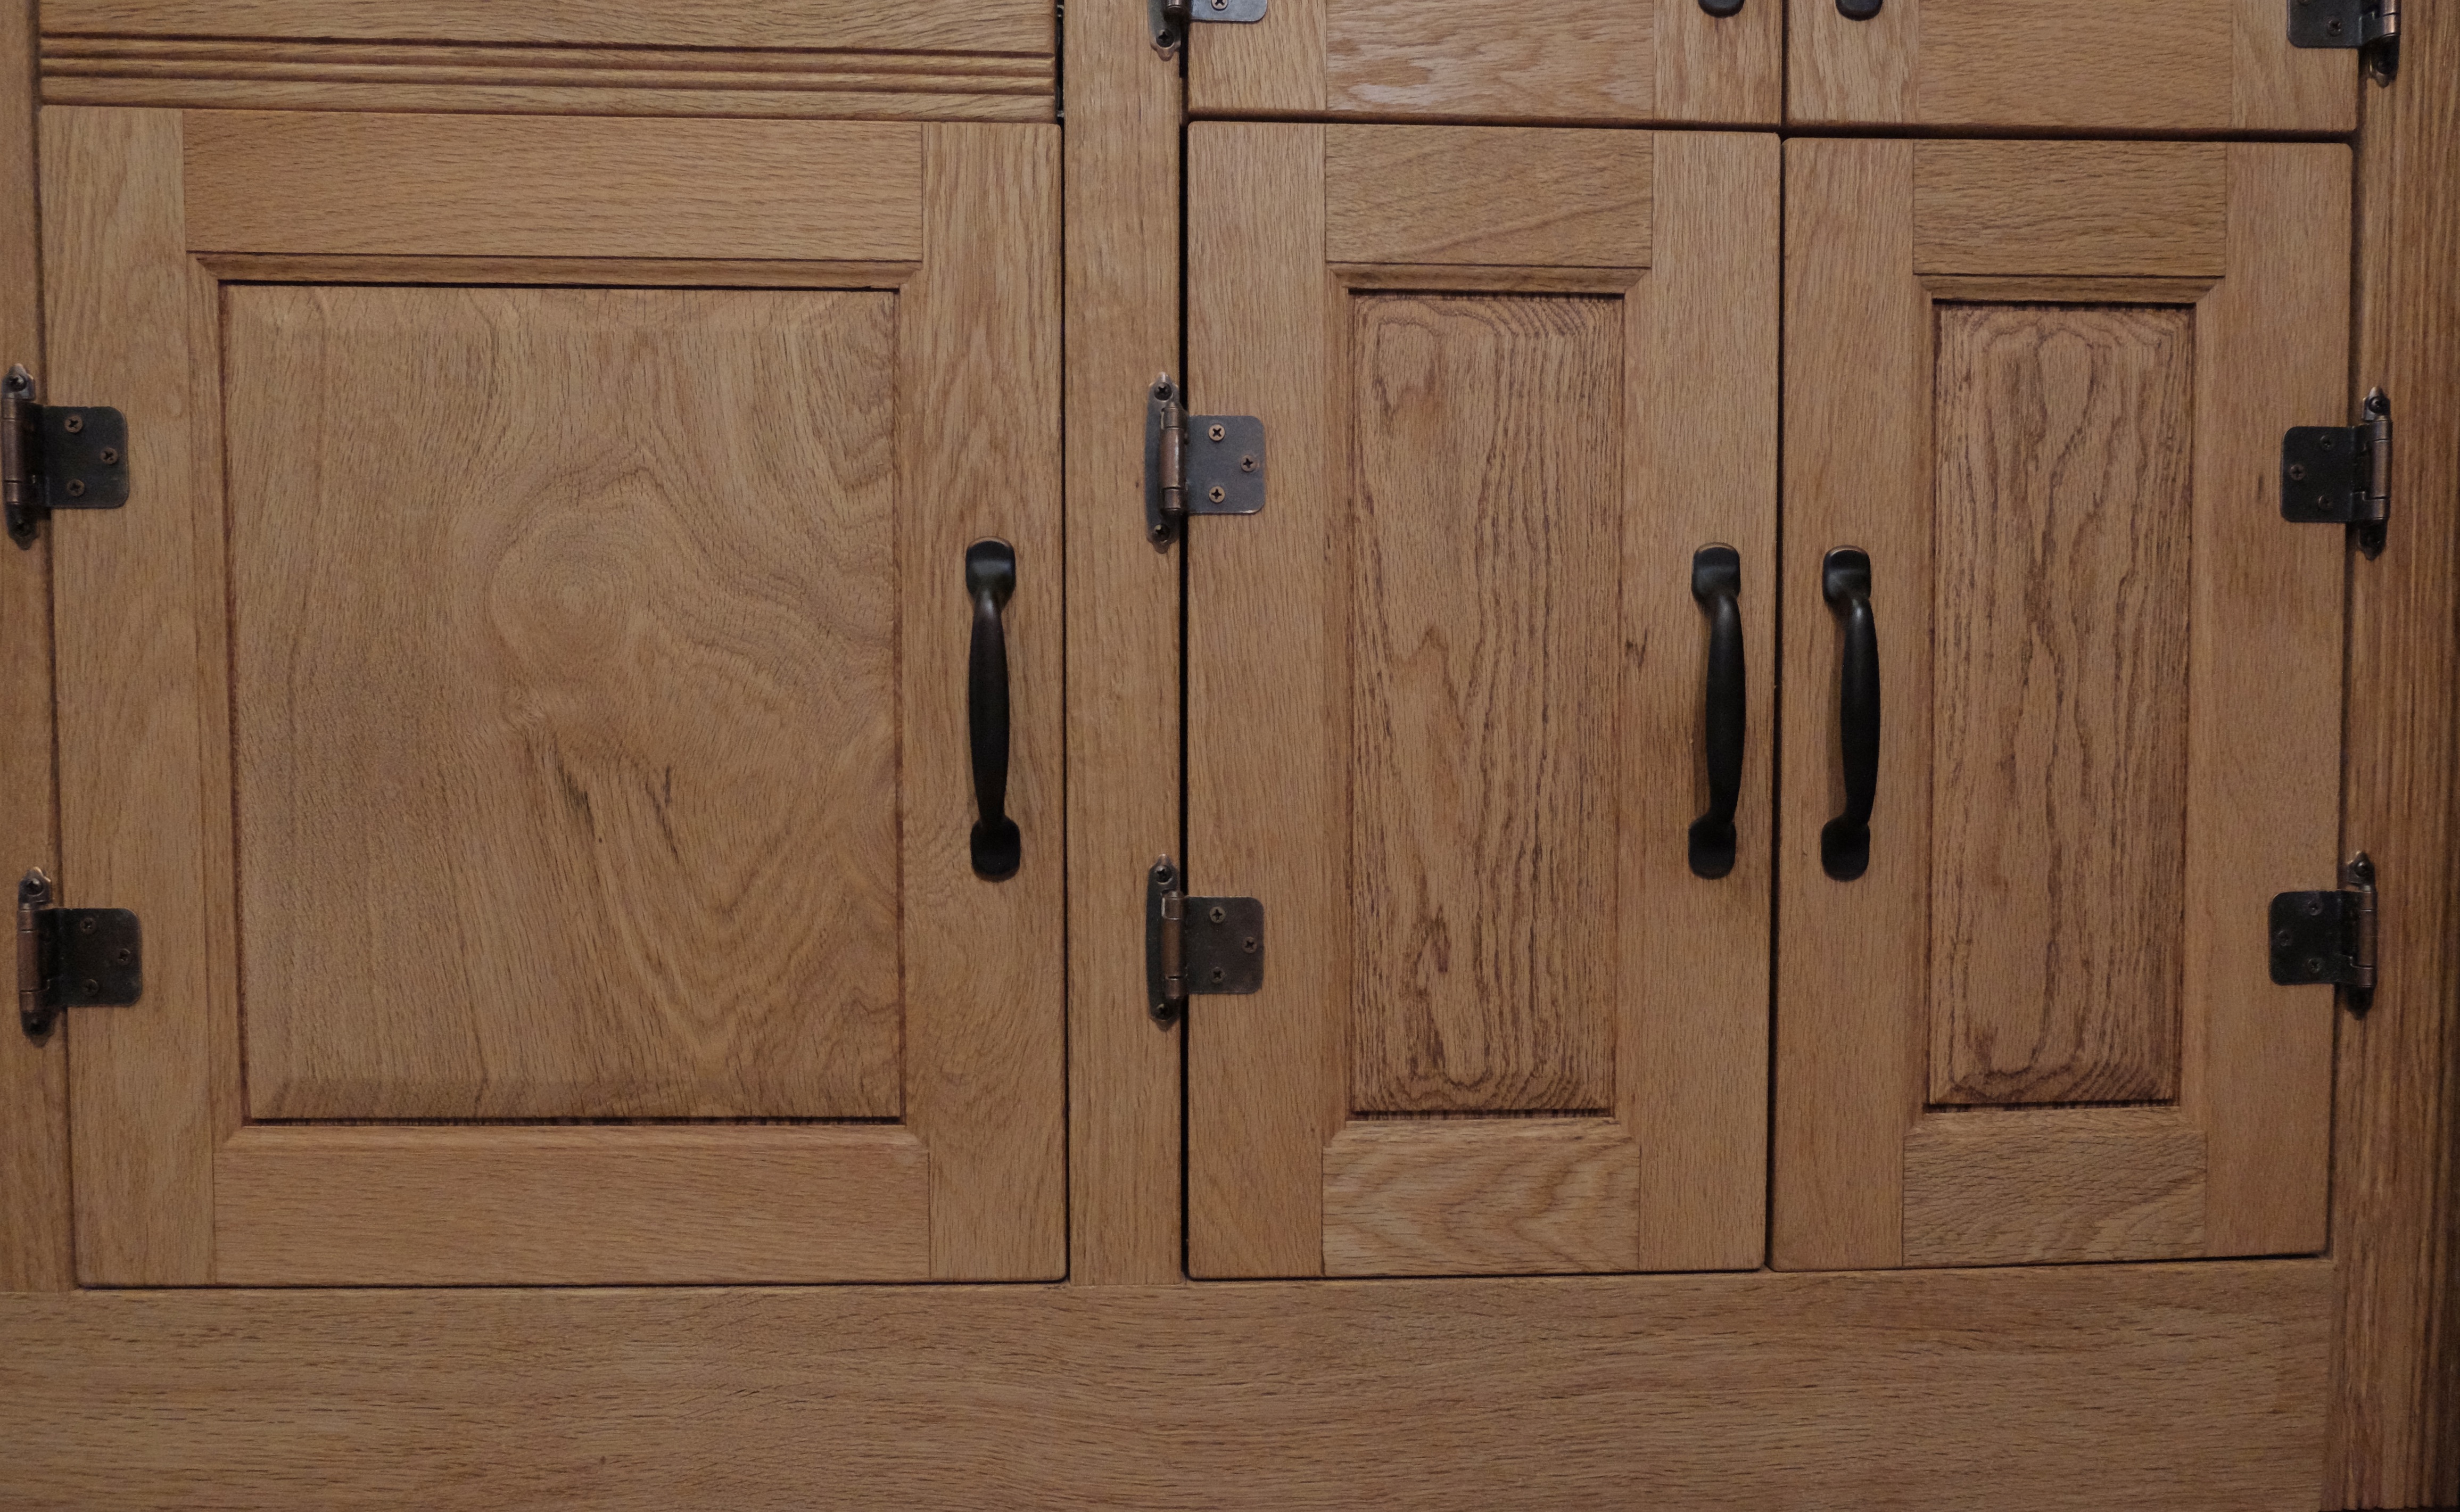
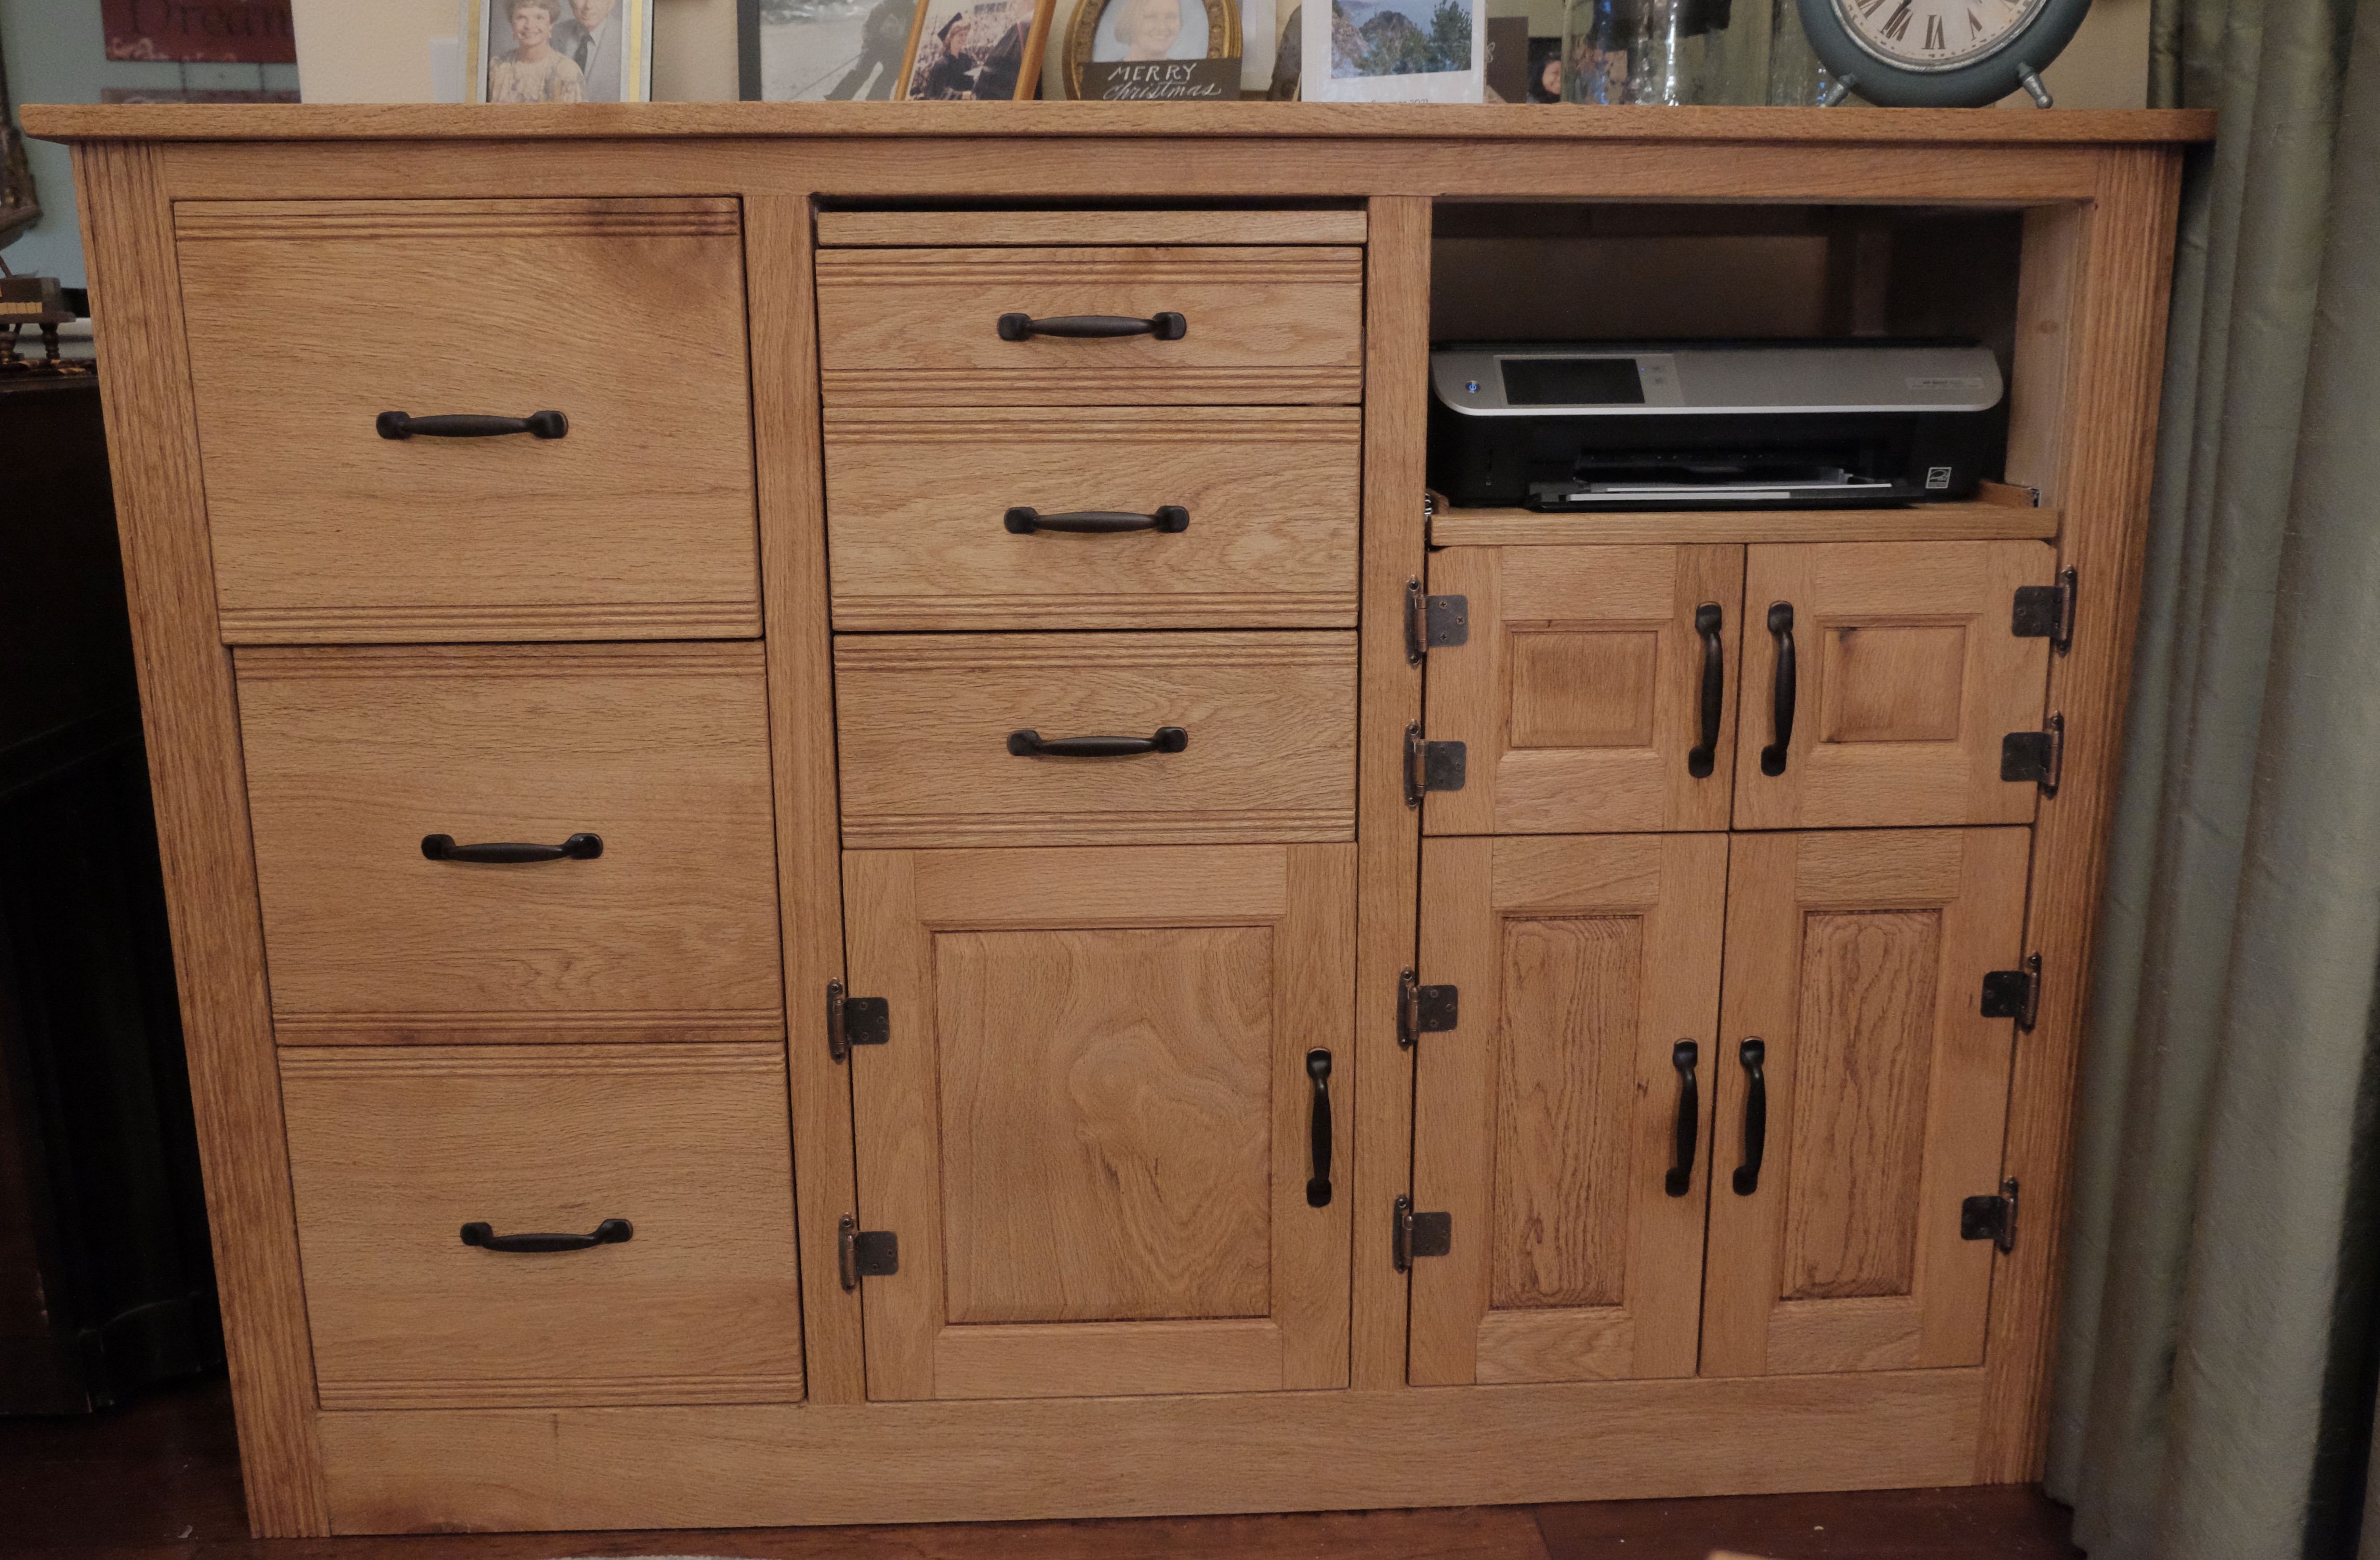
Although I had at least worked on dovetails before, I had never constructed a raised panel door. Getting the right tools and dialing those tools in for the exacting nature of the rails, stiles, and the panel was rightly intimidating. So many processes, so many opportunities to screw up! I was not disappointed in that assessment, but at the end of the day, I am delighted with the result. I picked up an inexpensive set of cabinet router bits from Harbor Freight for the doors. The bits themselves were of perfectly good quality, but the ogee panel bit was huge. Maybe it is made for actual doors that are an inch or more in thickness. I could see no way to use it for three-quarter inch stock, though I could be missing some special technique. So after getting the rails and stiles routed following a number of test cuts, I used the table saw to rabbet the panels to fit the slots, then hand-chamfered the raised panel with my Stanley 220 block plane (another favorite tool). I couldn’t be happier. Though the ogeed panel would have been nice, these have a great hand-crafted look. I ended up making five doors rather than the original three.
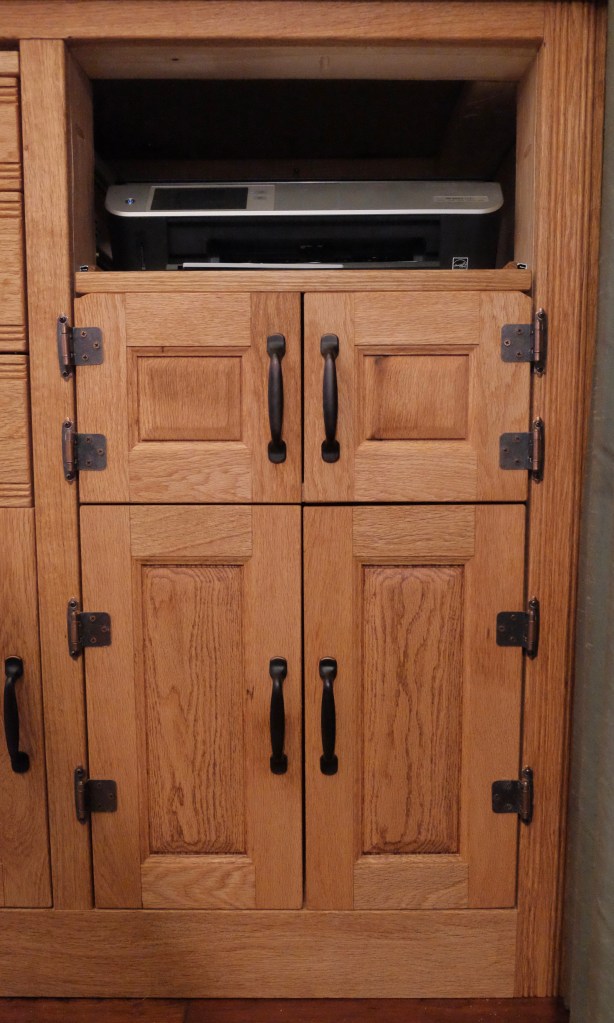
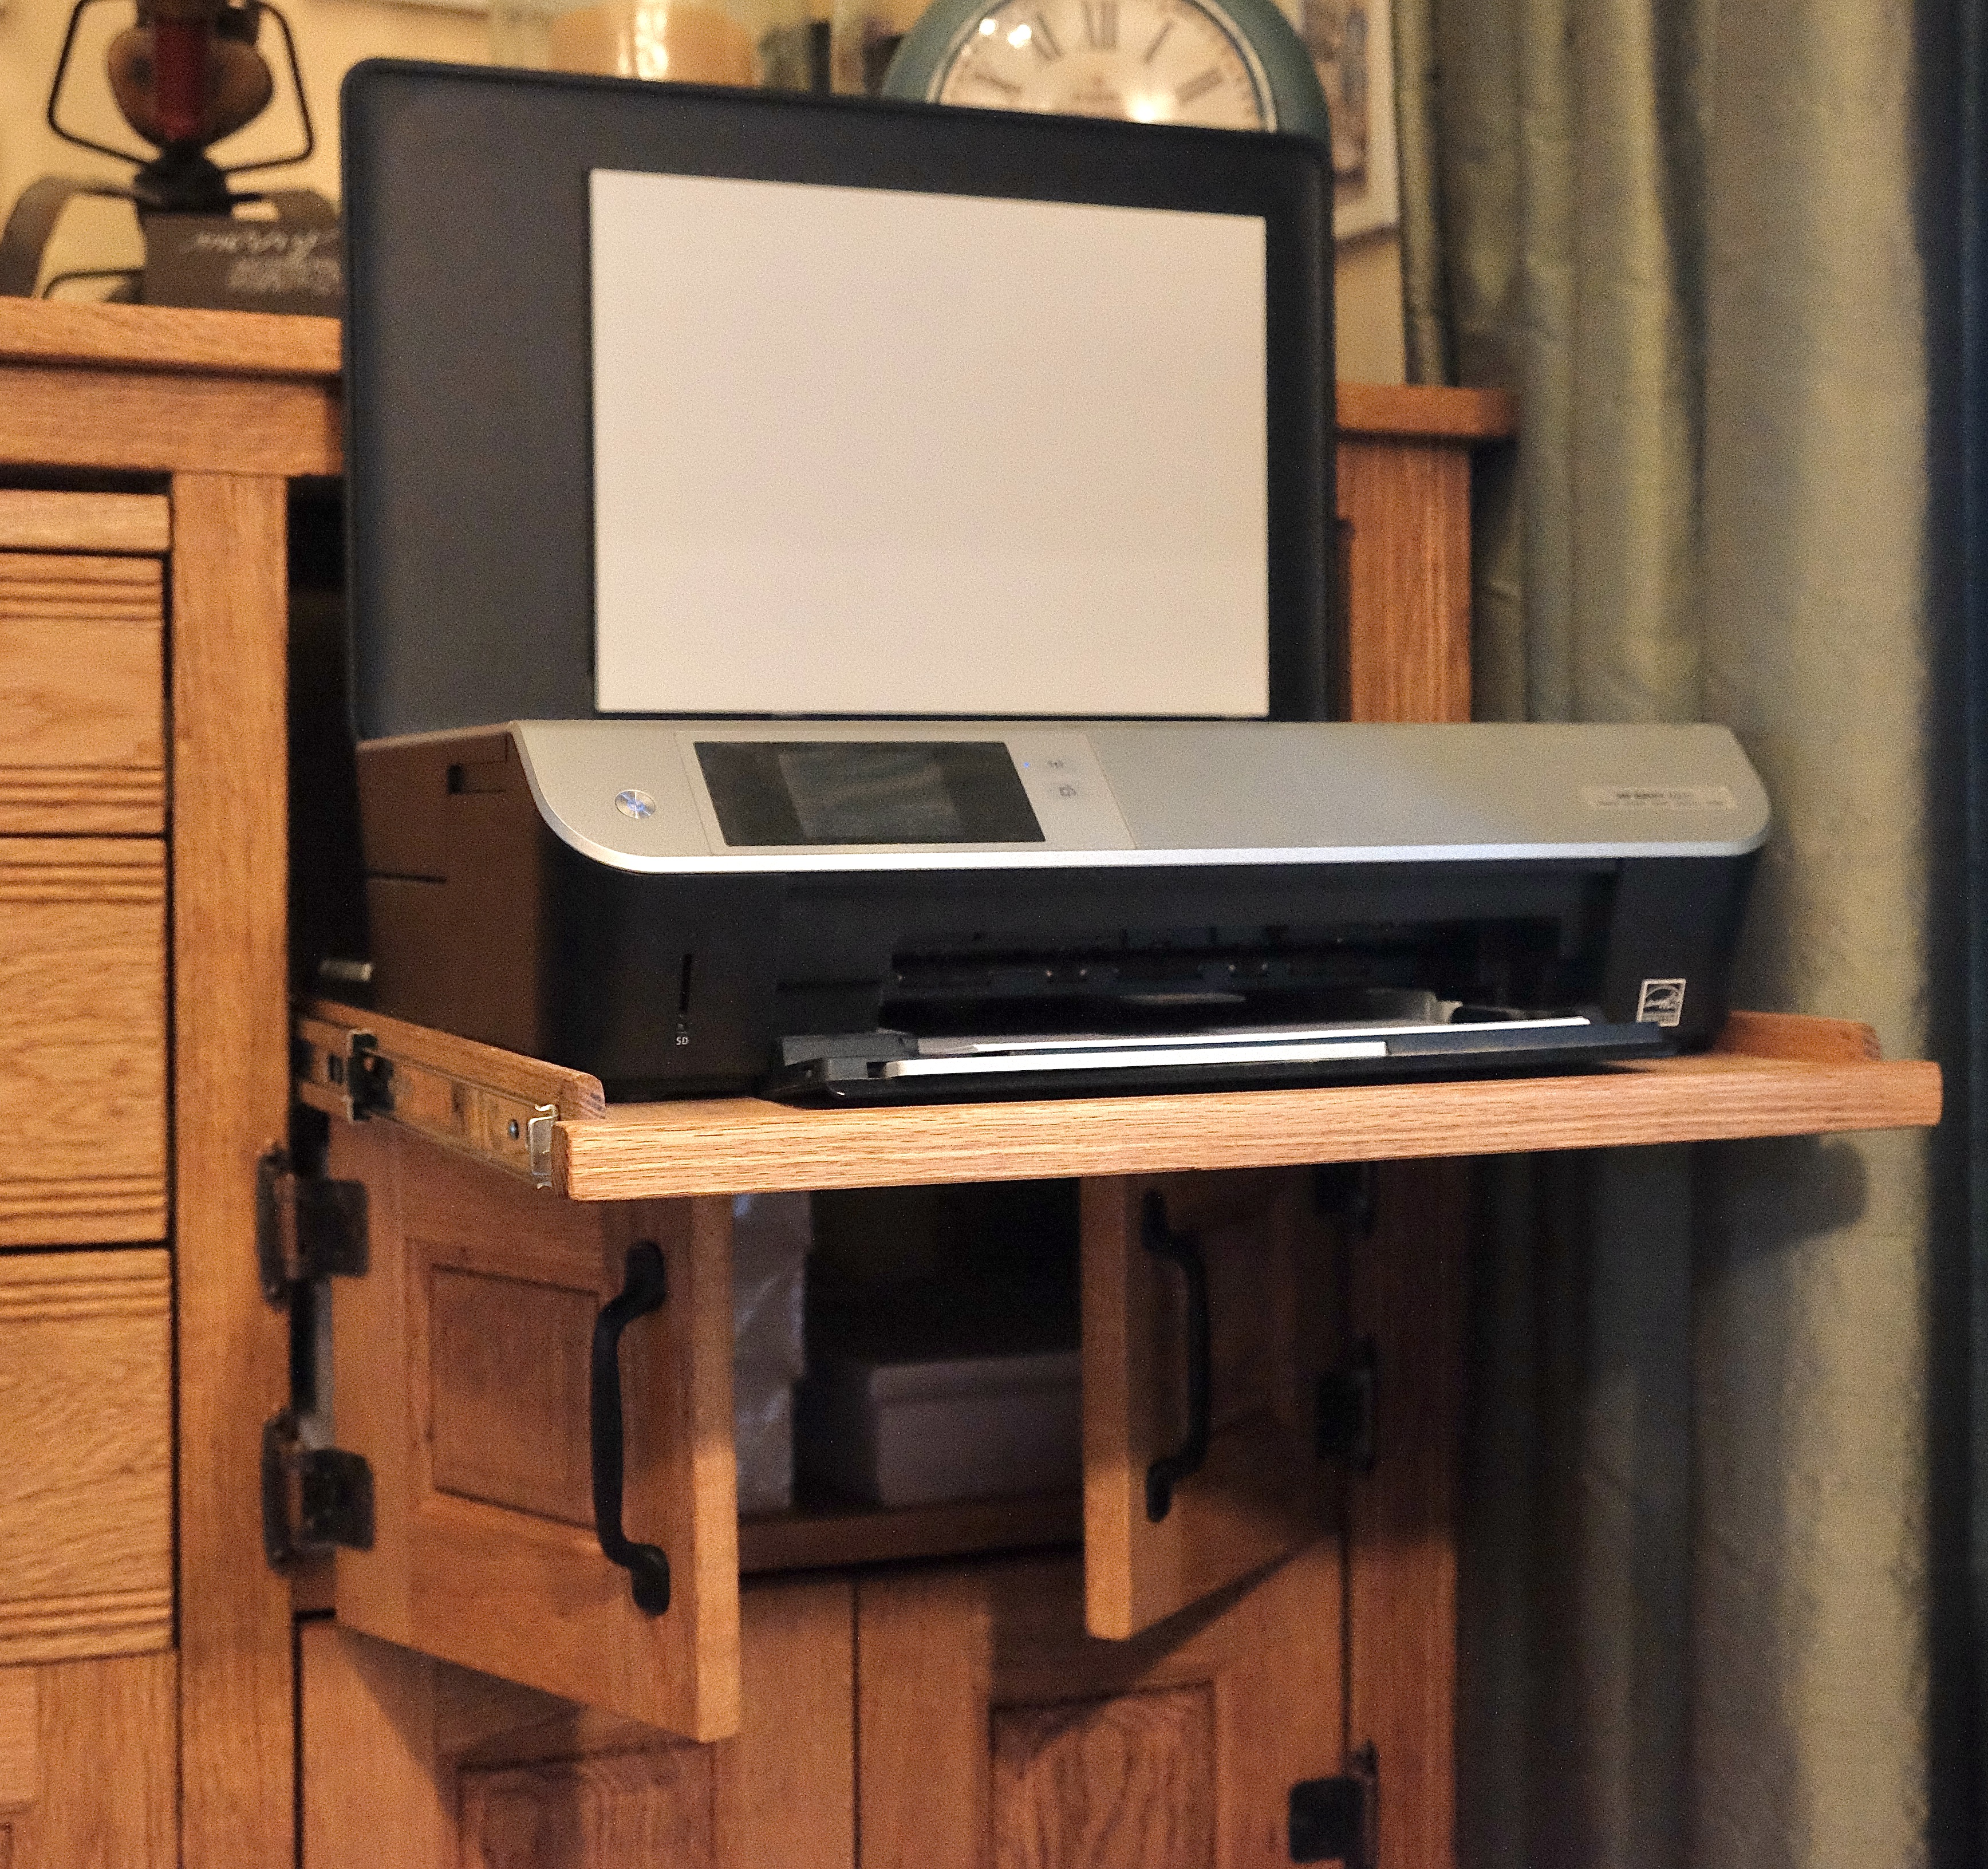
The one other functional detail I added was a pull-out shelf above the middle drawers. It will make using the file drawers easier by having a ready place to put a document for review while standing. For all drawers and the pull-out shelf for the printer, I used heavy-duty full extension drawer slides, but for this shelf, for the narrow vertical space and because it is not bearing much weight, I used a simple Euro-style slide.
For the exterior hardware, I chose an antique brass for the pulls and door hinges. I needed the doors to close flush, so the hinges sit proud of the doors. The effect is quite nice in my opinion.
Like the rest of the interior construction, I used pocket holes and screws to attach the top. I think I will use this method from now on for tops if I can because it was super easy and very secure.
I was originally going to put a stain on, but in consultation with Lynn, I put on one of the simplest of finishes, Danish oil. It brings out the grain of the oak nicely with some warmth, but does not change the natural color much. Next to the dark finish of the piano, it actually lightens the corner the piece fits in. One nice extra is that the baltic birch plies in the dovetails pop out to the eye. Soon I’ll put on a good coat of wax. Why no poly? Since the area will not be highly trafficked there is no need. Polyurethane is nice, but actually difficult to get on perfectly in my experience. So Danish oil it is with wax.
Is there anything I would do differently? Not much, but I would definitely not use plywood sides, at least to show. Even though they are oak and of good quality, the grain pattern does not fit with the rest. If I am able, I am going to create some veneer with the remaining oak I have and place it over the plywood. I have 1/16 inch to work with because the front oak frame sits 1/16″ proud on the sides, so hopefully I can fabricate something uniform at that thickness.
Nonetheless, I am extremely happy with the outcome, and even happier because it is exactly what Lynn wanted for that space. Beauty and function together. She even has space on the top for some nice decorations and photos.
