After spending any time reading woodworking magazines, the topic of dovetails inevitably comes up. Terms and phrases usually get repeated almost to the point of being cliche: “the sign of excellent craftsmanship,” “time-honored,” “the strongest joint,” “beautiful,” “difficult to master,” “intimidating” are a few. The reason they are repeated is because all are true—especially the last two. This is the tale of my dovetail journey, at least to this point.
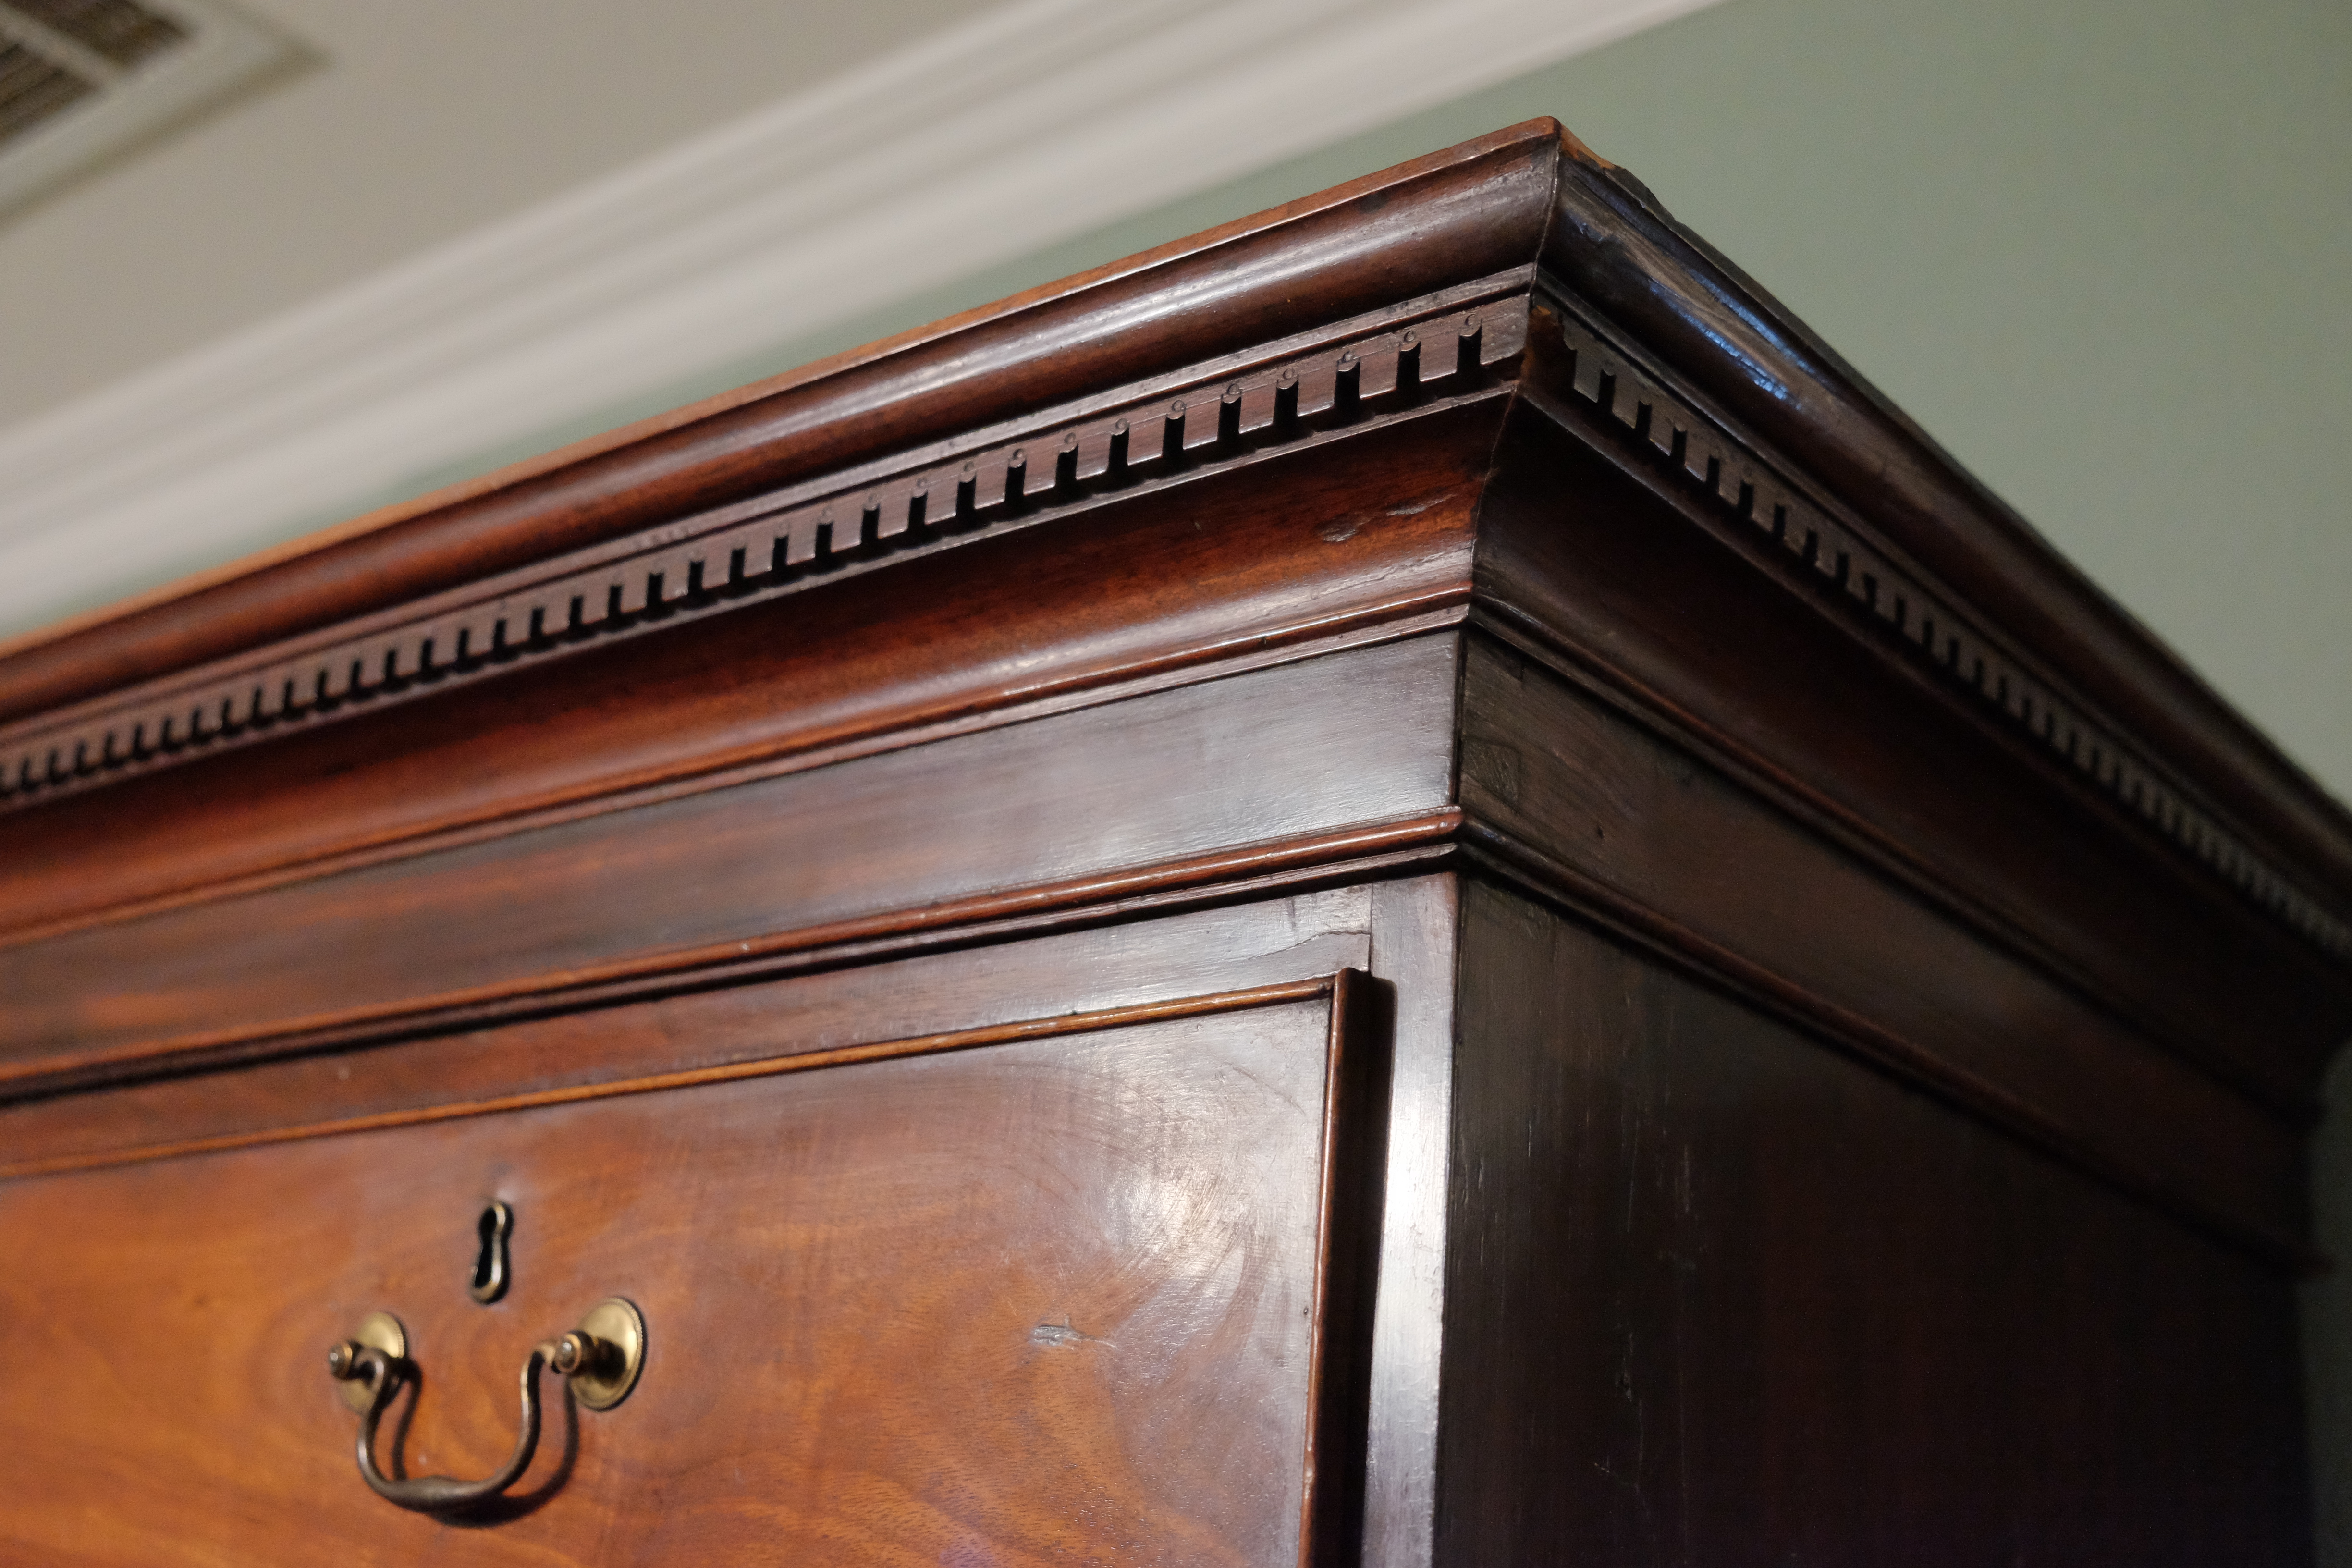
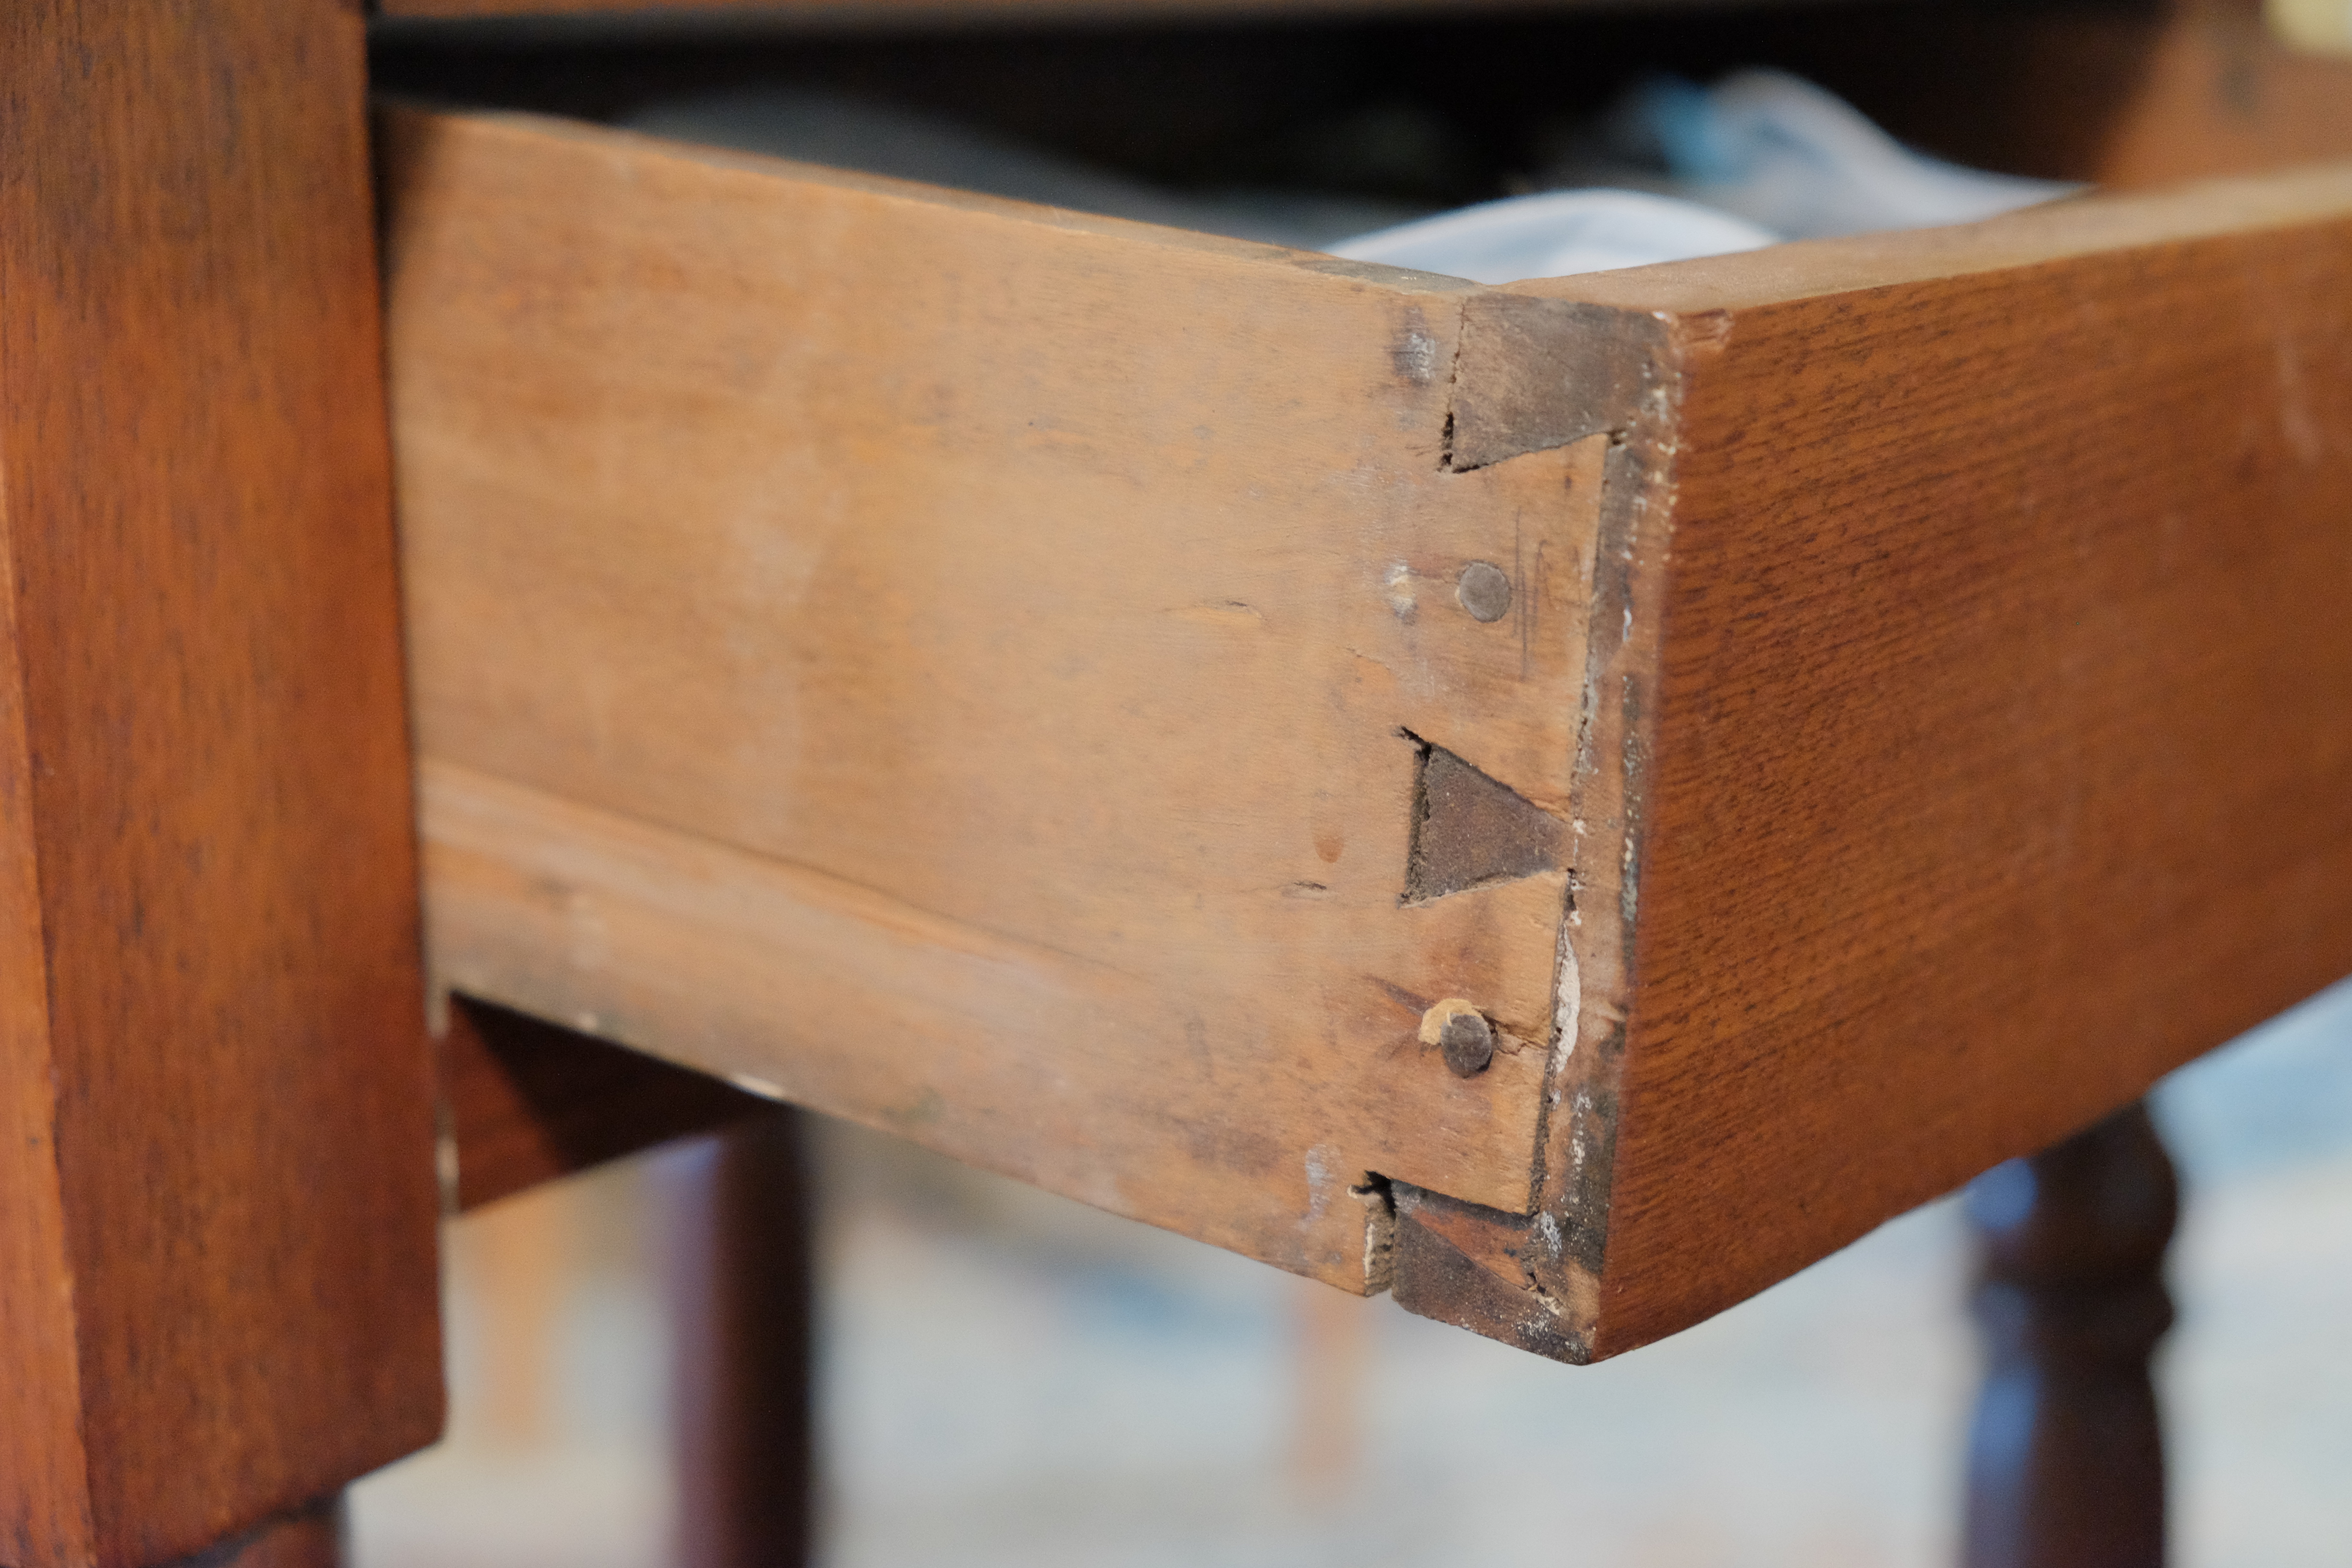
When I began woodworking in earnest about twenty years ago, I didn’t know what a dovetail joint was. I had certainly seen them, but had no conception of the special character of the joint. Soon after we moved to Redding, we purchased an English chest on chest built around 1840. It is a striking piece with age-patinated mahogany veneer, intricate dental crown molding, and a few other nice details. Open the drawers and look on the side, and the dovetails jump out. They are obviously hand cut with visible scribe lines. What has always stuck out to me are the minute pins and the very tight fit. What’s more, though they appear to be half-blind dovetails, they are actually though-cut ones. The drawer front is attached almost imperceptibly to the drawer itself. Whoever cut and assembled them had done many of them.
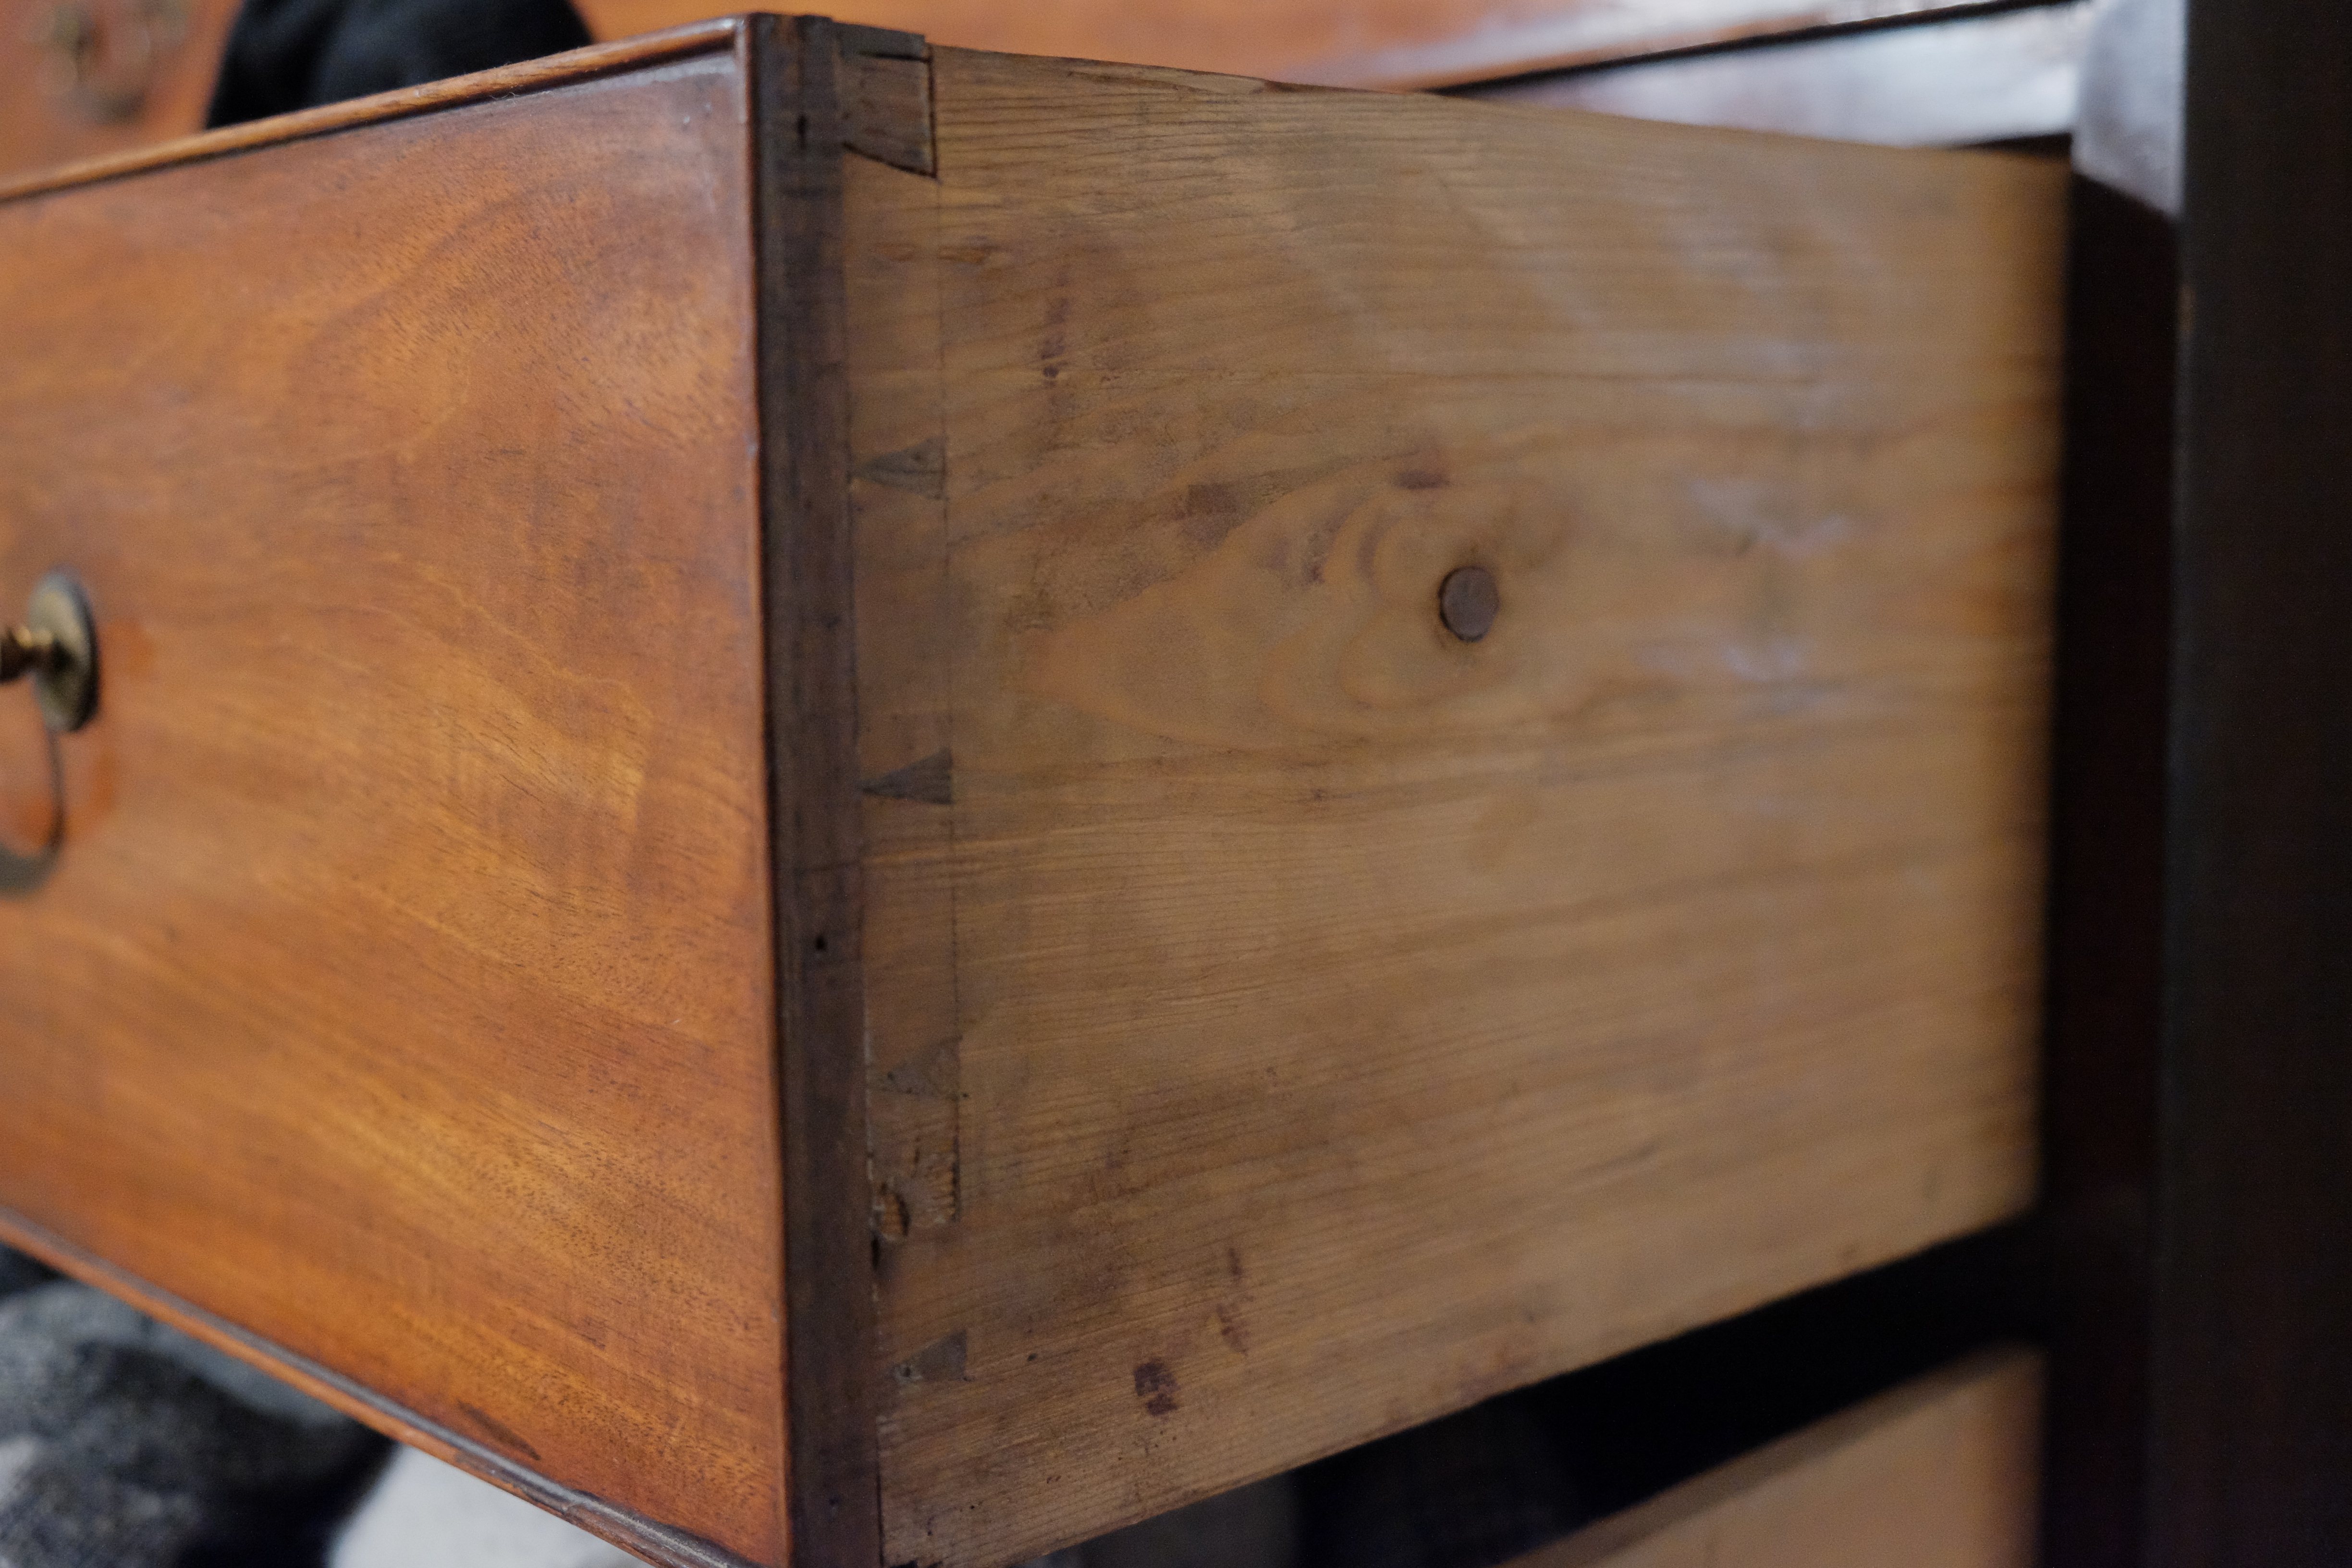
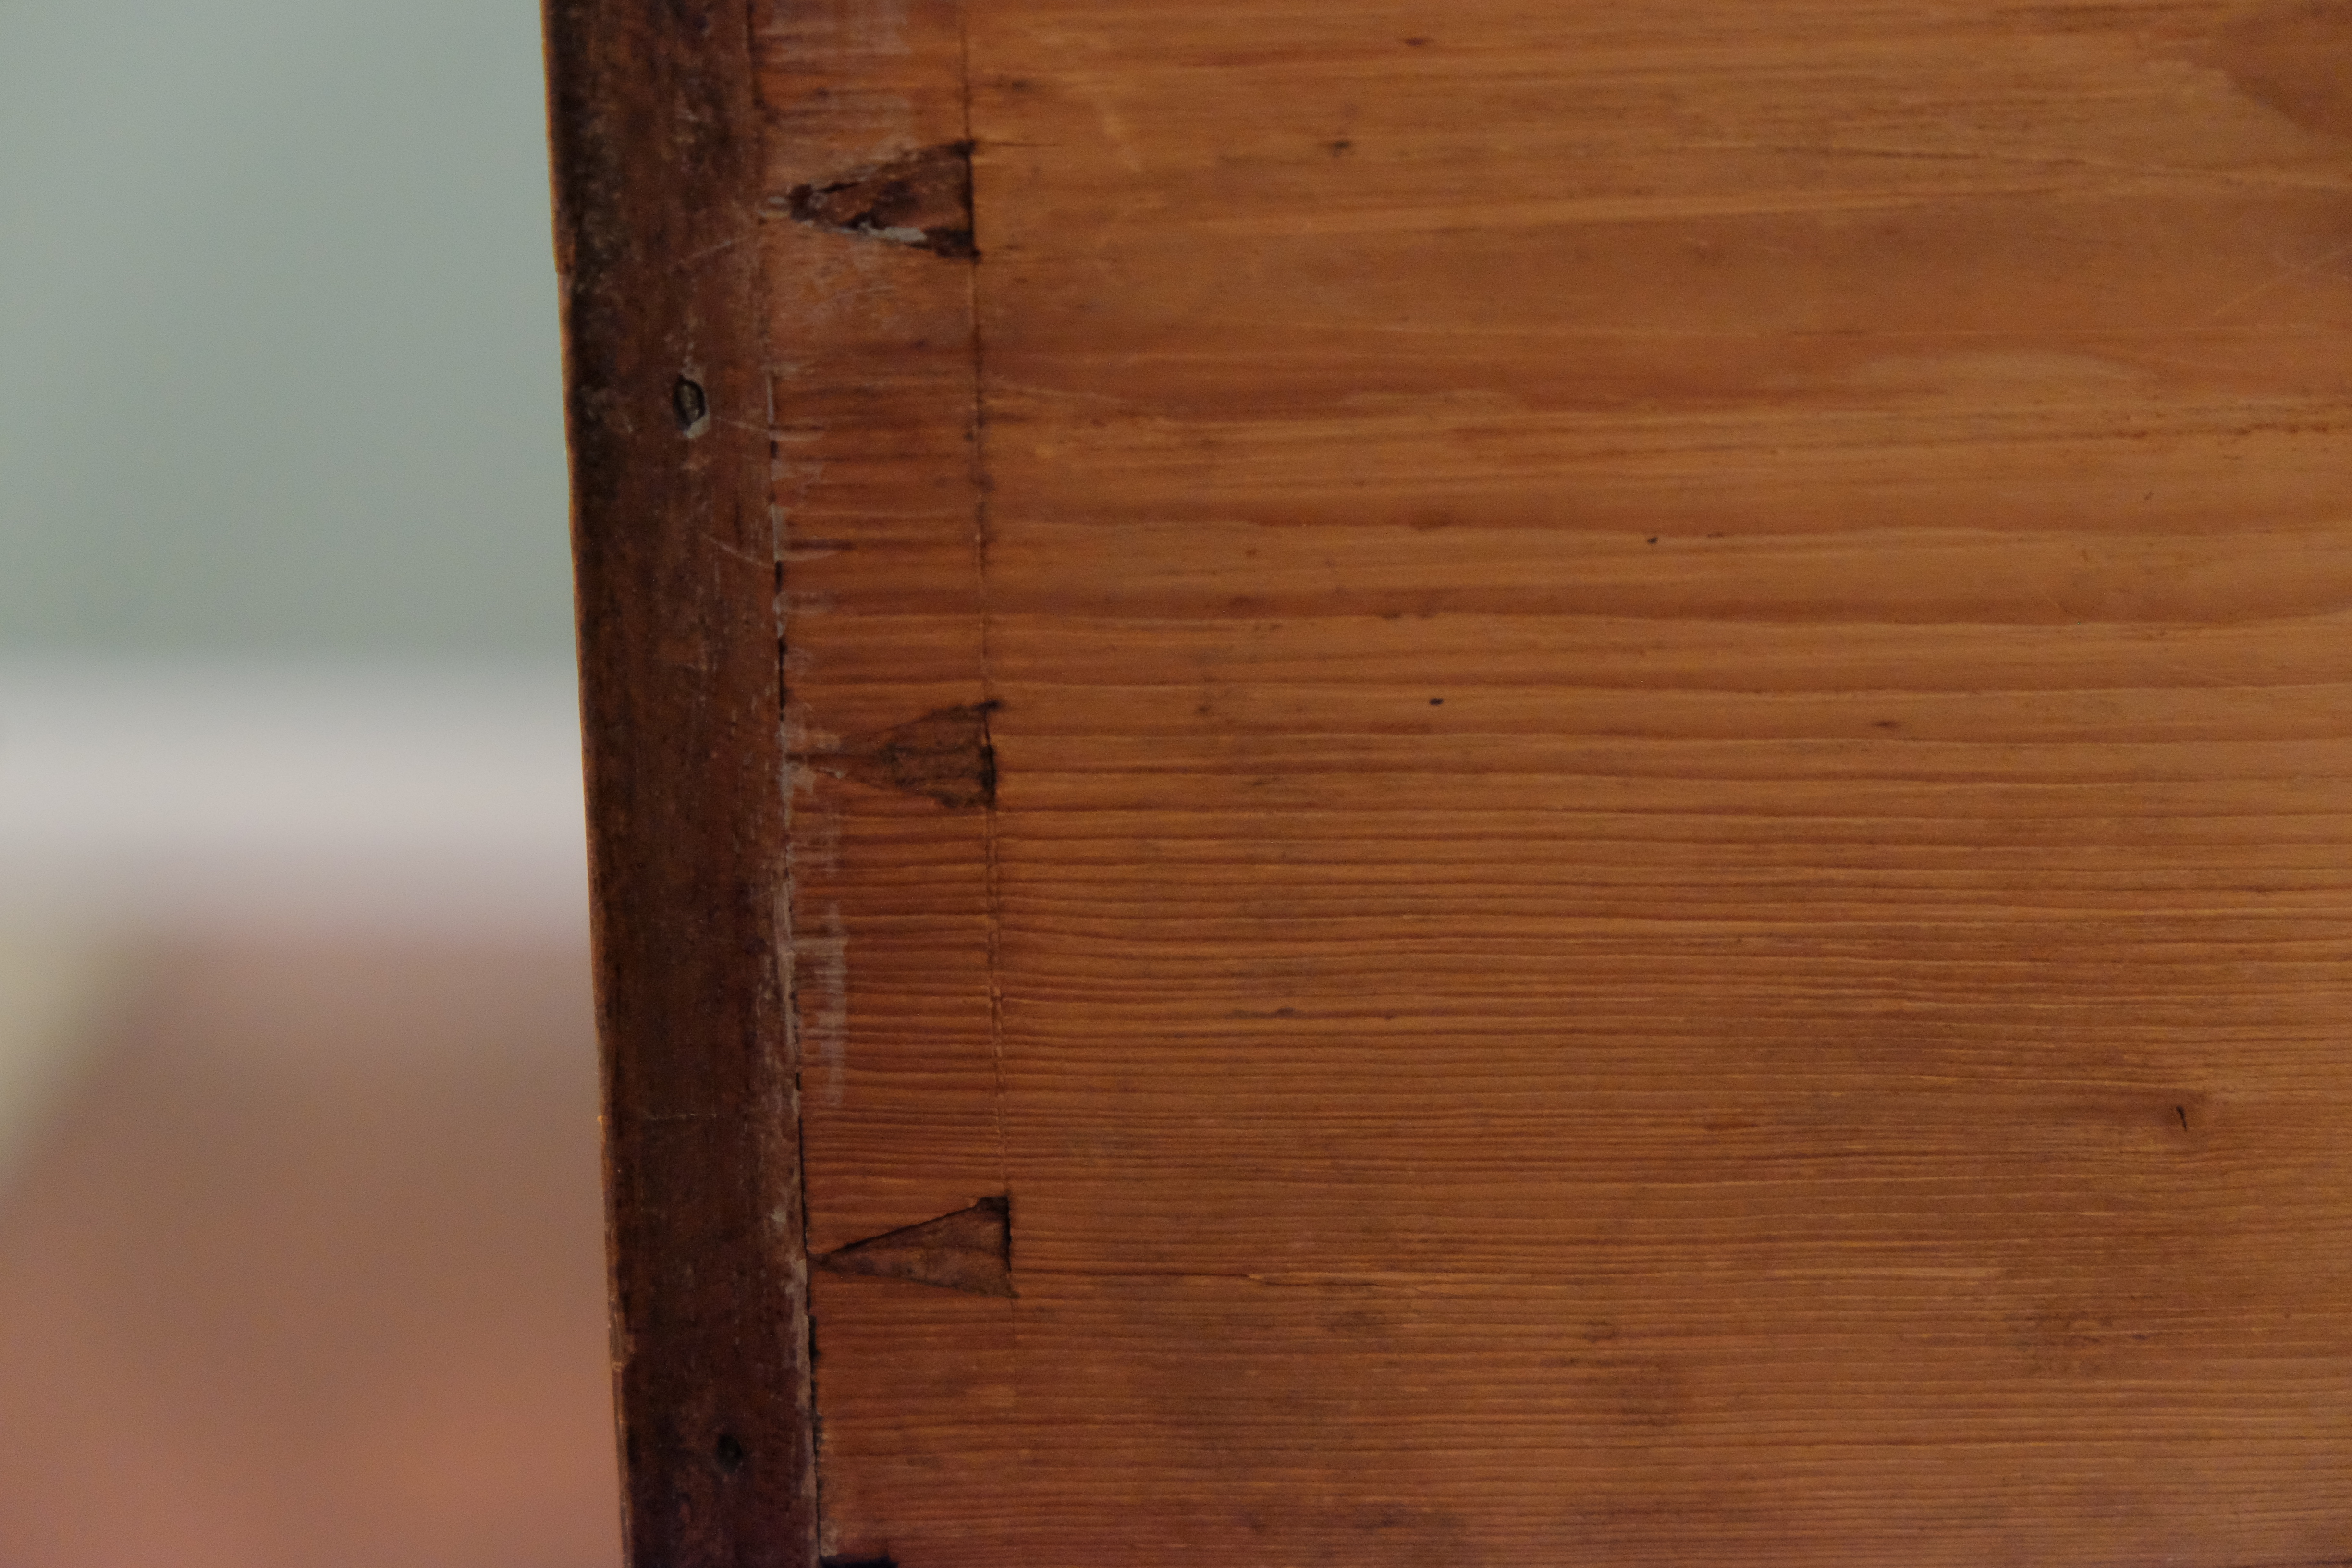
At the time we bought it, I had no idea how dovetails were actually made, or the skill it took to make them well. As time went on, I always took time to look at furniture drawers, and soon I realized how nice those dovetails really were. I saw hand cut ones that eventually needed reinforcement to hold, usually nails. Then I noticed the absolutely uniform dovetails on so much production furniture that function perfectly well, but are boring to look at.


I read about how to cut them, and tried once or twice with some scrap wood, but the results were … well … not close to the ideal. I learned rather quickly that soft-wood is not the ideal choice for sharp-looking dovetails. Cleaning out the bottoms with a chisel (even very sharp) often results in a very rough outcome as the end-grain wood chips away. And to an extent the same goes with plywood, though Baltic birch is better than most. I did finally cut some half-blind dovetails in a piece using a pine front for the drawer that turned out okay, certainly in function, but I still had to use some wood filler to smooth out the result.

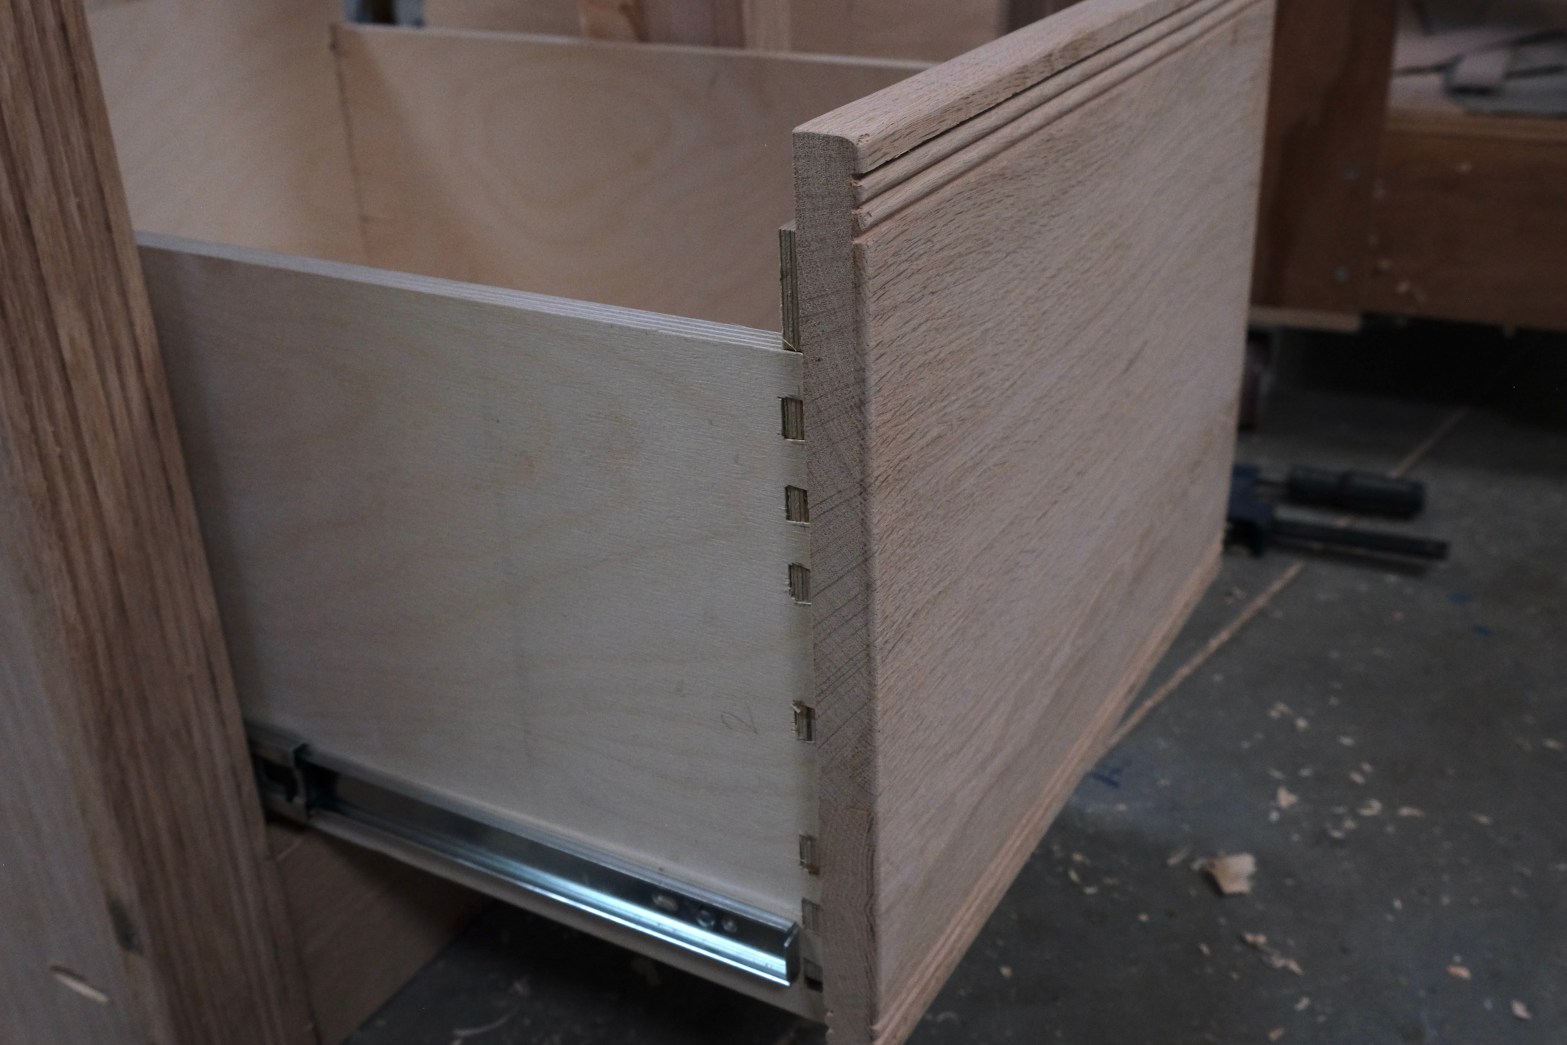
Just recently, I had the opportunity to pick up a couple of used dovetail jigs at a reasonable cost, one a Porter-Cable, and one an older Leigh. I made some practice joints with the Porter-Cable and realized very quickly that it will be used for box joints only—the dovetails are simply too lifeless for my tastes. The Leigh shows some promise, but I need to get the precise bits they ask for. Even then, the pins can only be made so small, not nearly as small as our English chest drawers. The other thing I noticed is that with plywood dovetails, even Baltic birch, the pins can be blown out if they are too small. That is what test cuts are for! For my current project, then, I have reverted to hand-cut, with the determination to get them close to right.
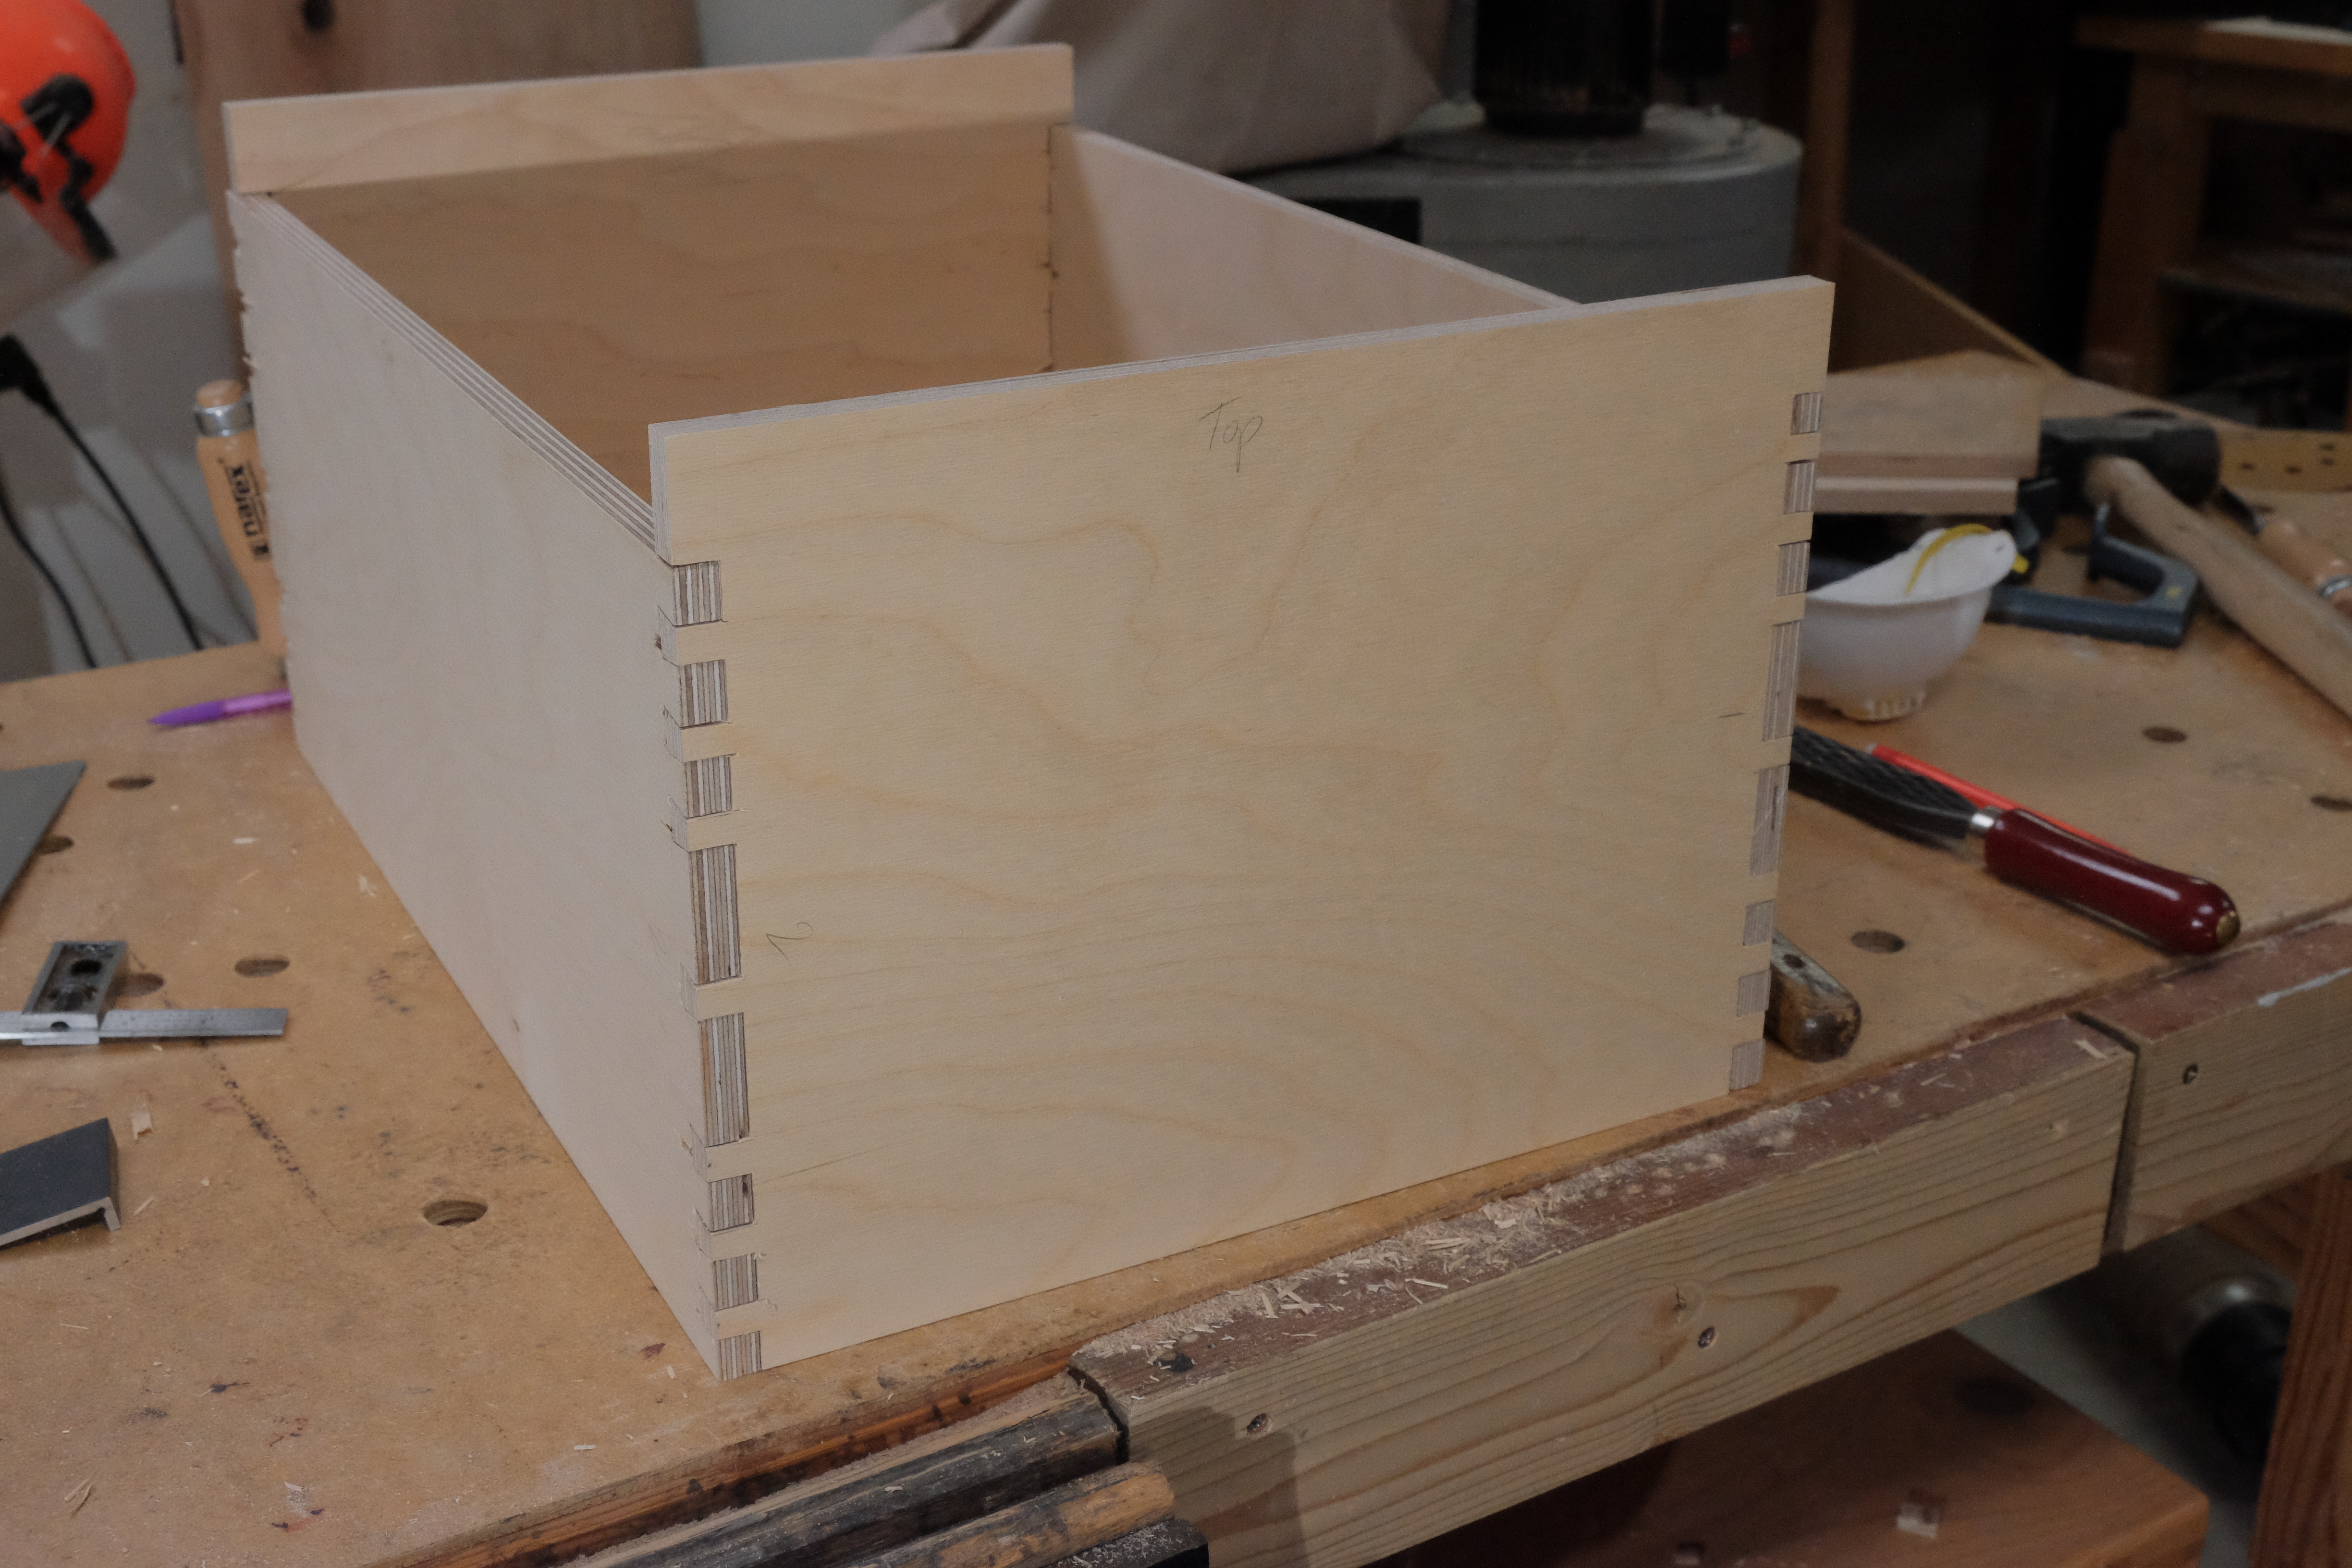
So far I am fairly satisfied, but it took some effort in test cuts to get the desired result, then some creative jury-rigging. On the Leigh jig test cut, I set up the tails just like I wanted with two large in the middle, two small on either side and the two end tails, resulting in a nicely balanced 3-1-3 pin pattern. The pin sizes were small enough for the Baltic birch I am using for the file drawers. I then transferred the results to another test cut to perform by hand. Hand cutting definitely takes a lot more time than the jig, even taking into account the long set-up time for the jig. But with the right technique they are fairly close.
First there is the set-up itself, with accurate depth scribed on the wood and tails and pins marked in the right way on the right pieces. I think I finally have it figured out, but double checking is essential. I have a nice little dovetail angle gauge that helps with the marking.
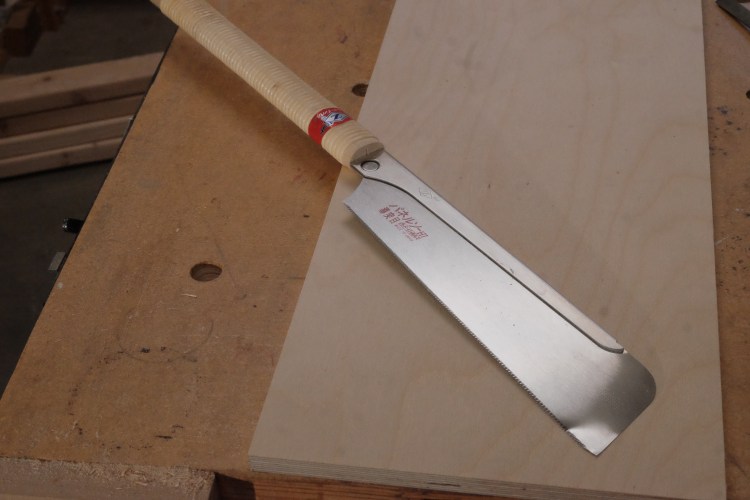
One of the big differences so far between past attempts and the current ones comes with the saw. My first attempts years ago were with a western style dovetail saw. For some reason the cut on the push just didn’t work for me. I picked up a Japanese style saw from Leigh Valley a few years ago and the difference for me was amazing. A small push sets the line then the pull stoke makes the cut. My cuts immediately became much more accurate, and with practice “close” to perfect.

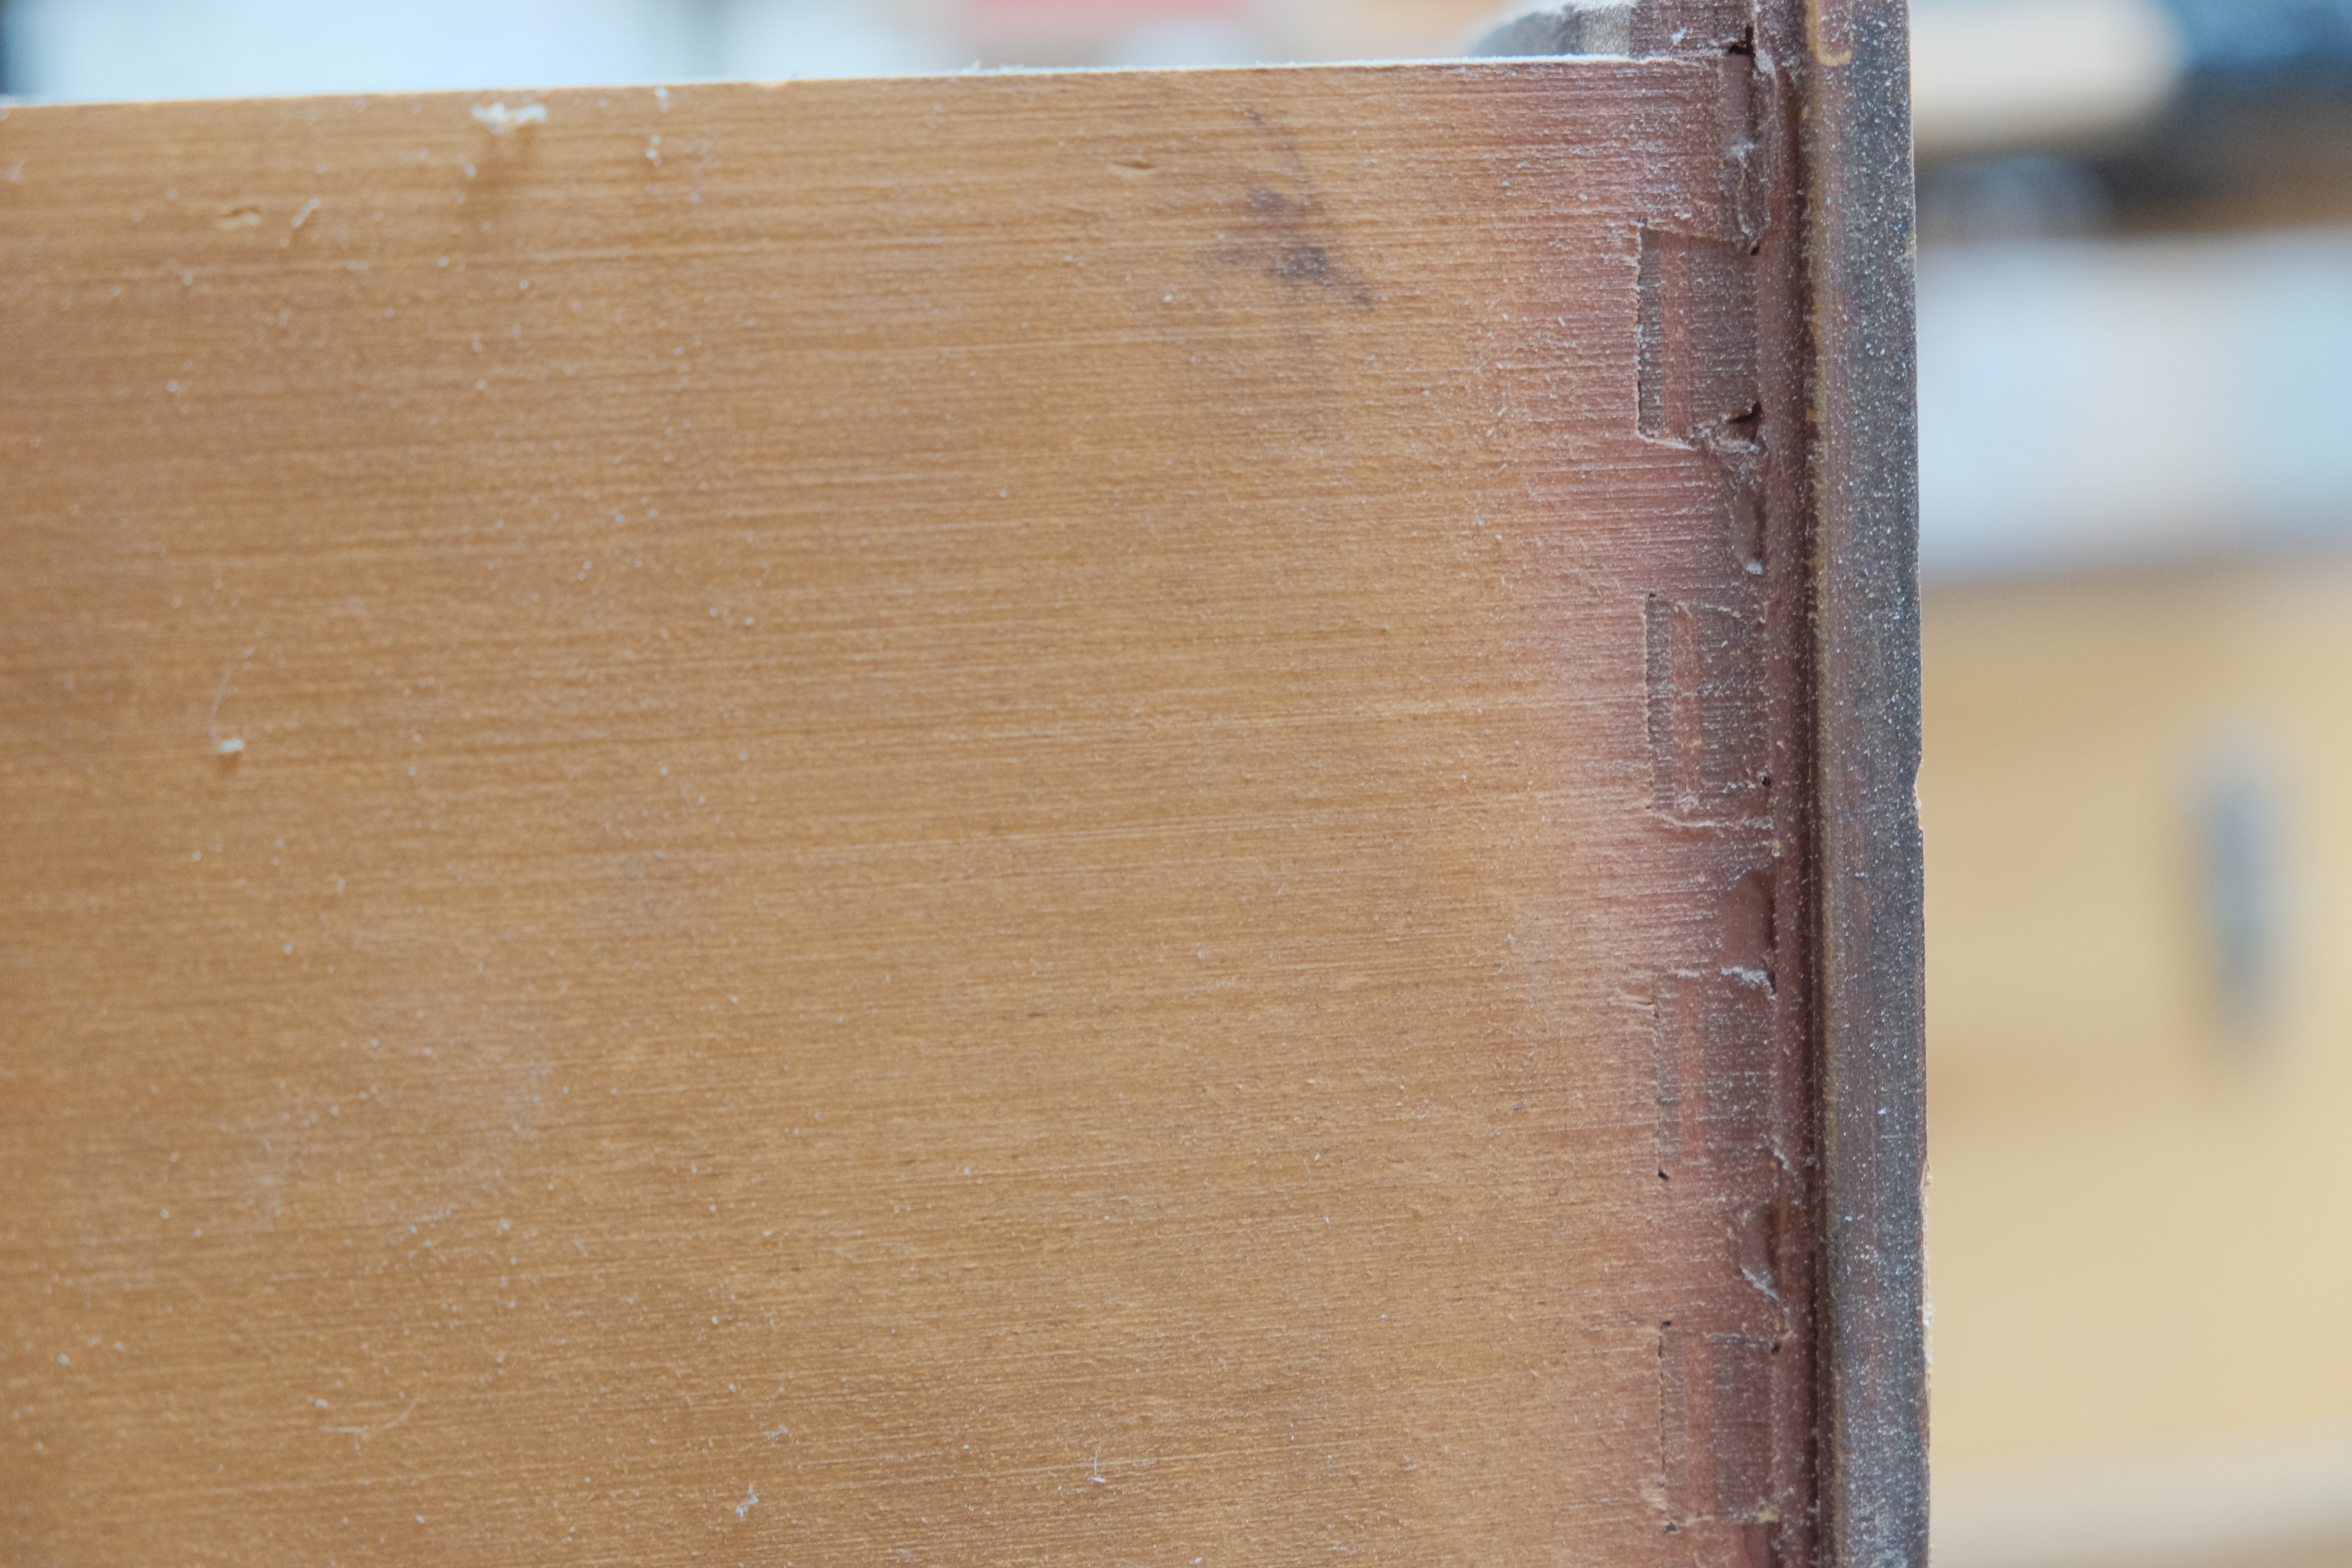
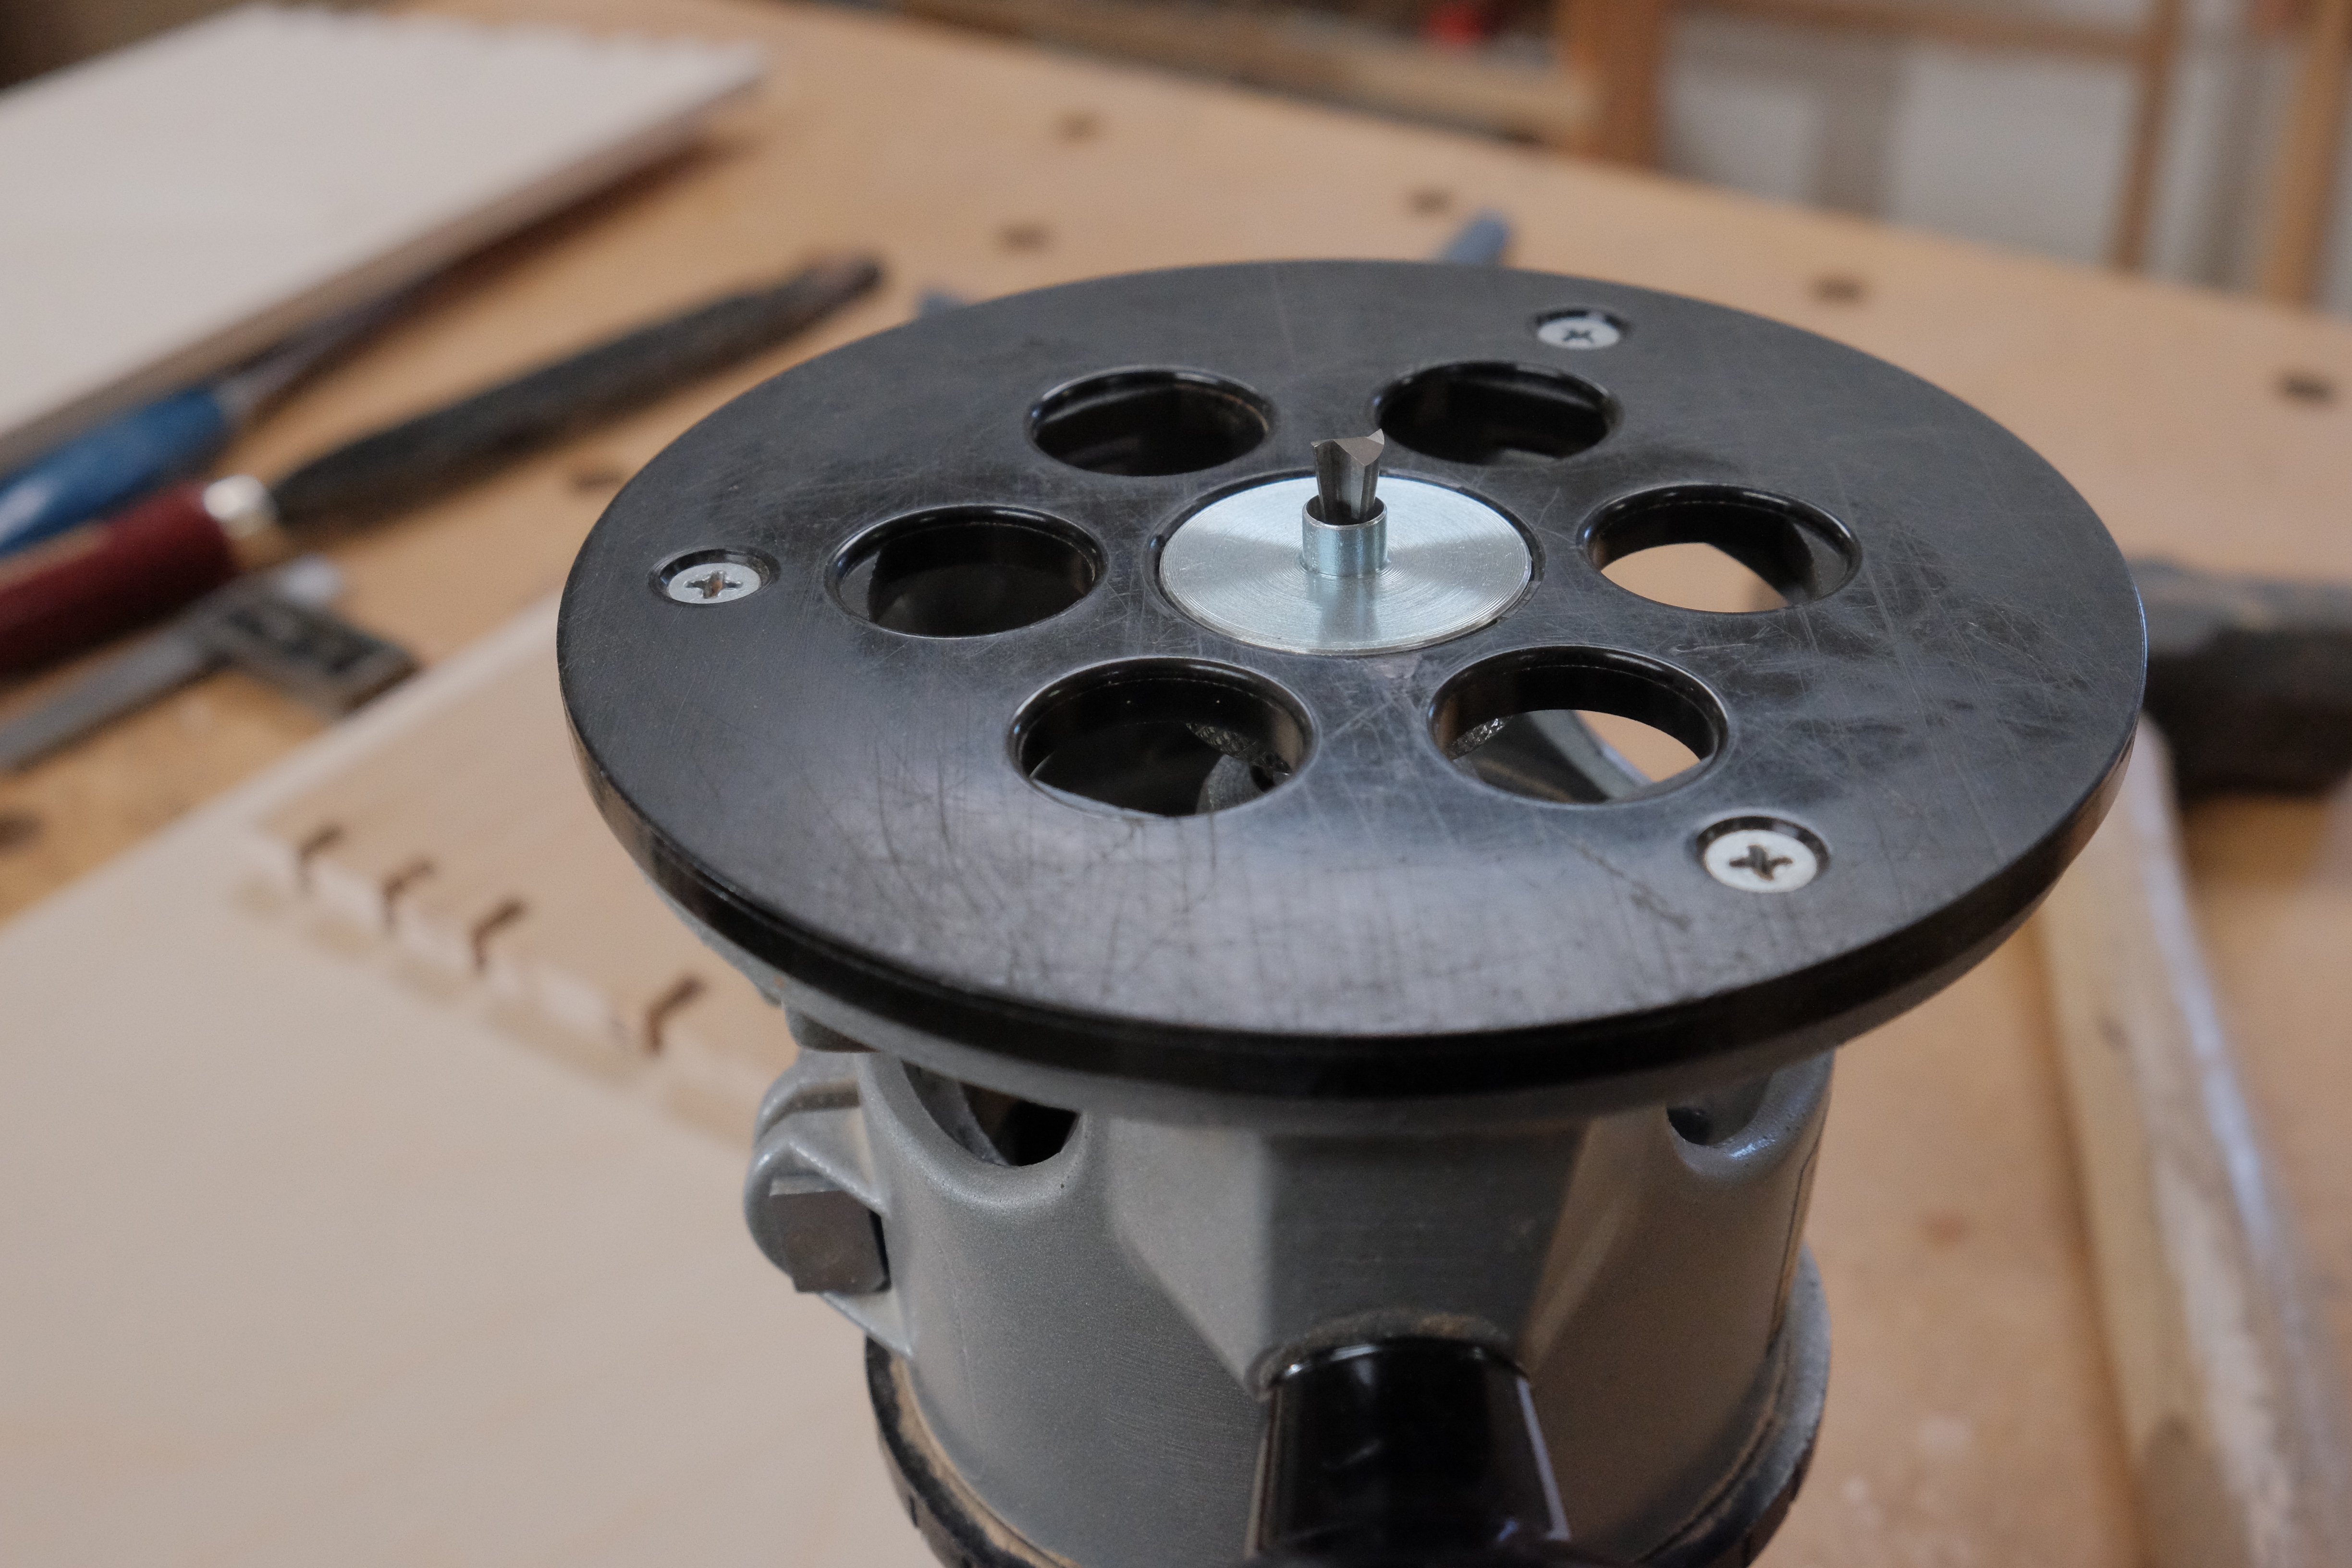
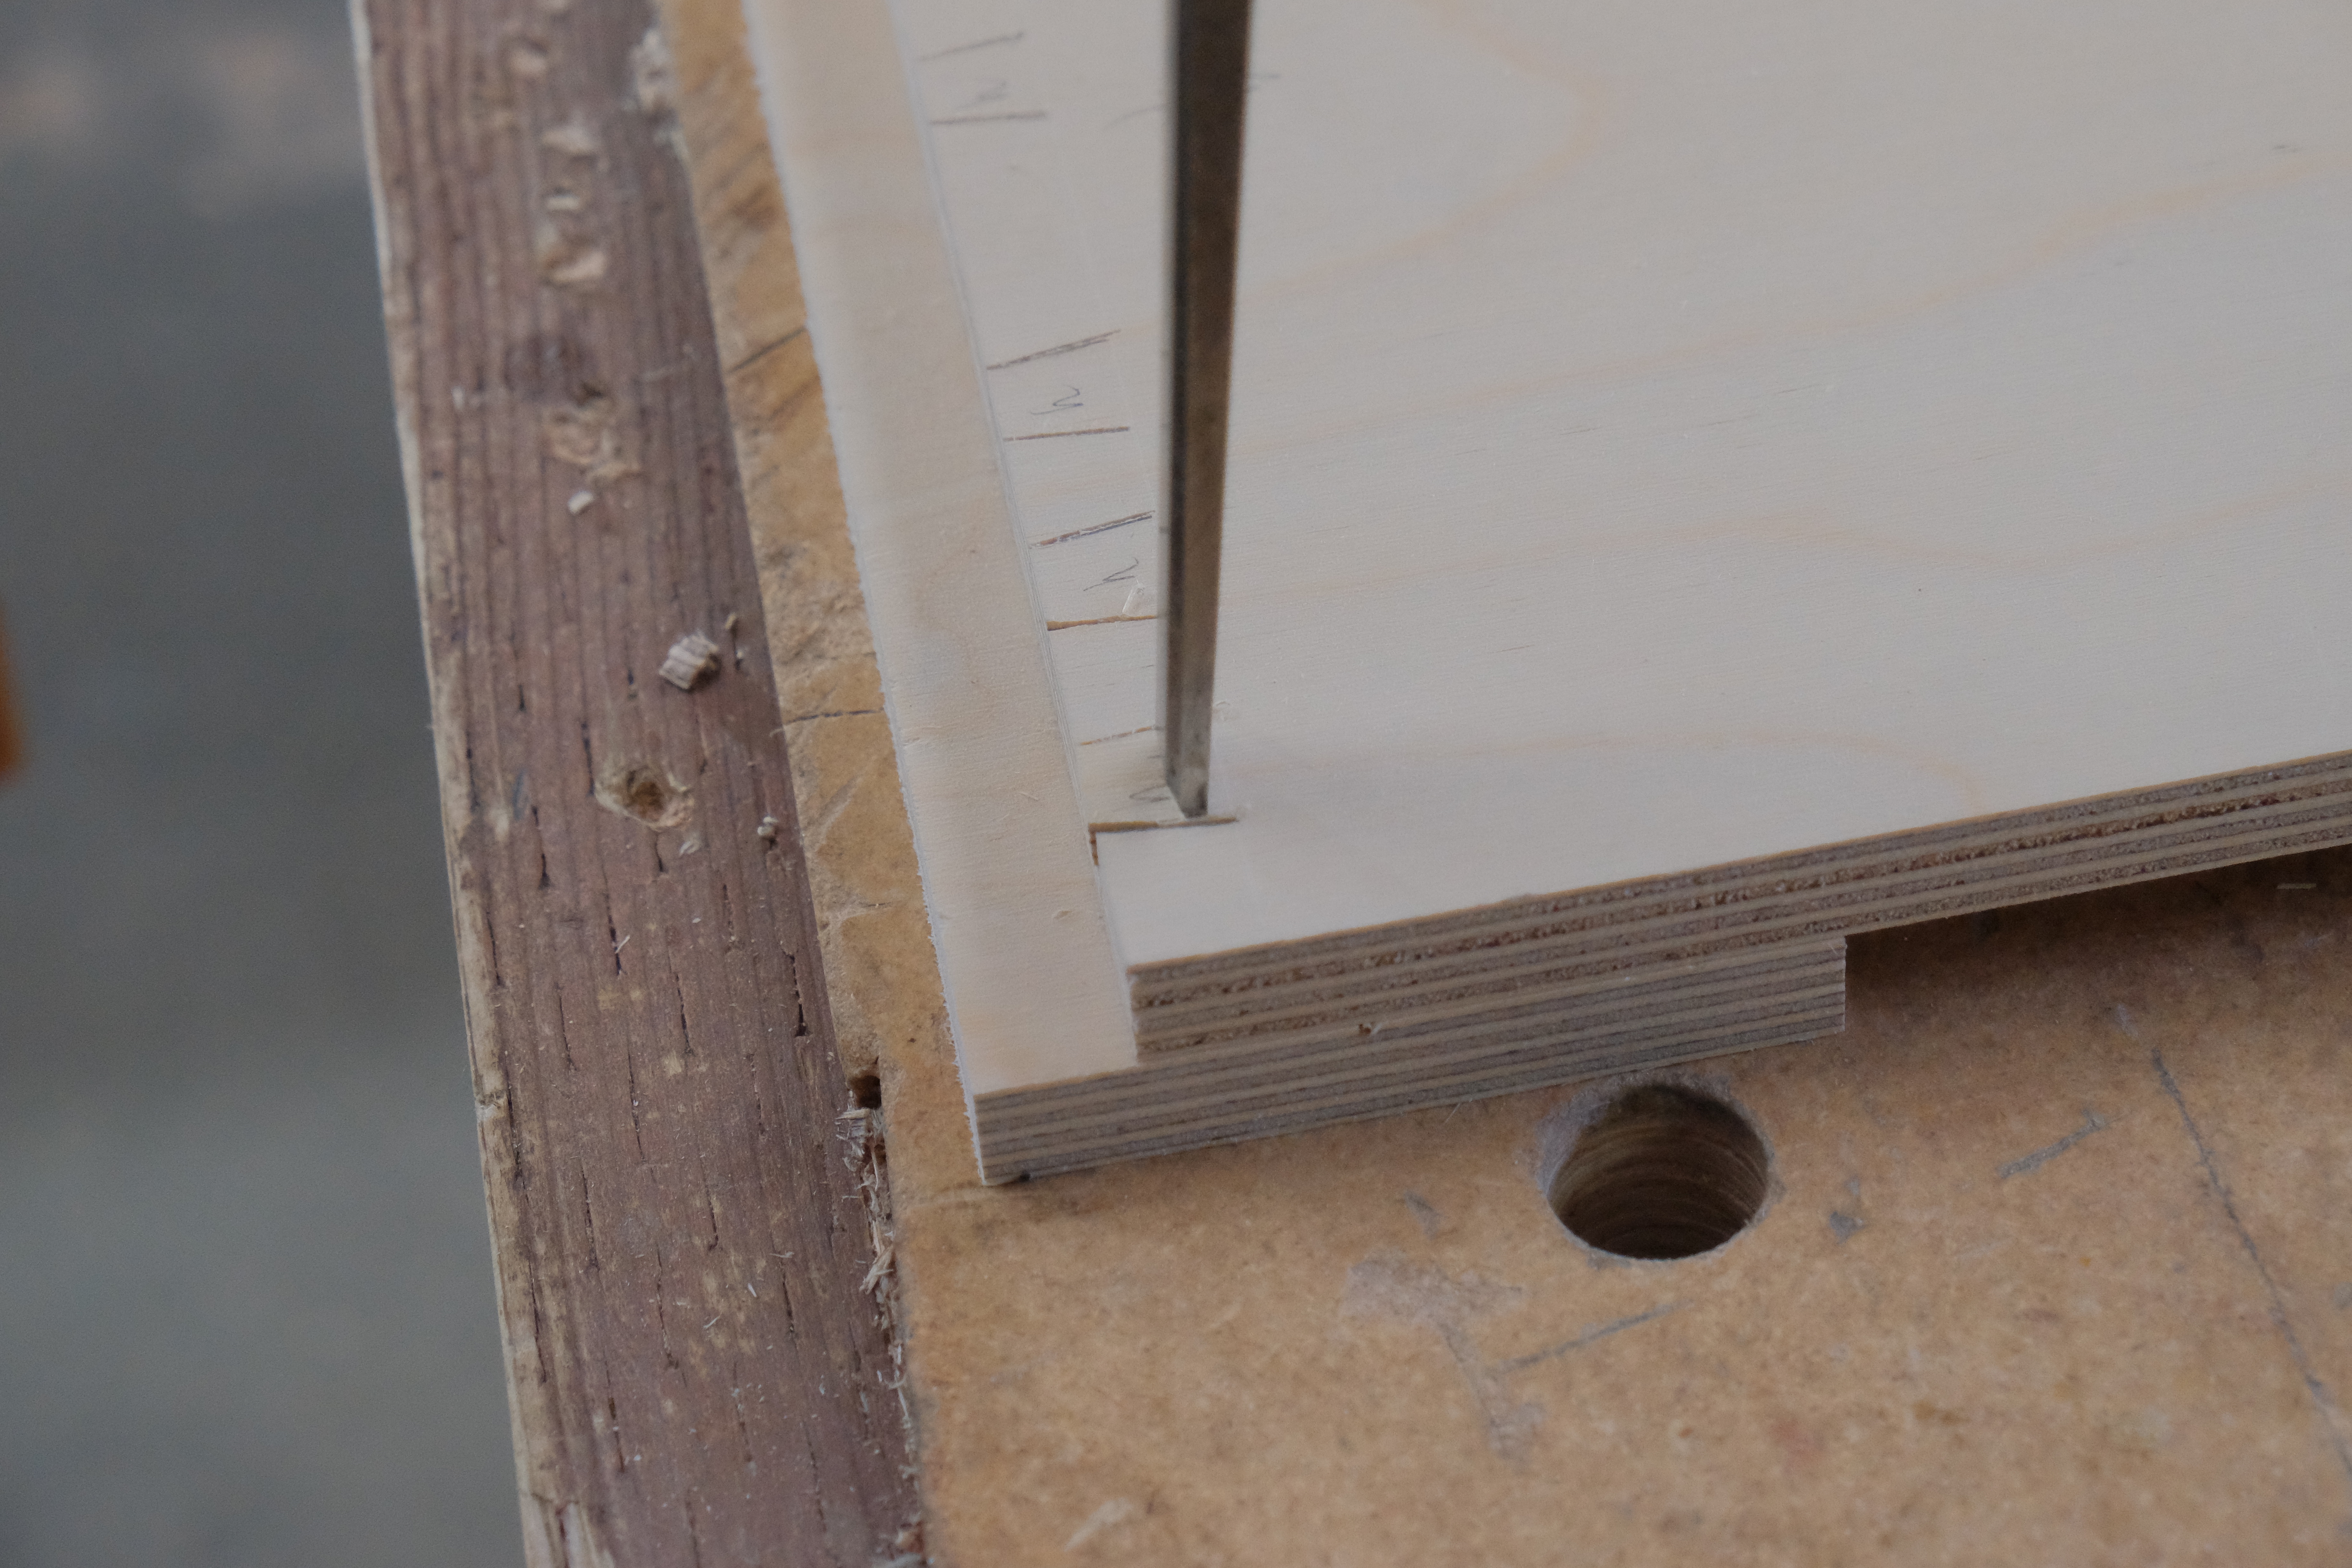
So I actually cut and finished the dovetails for the first drawer totally by hand. They turned out okay and I will definitely use the result, but I was still not happy with the bottoms next to the scribe line. I just couldn’t get a clean bottom cut in the plywood. I had read somewhere in the past that a router with template insert could help with the clean-out. After some various experiments, I came up with a solution using a 5/16 OD template insert and a 9/32 dovetail bit. After figuring out the setup on my bench to support the router, I was able to work in and out of the spaces to create uniformly deep bottoms, with minimal tear-out. I came away with clean results for both tails and pins and only a small bit of chisel cleanup for a close to perfect fit. I am still not decided about the make-up of the other drawers in my project, though I know that they will all have dovetails.

As I move forward in woodworking, the dovetails on the English chest drawers will continue to be my model, and I hope someday to replicate them. For now, I’ll do the best I can and be content with the result. That is all we can do each day, isn’t it?
