Hair salons use lots of towels. Clean towels need to be stored in an easy-to-access place. Towel storage takes up space.
I am not sure, but I expect most if not all hair salons have the same issues with towel storage. The place my wife goes for her hair certainly does.
When one of the owners at Extravagance Salon learned I was building custom furniture, she asked me to come take a look. The salon is in an older house in downtown Redding with nice high ceilings, so her thinking was to take remove of the low cabinets and make the storage more vertical. The extra floor space would be welcome and also afford the opportunity to put in a wall well for shampoo and other items for washing hair.
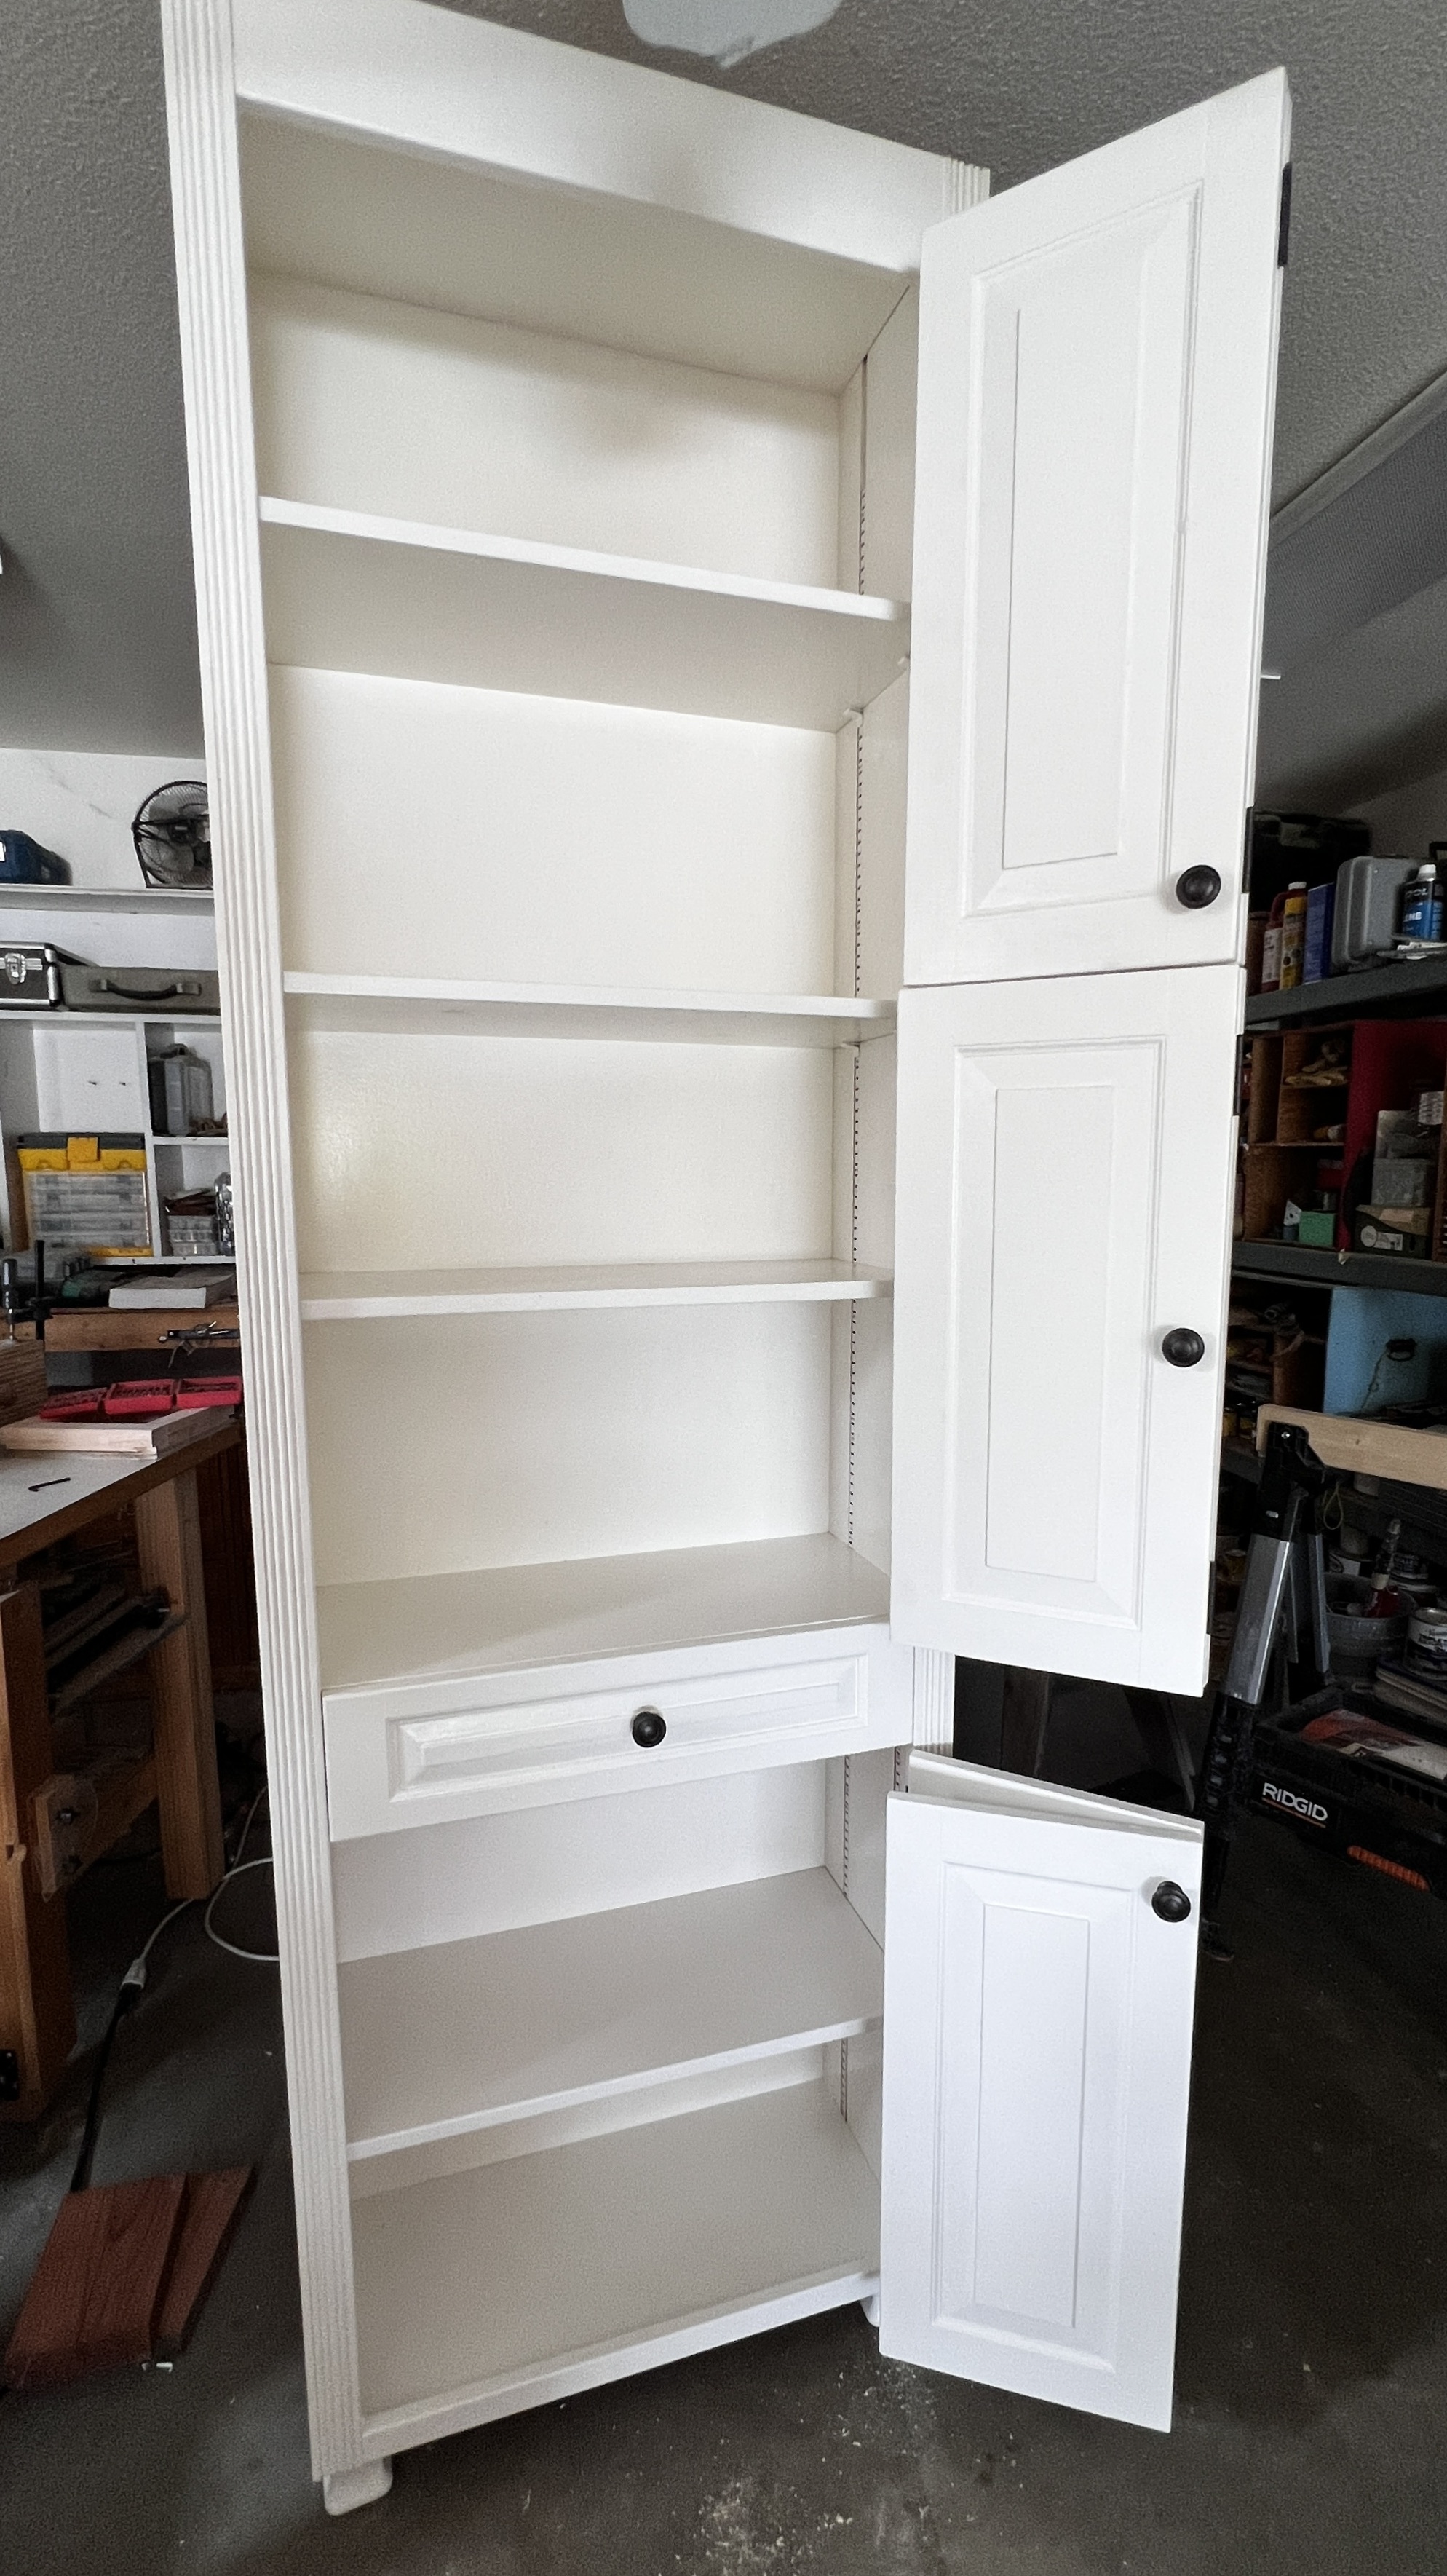
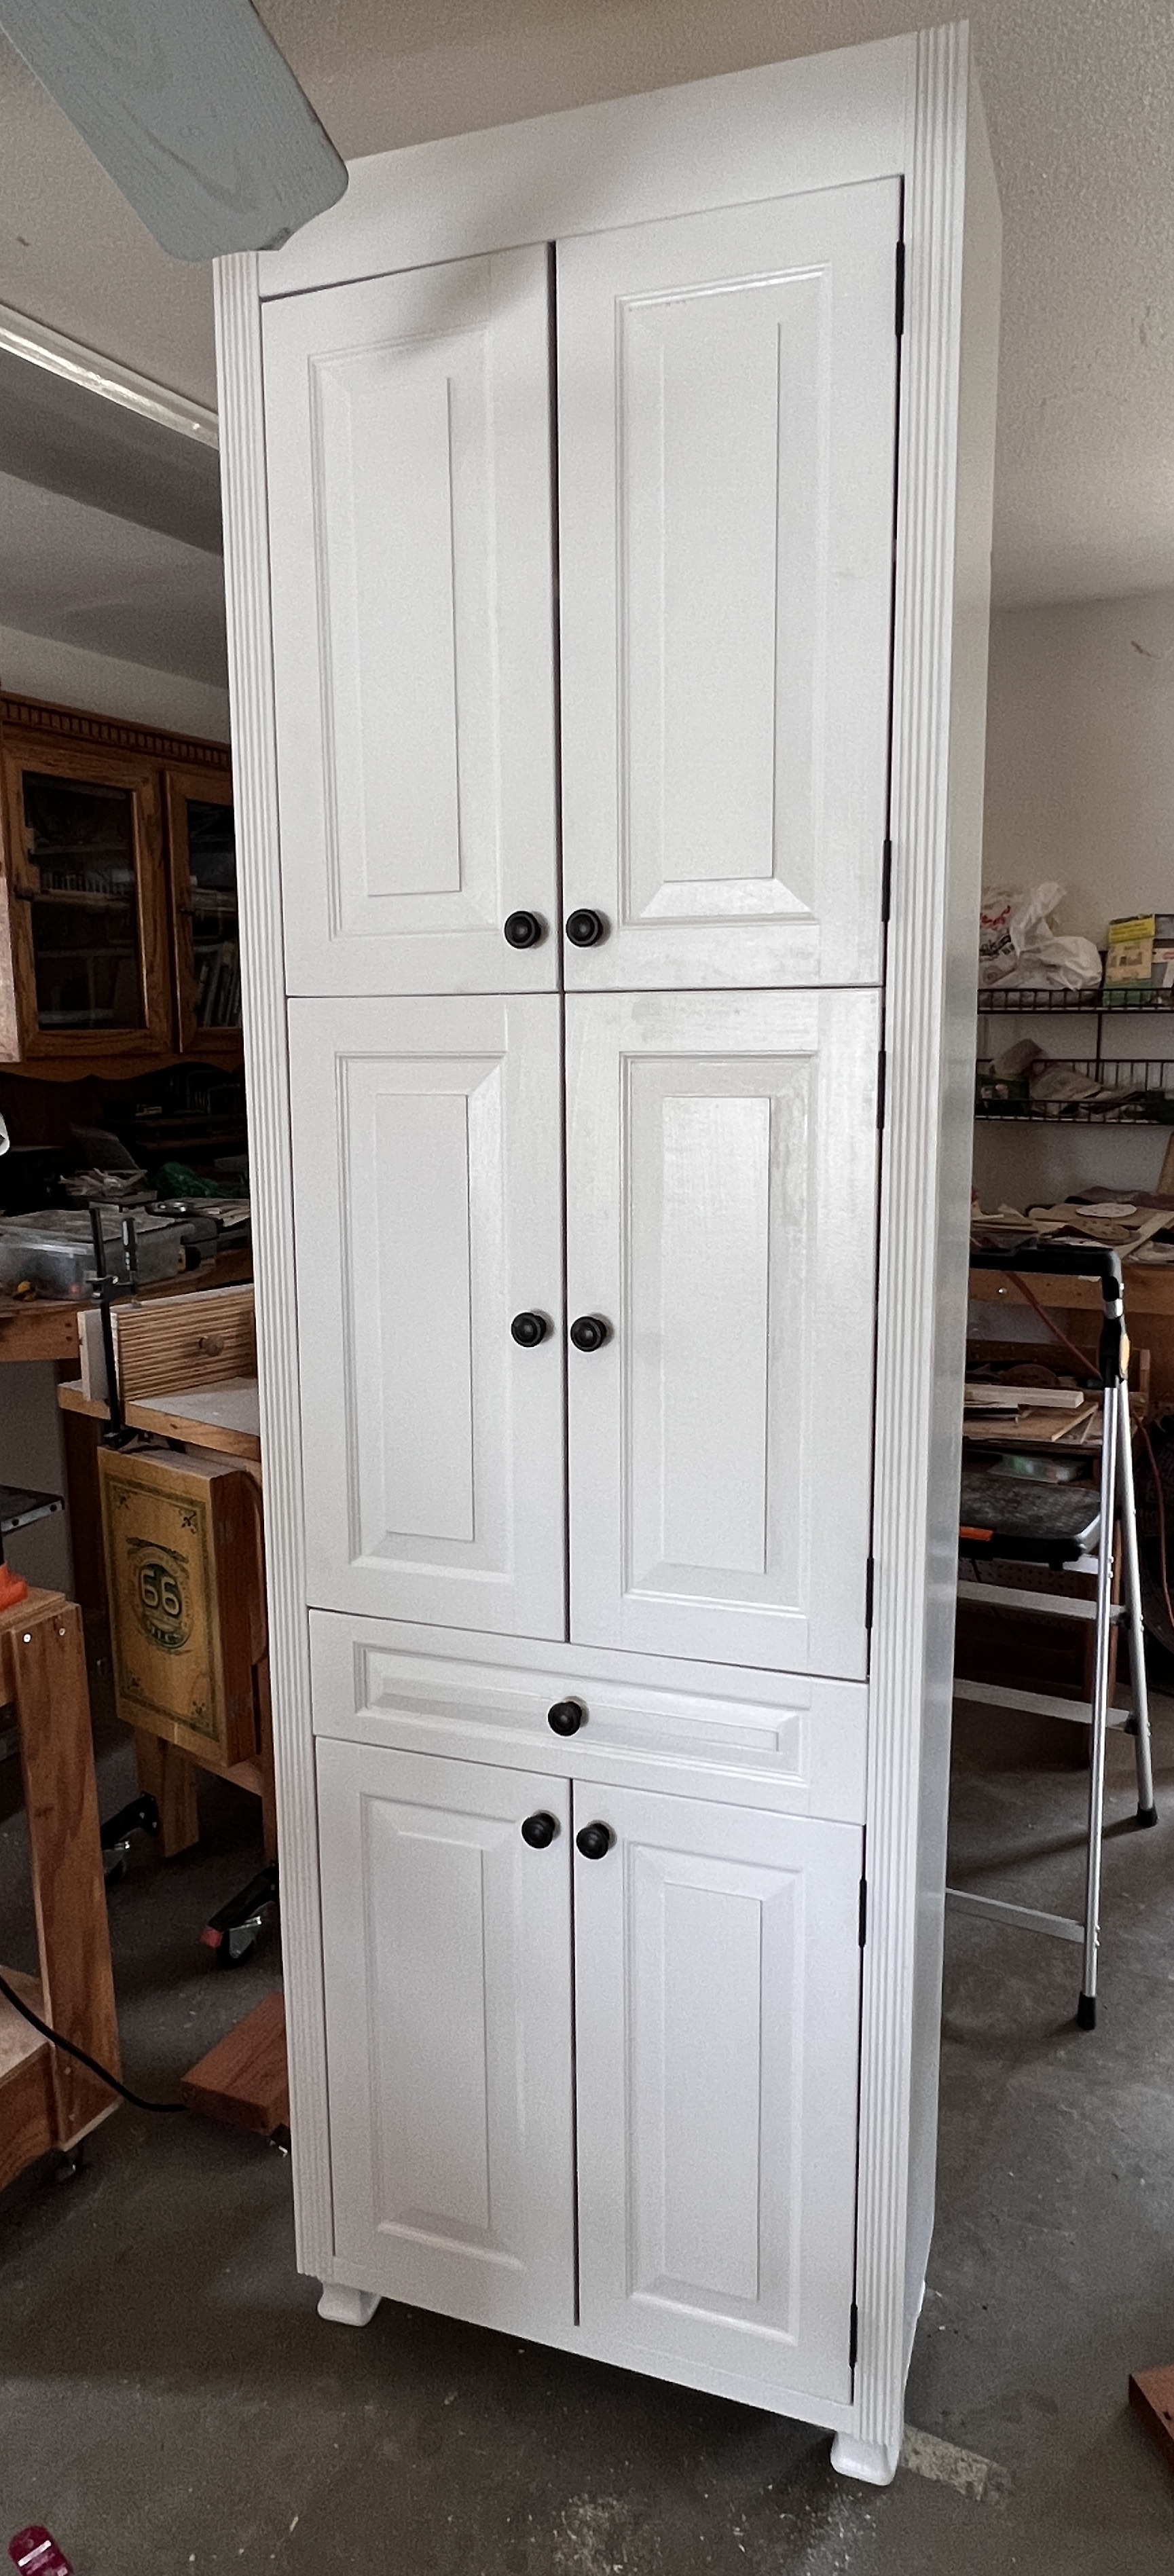
After examining the space and wanting to keep the windows uncovered, we decided on a 7 ½ foot tall free-standing cabinet with movable shelves and a drawer.
Here is what I did.
For me, this was a chance to begin using my skills in the marketplace.
It was also the first project that I used my new 8″ Powermatic jointer to help process the wood (review to come!)
All of my projects up to this point took way to long to actually make for them to produce an income. I love using hand planes, but jointing and dimensioning wood with them takes a lot of time. Having a jointer along with my Wen 13″ planer, shaves hours upon hours of labor time off of projects.
The design for the cabinet tool several factors into consideration. The height accorded with the top of the window frame (89”) the width the space between the window and a room divider (27”) and a reasonable depth for the towels (12” total, 11 ¼ inside).
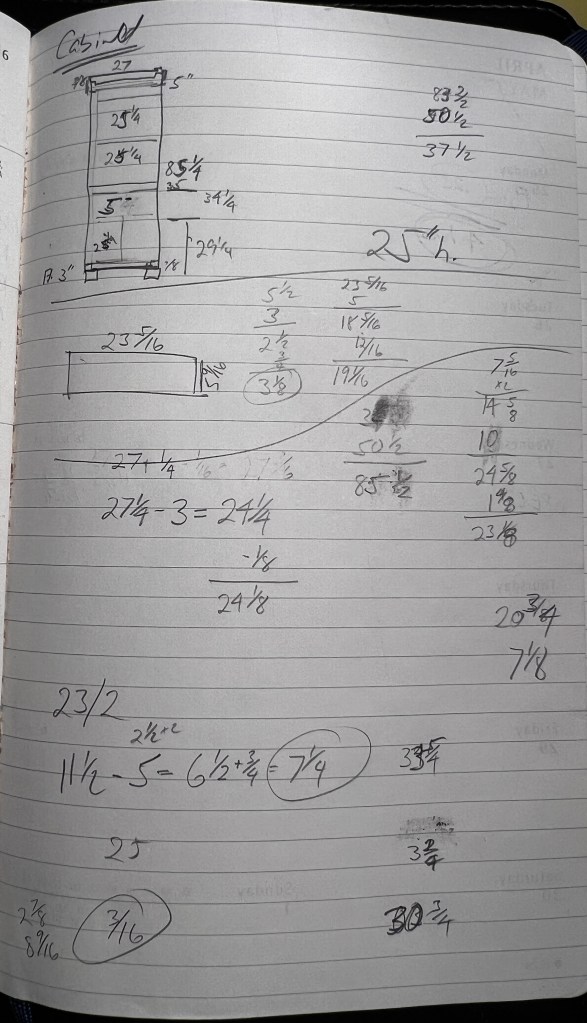
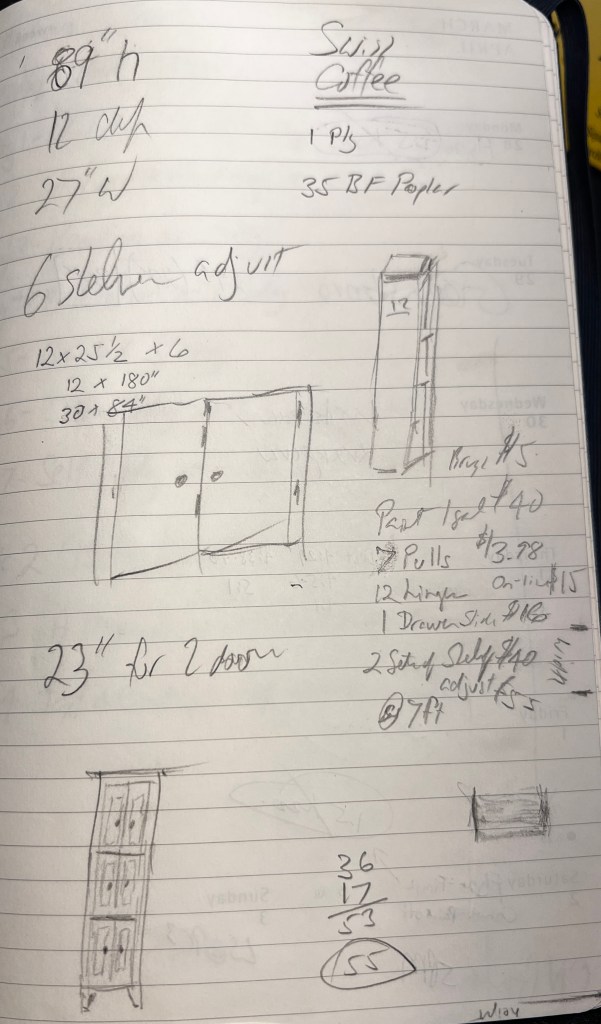
Another factor was how the doors would open. Three 25” wide doors would not only be unwieldy, but invade floor space when opened, so six narrower doors were the only practical option. But since the sink is the left, opposite opening doors would be inconvenient.
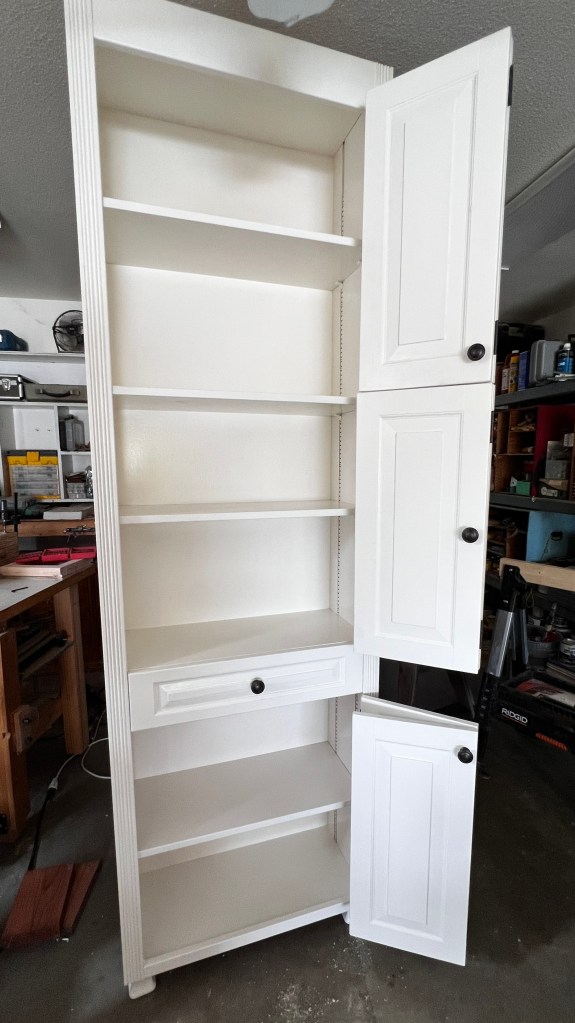
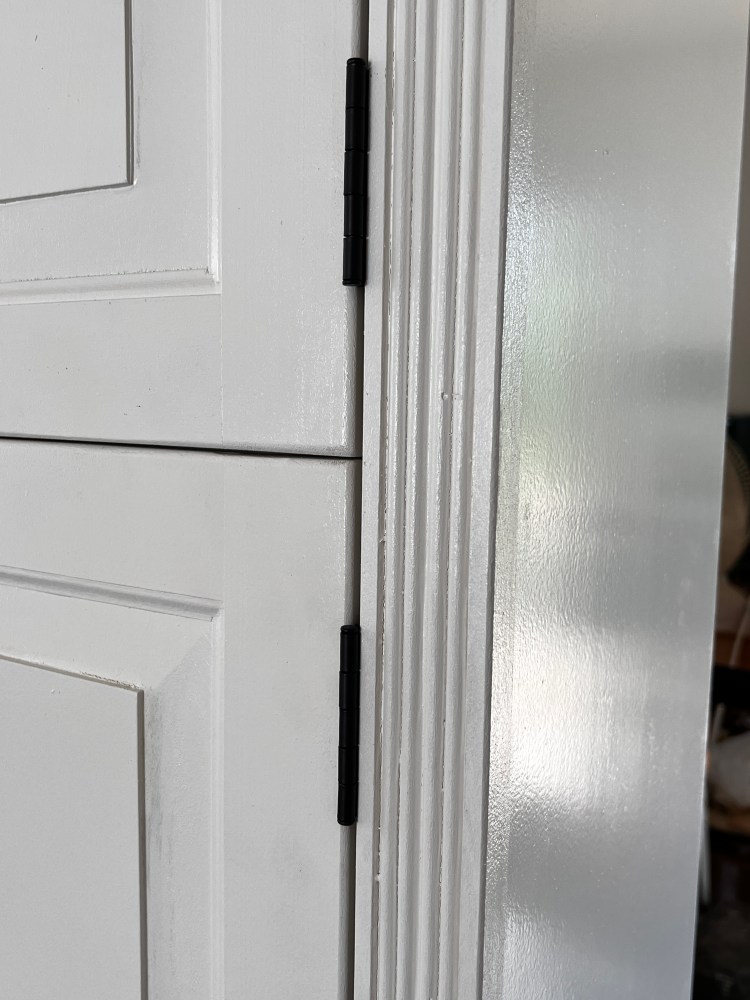
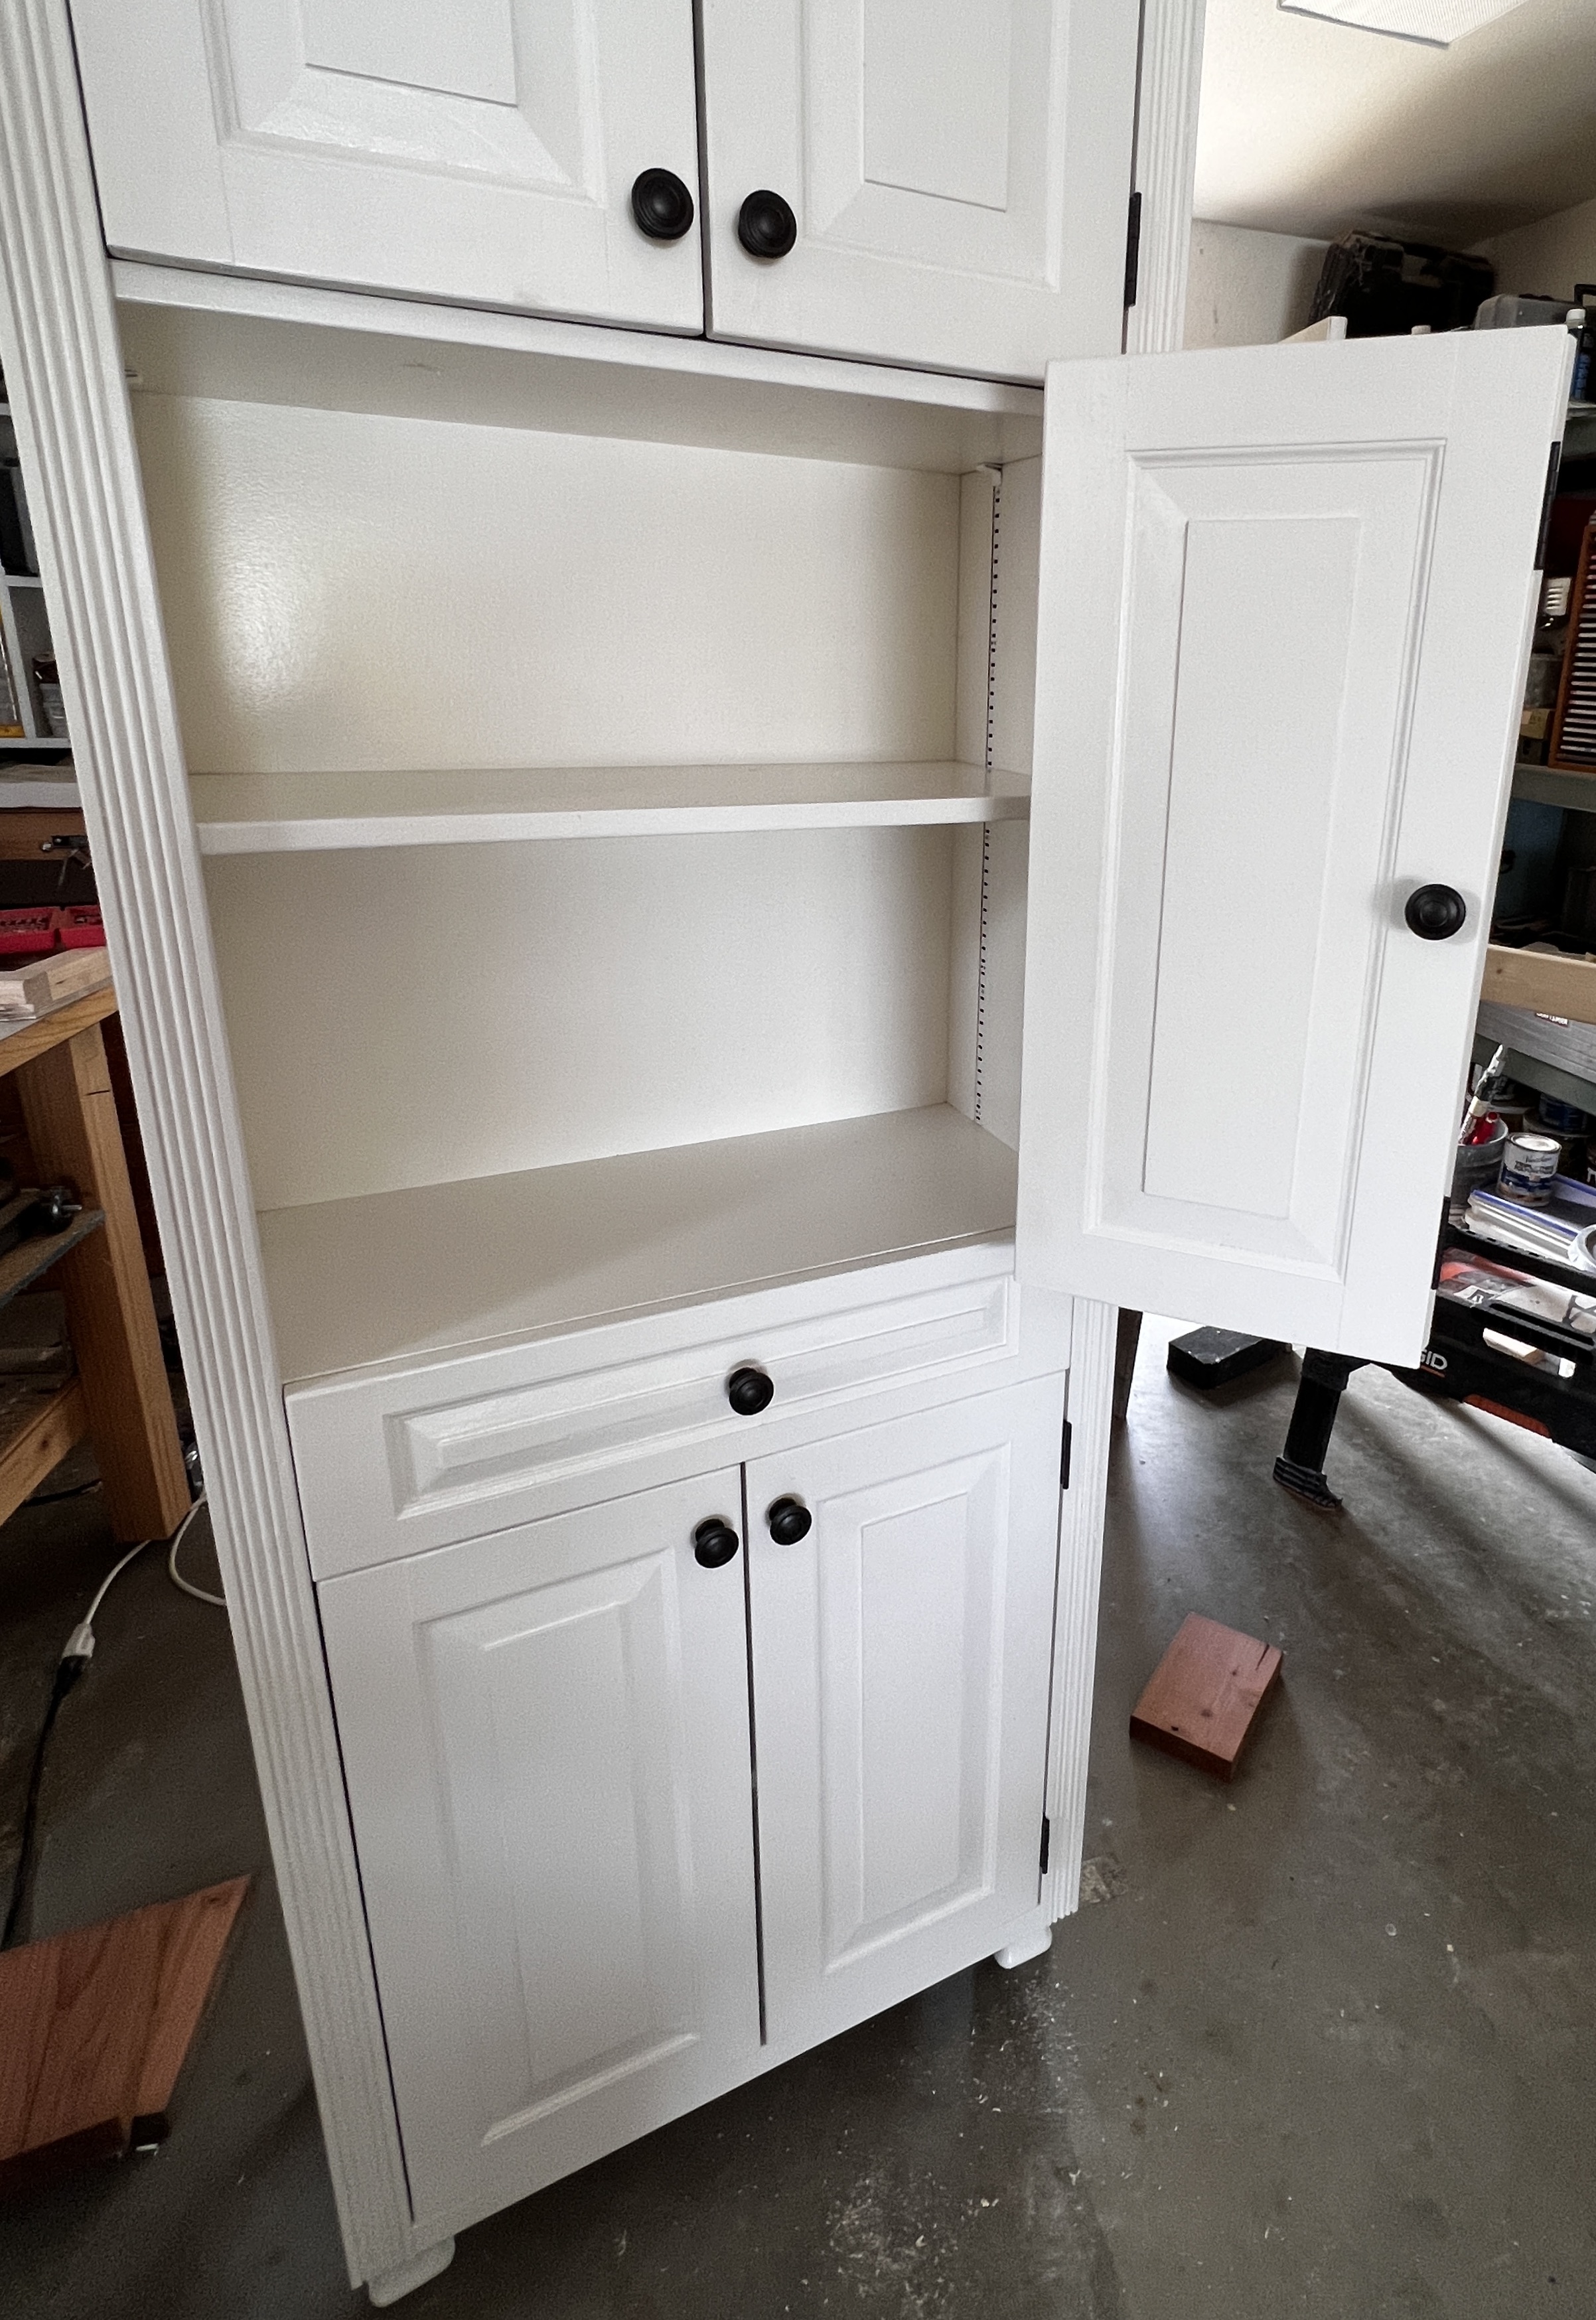
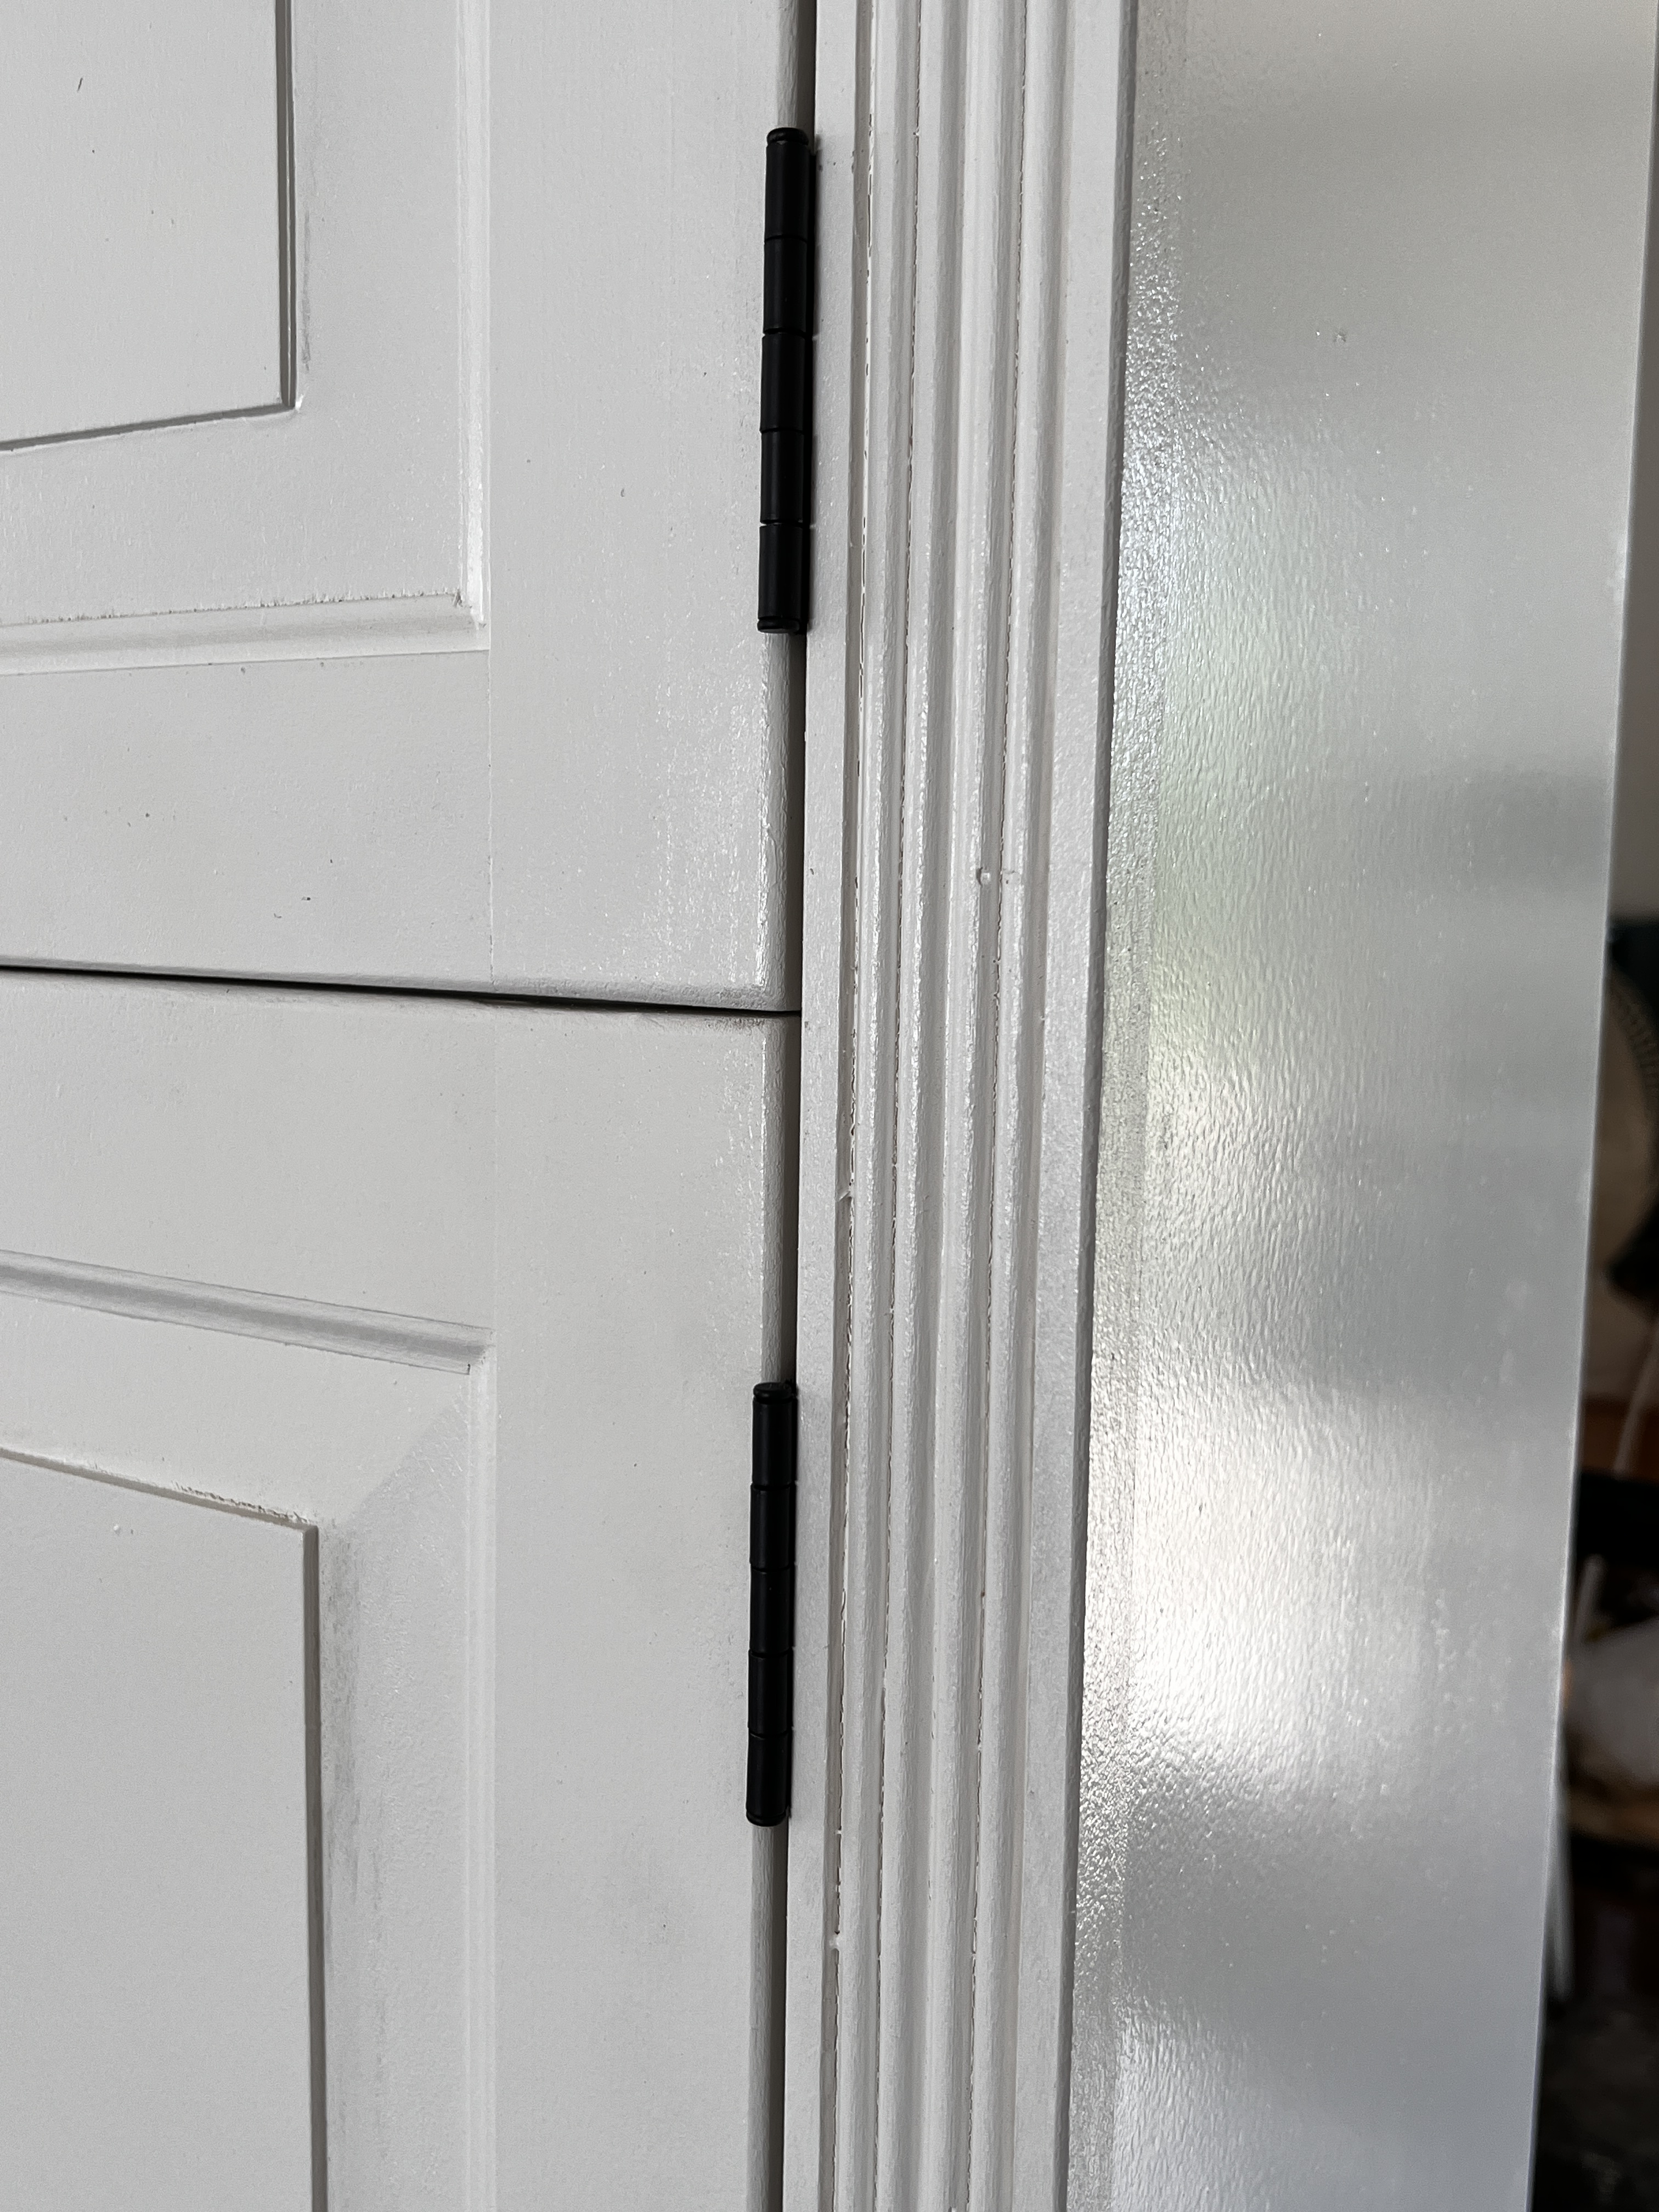
So I proposed three folding doors that would open to the right. When closed they look like ordinary doors, but they open to reveal the entire width of the cabinet for easy access to the towels.
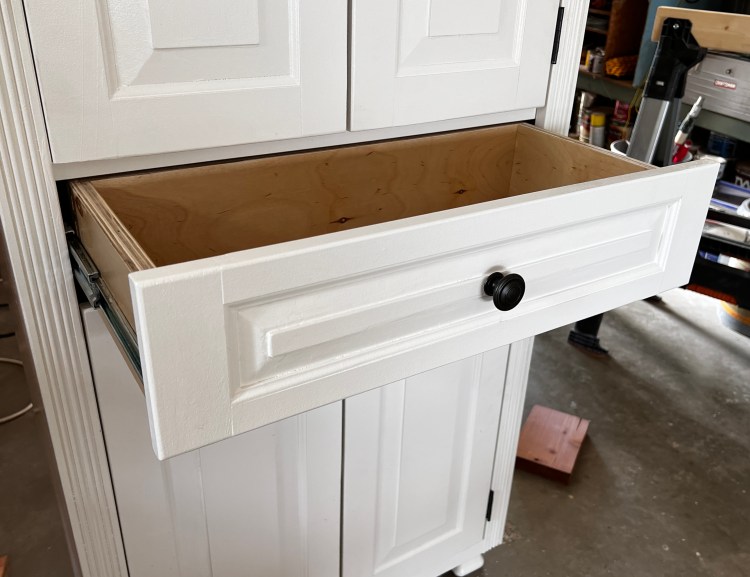
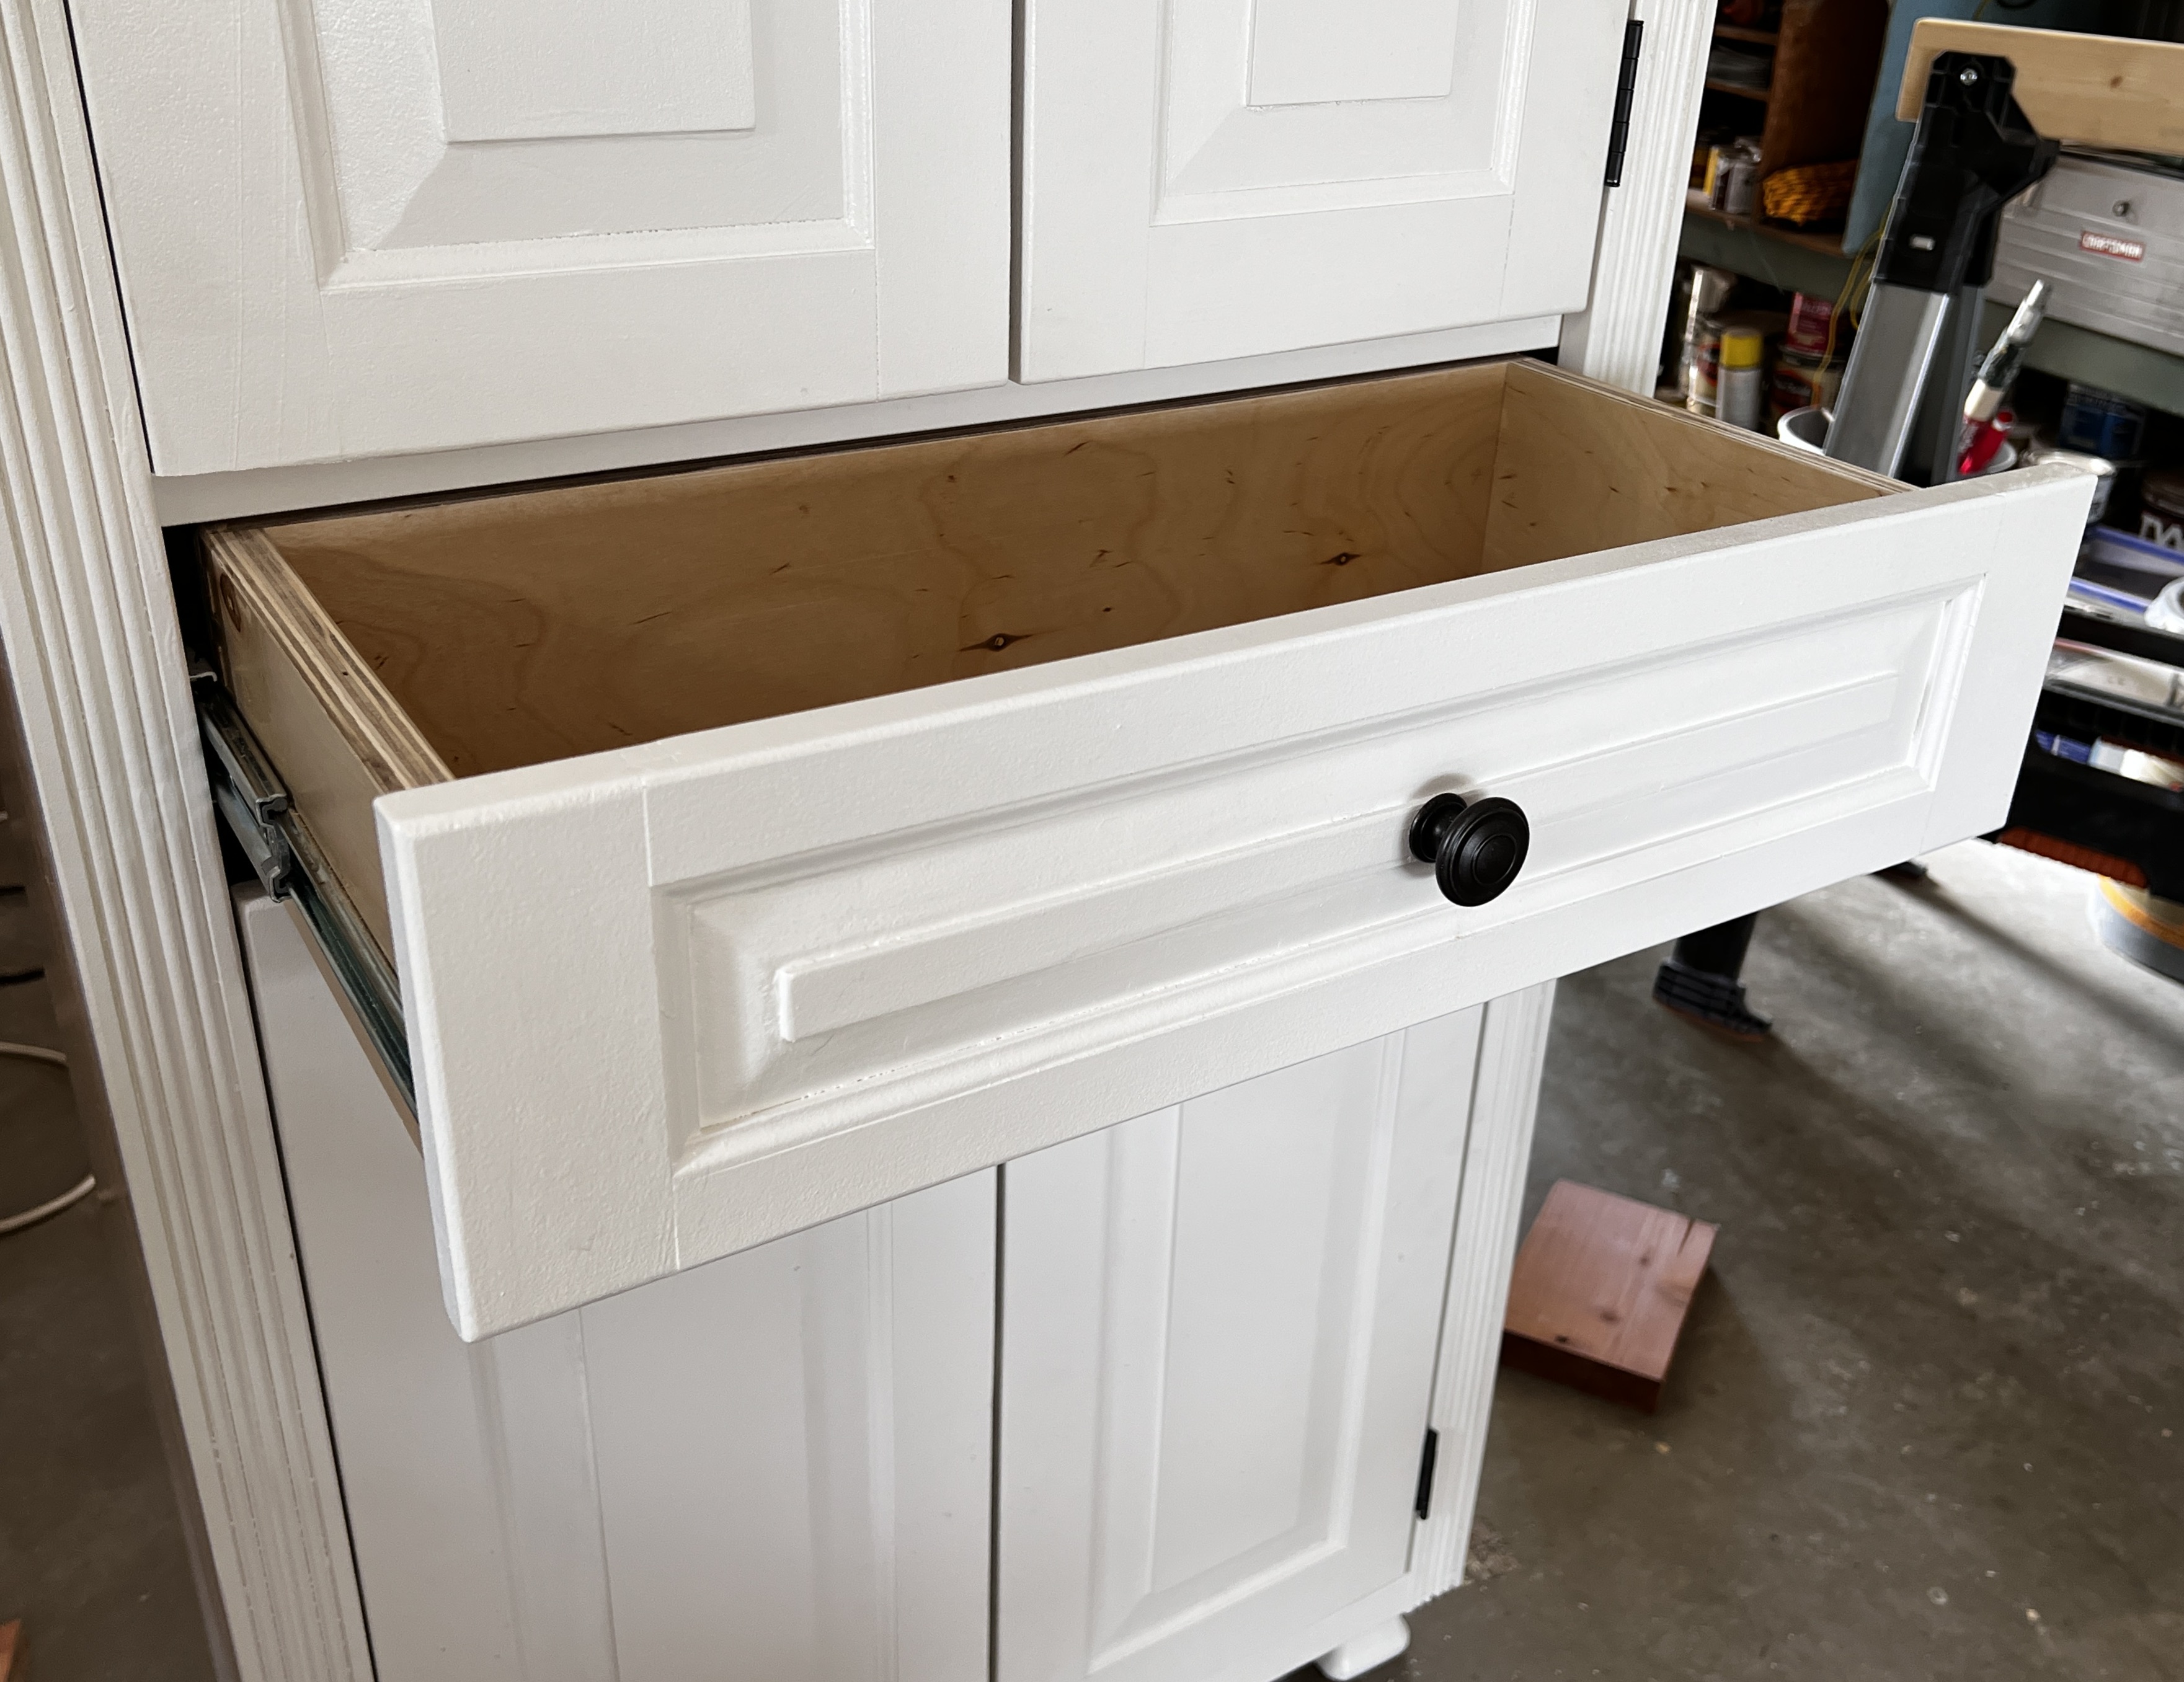
The drawer height and placement (5”x 24” front and 29”-34” vertical placement) was largely dependent on making all the doors the same height (two sets above the drawer and one set below). In any case, the drawer, like the doors close flush with the frame, and have dovetail construction with heavy slides on either side.
For the towel storage there are four moveable shelves as well as the bottom and a fixed shelf above the drawer.
I have used holes and shelf pins before, but found them difficult to set up and get right, so I decided to find some shelf standards with clip-ins. I thought that would be easy, but actually finding these was an adventure. Years ago, I found them at OSH, but alas, my favorite hardware, tool, and garden store has gone the way of Sears. It seems that only one company manufactures this shelf standard and clips now (the original company appears to have been bought or dissolved). Further, only a few companies market them. Amazon only offered them through Rockler, which charged almost as much for shipping as the standards themselves. I did find them elsewhere for much cheaper and they arrived faster and with less shipping costs.
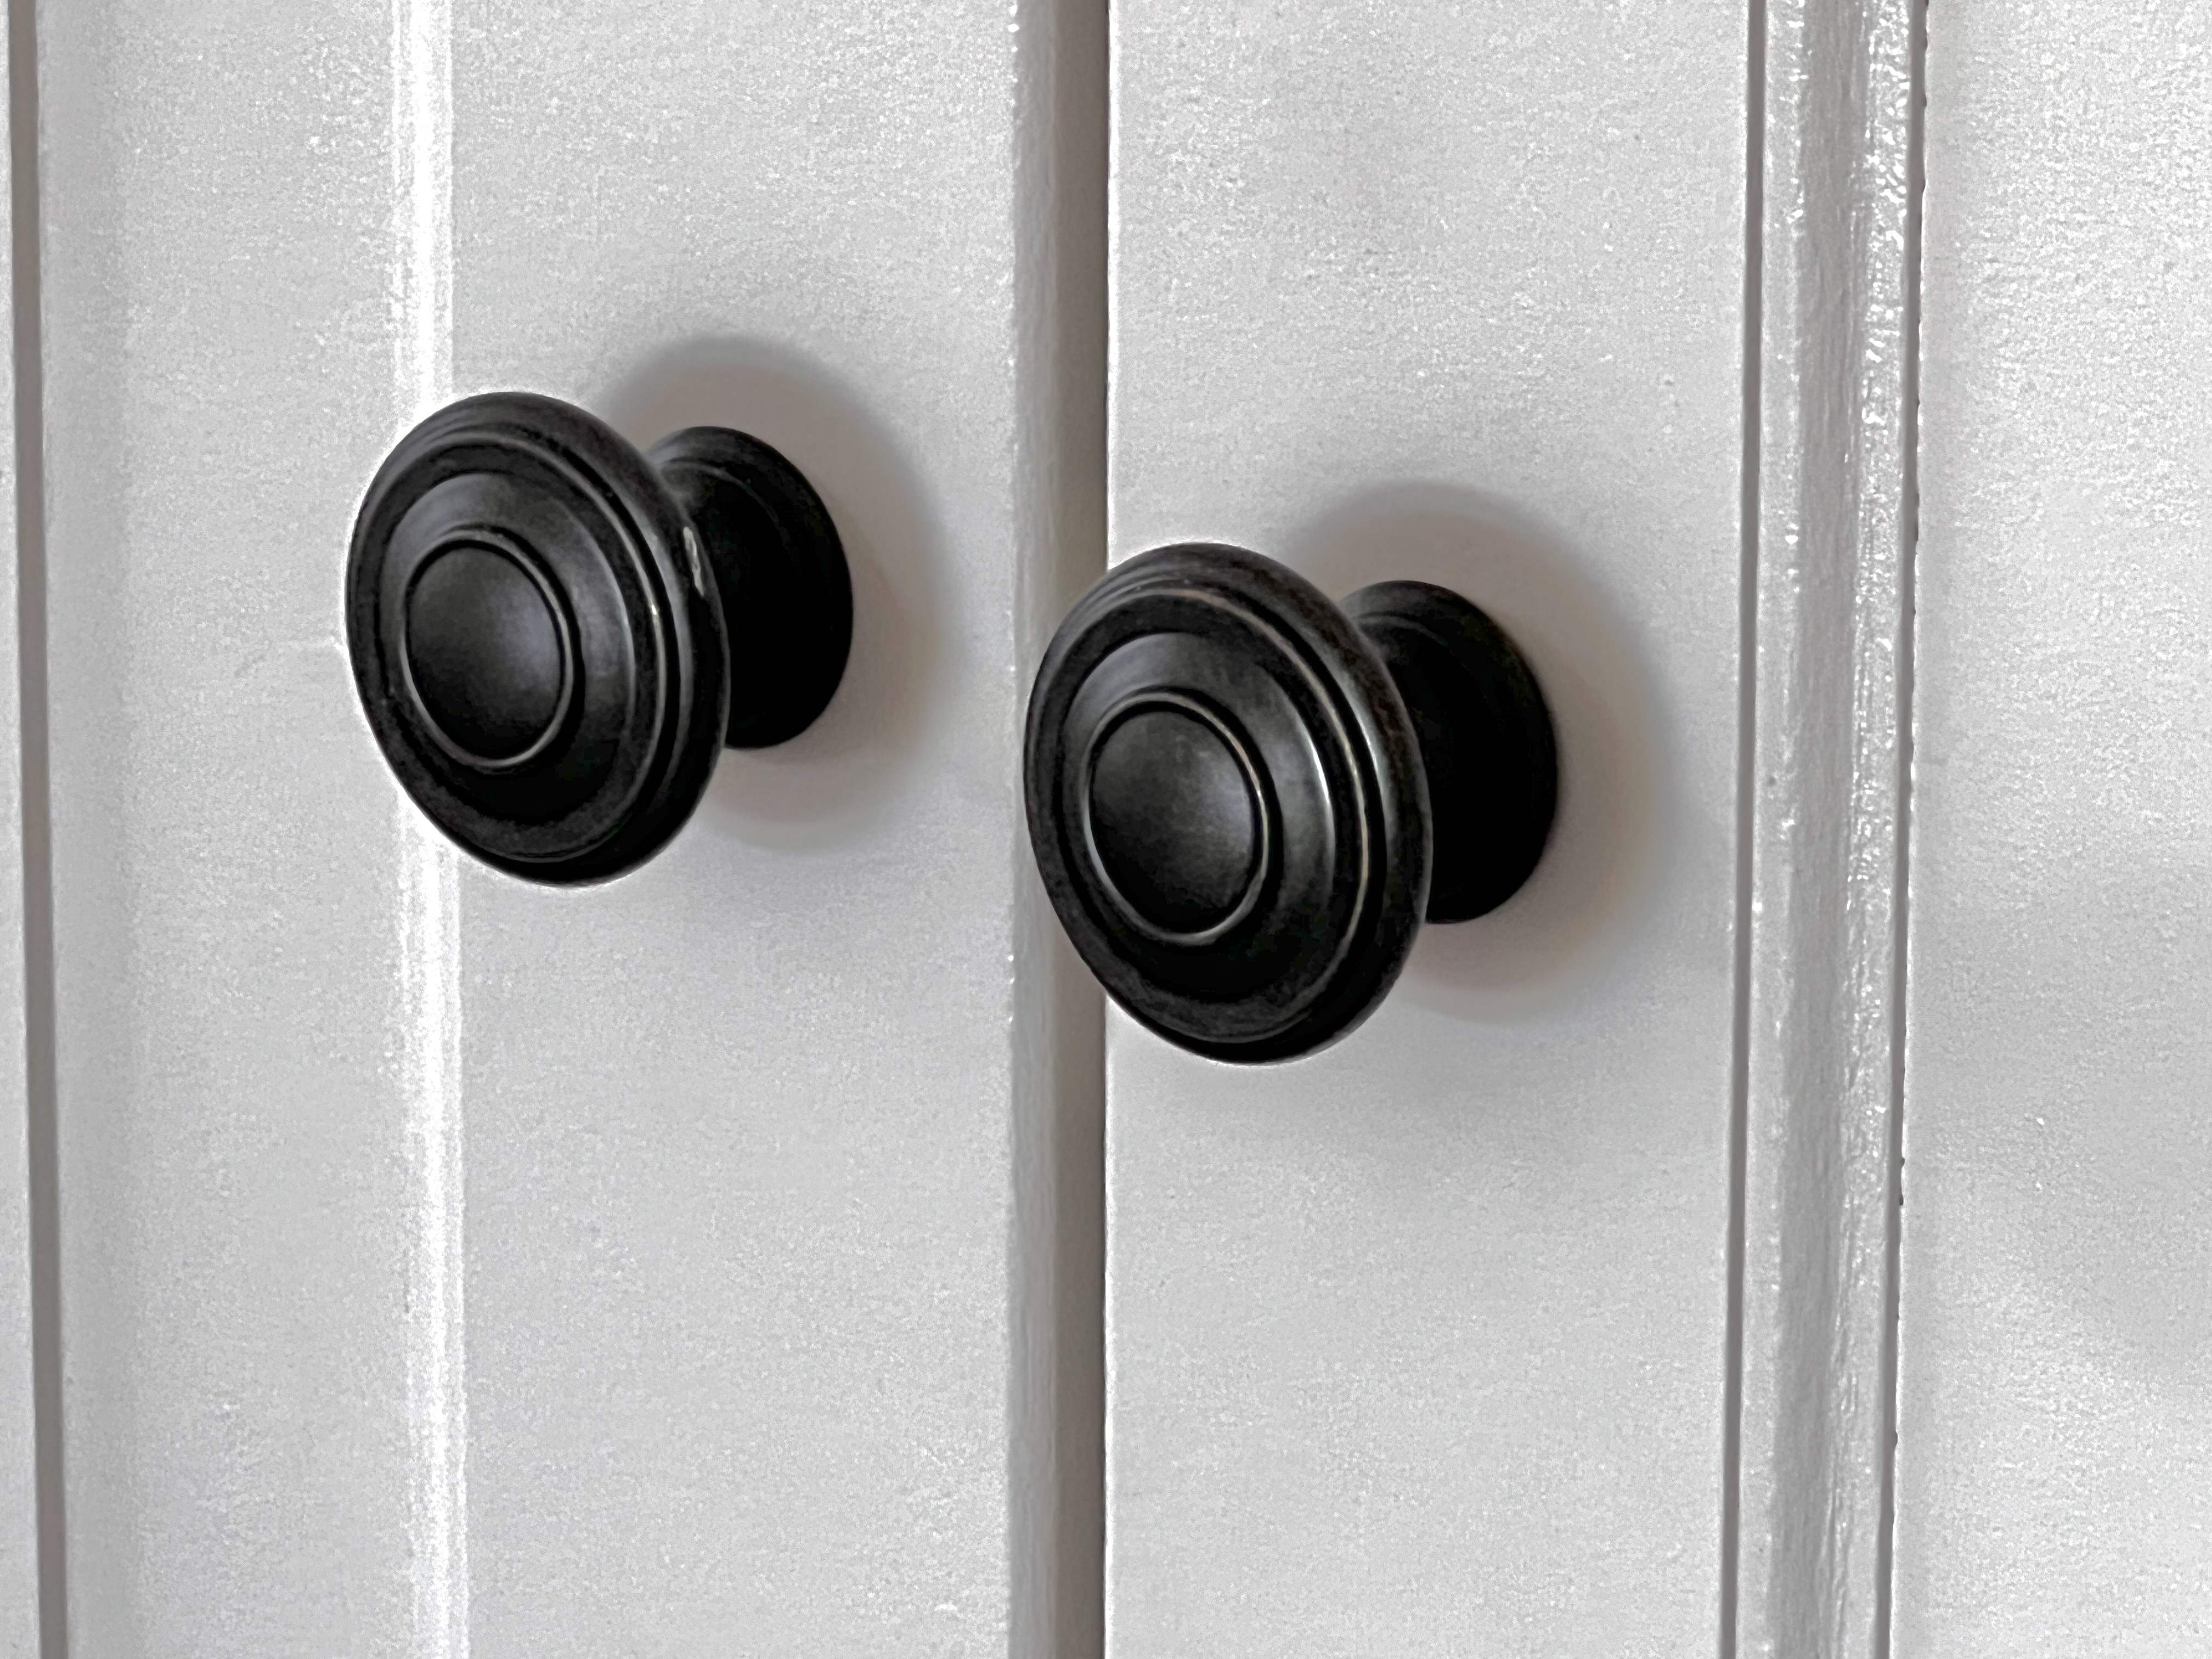
I did discover that Rockler was the only company that supplies reasonably priced door hinges that have some quality—the stuff I got from Amazon was cheap cr*p, so I sent it back. With a high enough order, I got free shipping from Rockler.
The final consideration was the wood itself.
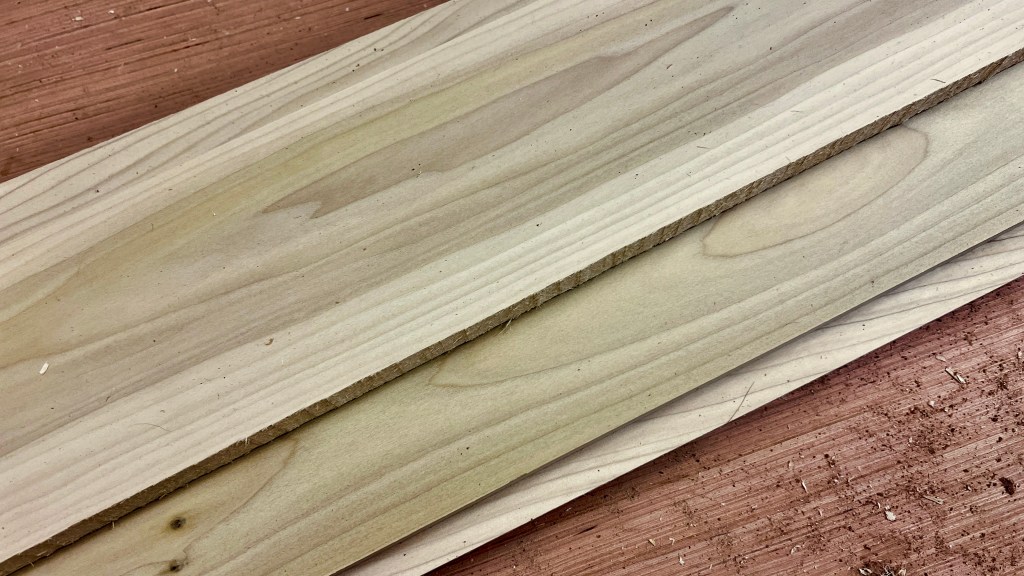
Given that hair salons use water, opportunities for unfortunate happenings do exist. I knew the materials would need to be more resistant to water than particle board, so I immediately decided on plywood for the carcass and hardwood for the front frame and feet.
Since the whole piece was to be painted, poplar was ideal for its smooth grain and its fairly reasonable cost. I was going to use poplar for the shelves, but had enough plywood for those also, though I fronted the edges with the poplar. I found a beautiful sheet of finished Baltic plywood at Home Depot, which not only was highly sturdy and stable, but eliminated the need for sanding and is more resistant to any stray water.
I also found some hardwood feet with embedded bolts at Home Depot as well as heavy duty installation hardware. In the end the cabinet sits three inches above the floor, hopefully plenty for even moderate water.
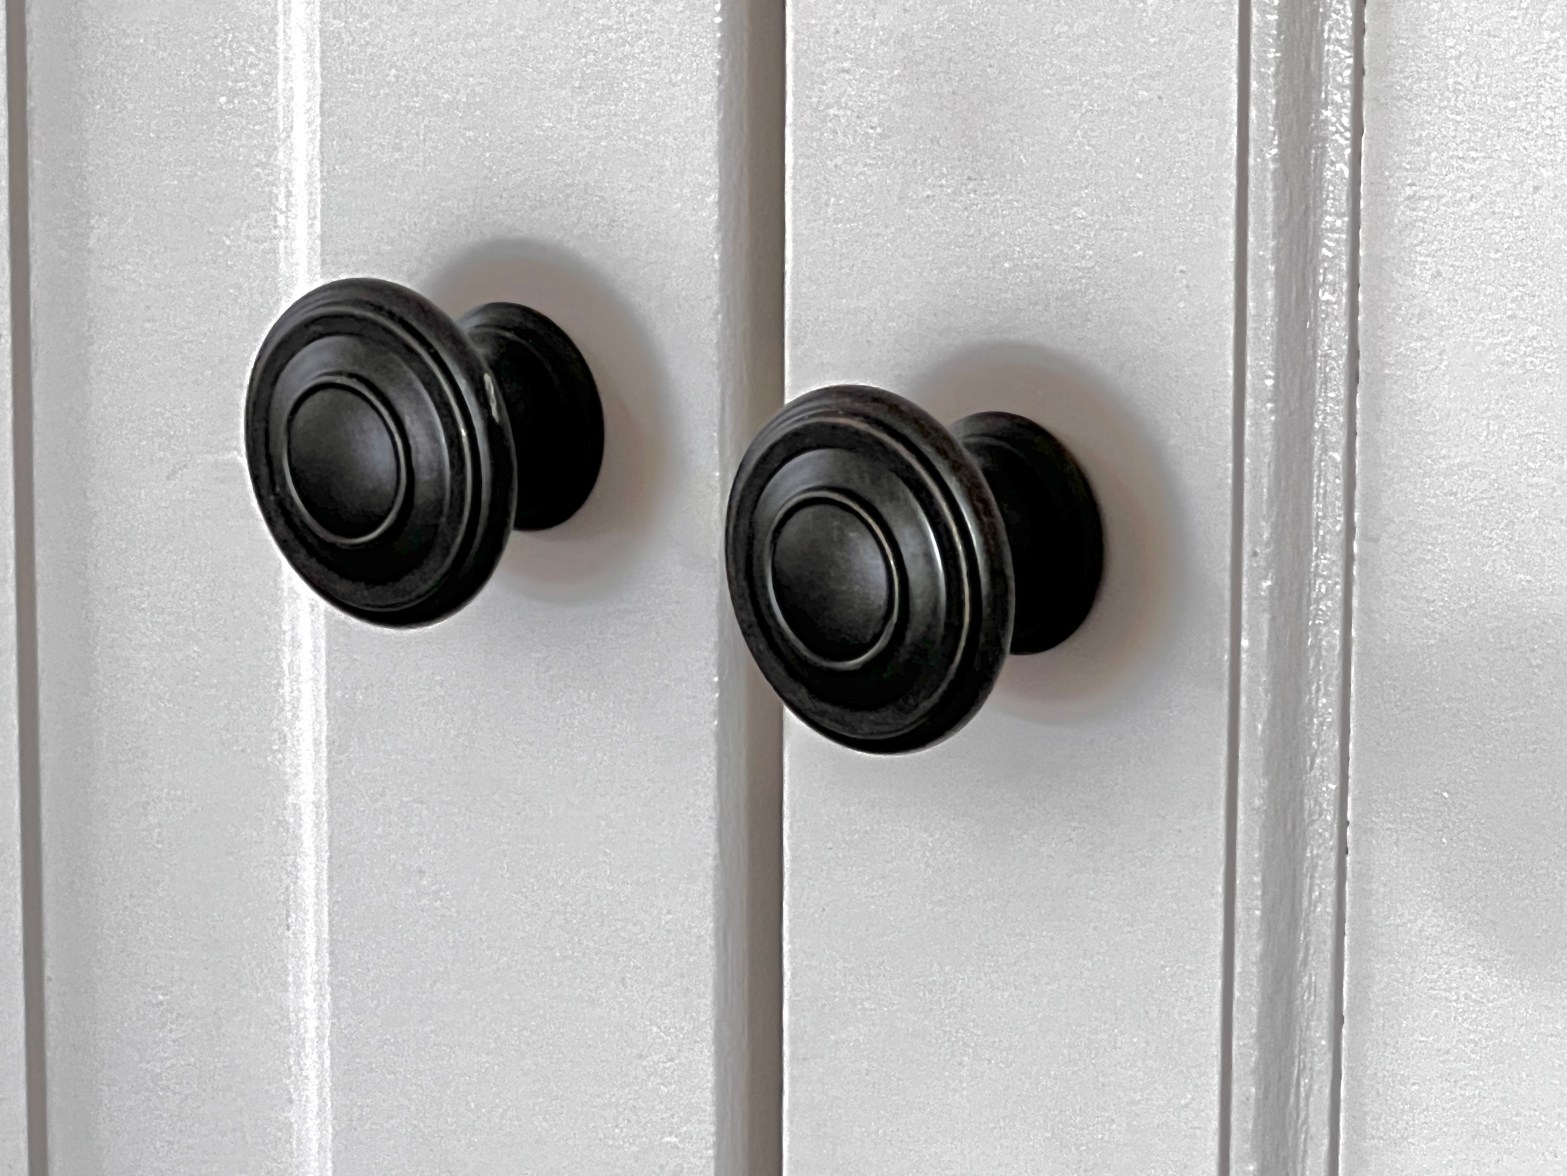
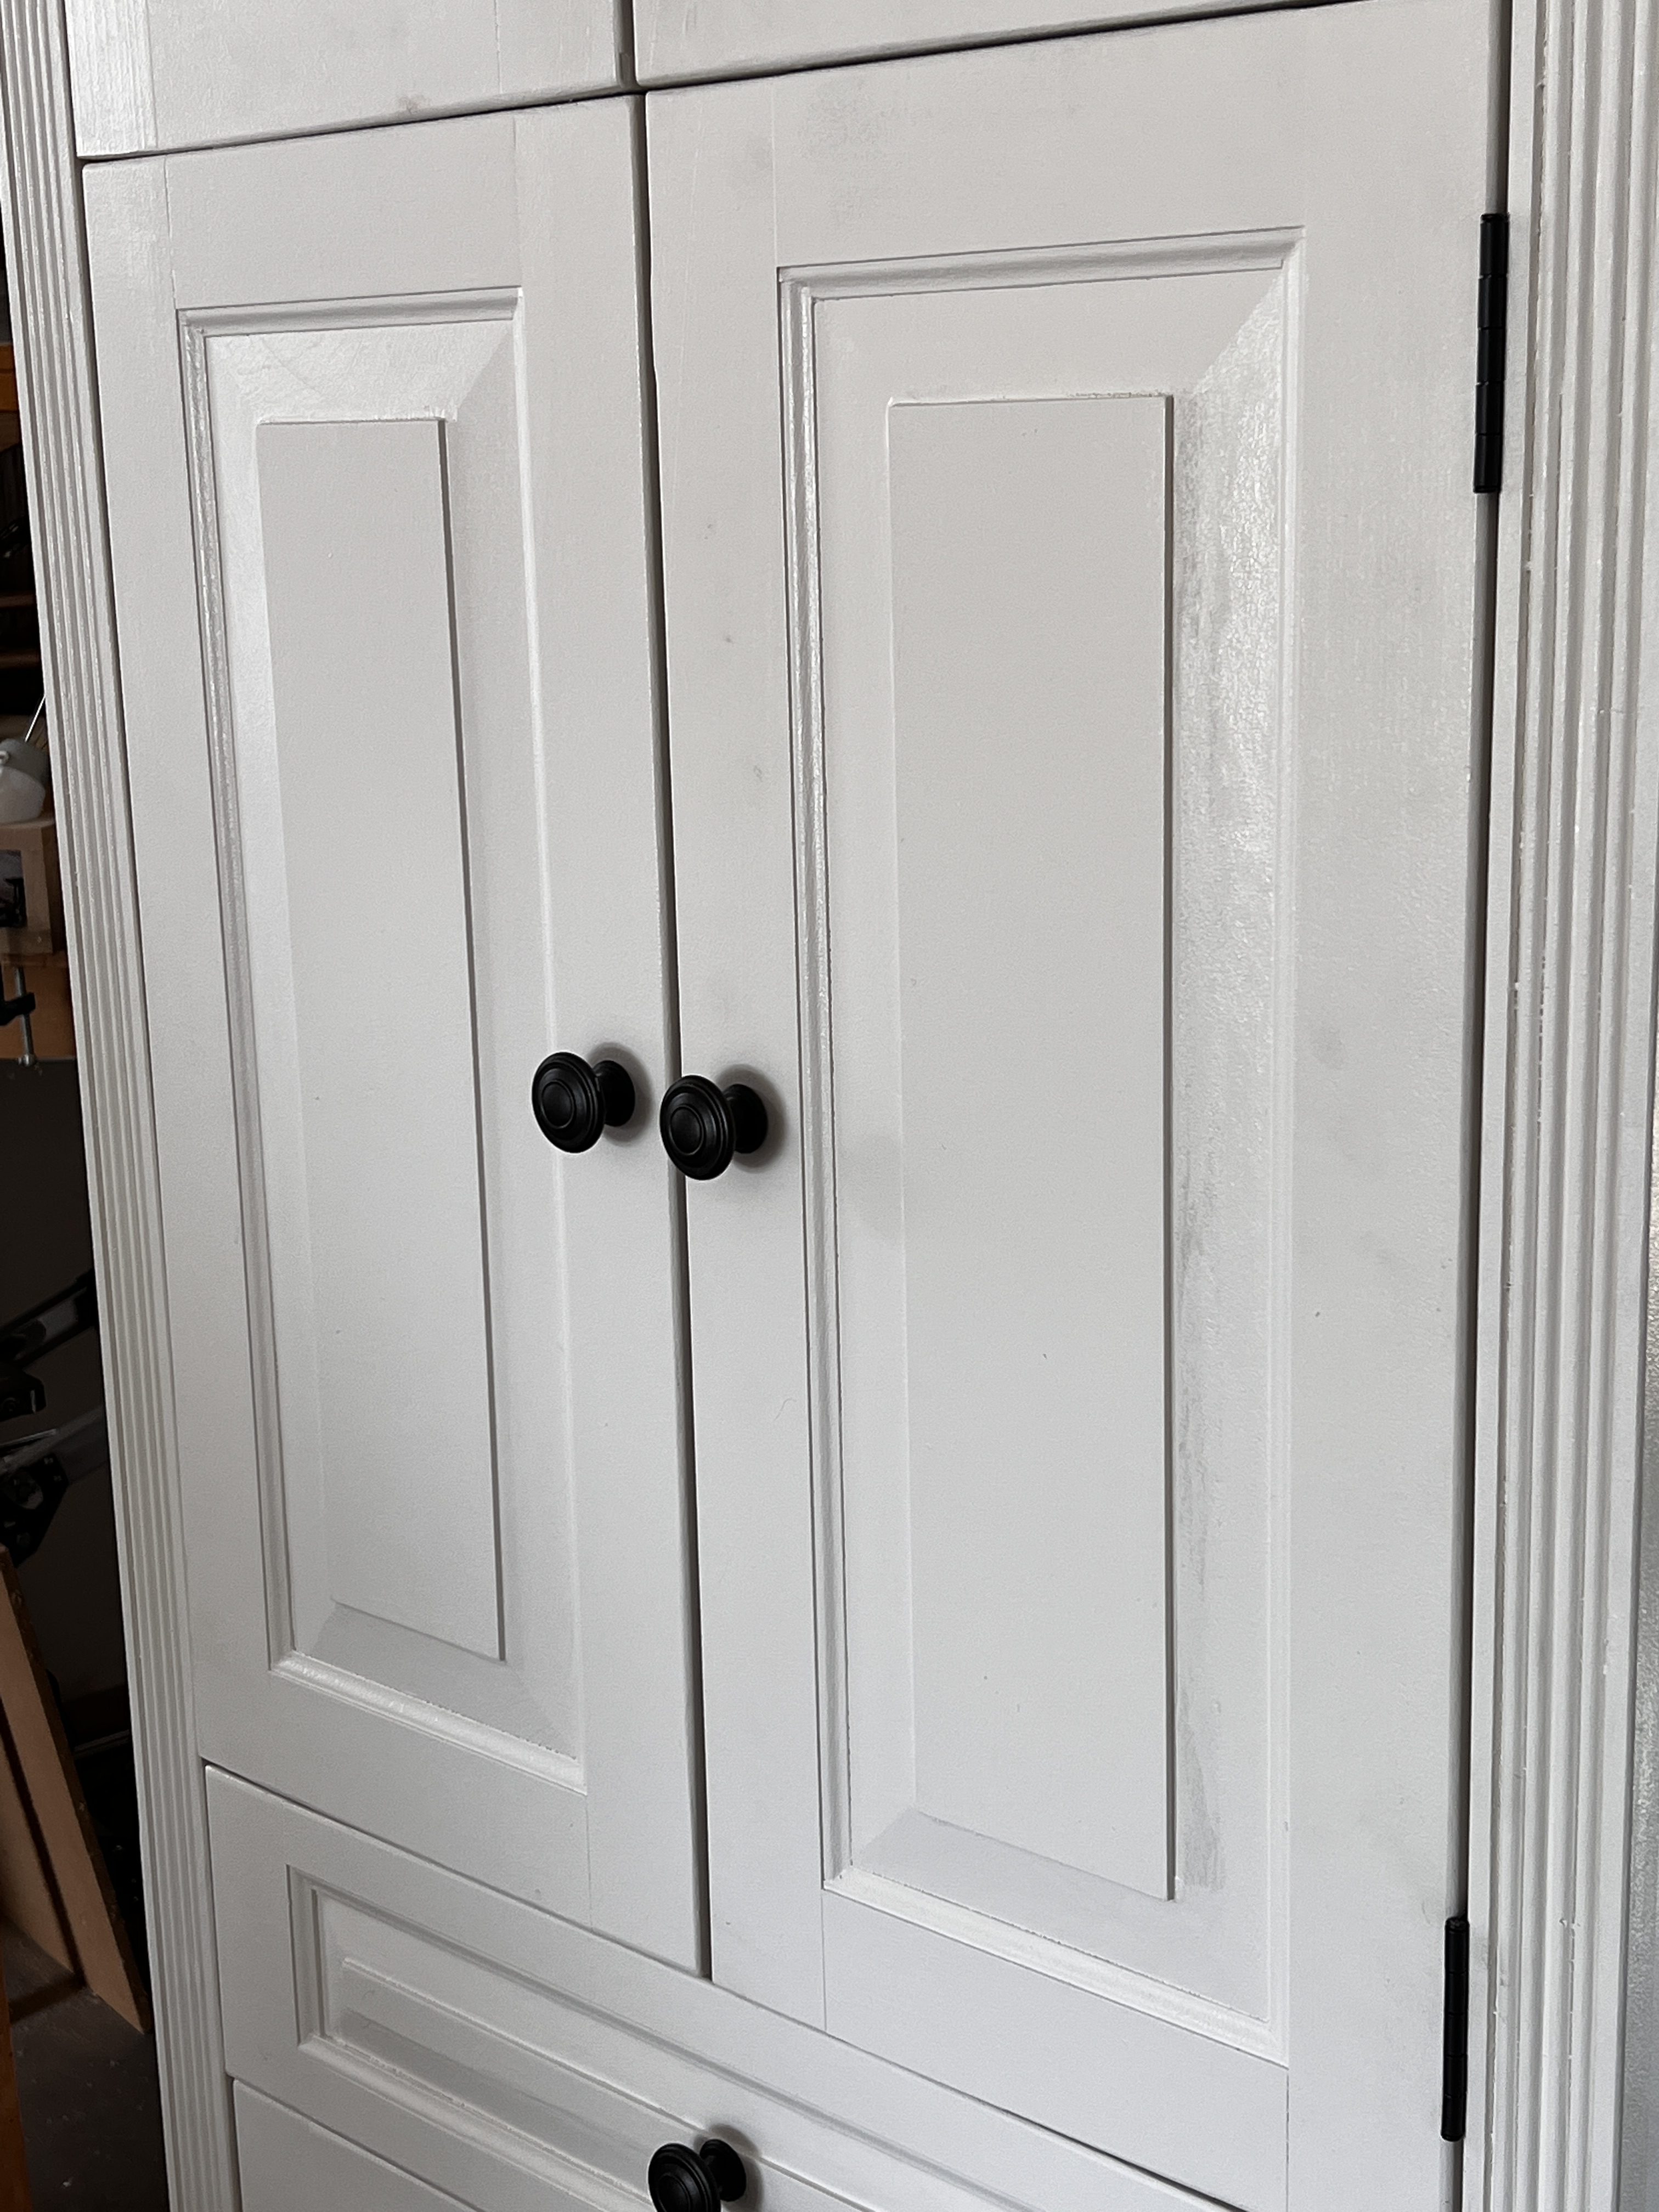
For the styling, I did three things. First, I routed double beading down the middle of the vertical frame stiles on either side. Second, I made raised panel doors and a raised panel drawer front. The doors and drawer took a lot of my time, but the results were fantastic. The whole was painted with Swiss Coffee semi-gloss enamel latex to fit the rest of the salon. I was going to add a crown, but the piece looked fantastic without it.
All in all the finished product is a great combination of beauty and function.
I was hoping to do everything in less than forty hours, but drawer, the painting and hardware installation took much longer than I expected. I now have a much better idea of how much each element takes. I am trying to estimate how much time per cubic foot; right now it appears to be 3½ to 4 hours. Without the jointer, that figure would be two to three times more.
I have several more projects to go at the hair salon, so I have the opportunity to unify the pieces, not only with common paint but with common styling. It will be fun and satisfying.

Would never have thought of using the word carcass when speaking of wood-working! LOL 🙂
LikeLike
But absolutely beautiful design and workmanship!
LikeLike
Thanks. Carcass is spelled carcase also. https://woodworking.stackexchange.com/questions/3008/what-part-of-a-cabinet-is-the-carcass
LikeLike