Over the years of building things with wood, I have taken two approaches. If the project is shop related, I only focus on functionality. Beauty is nice, but beauty takes time. Shop projects, at least thus far, are meant to make beauty easier, but I take more satisfaction in the way a shop project works than its looks. My workbench, jigs, various tool holders, and other pieces are not even close to works of art.
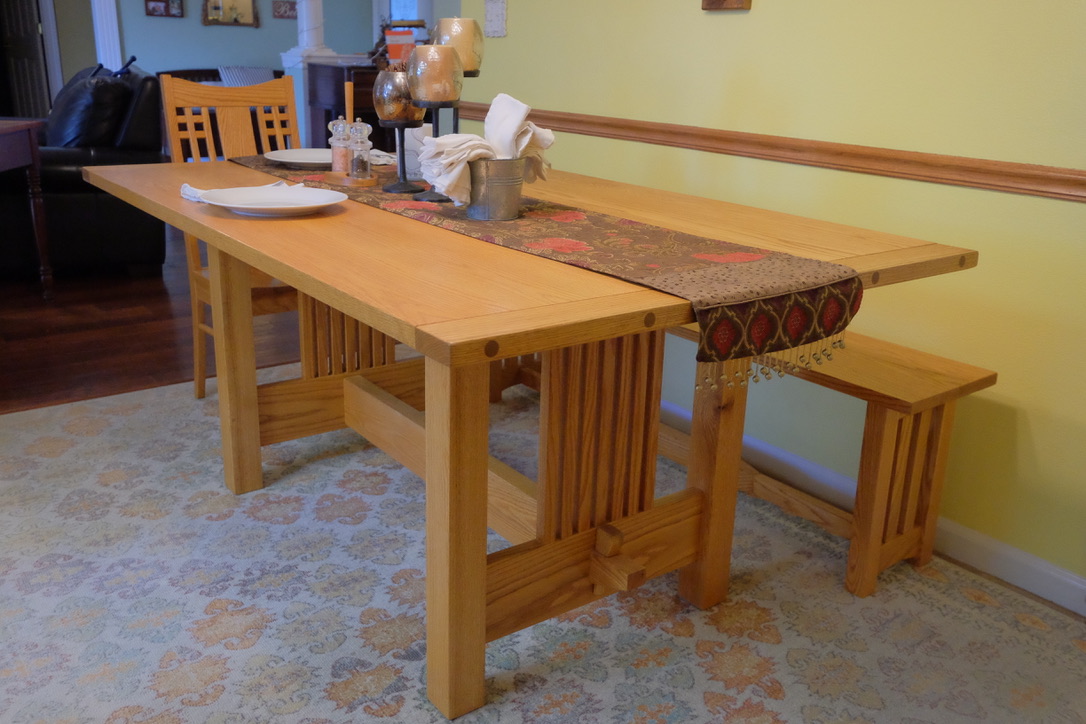
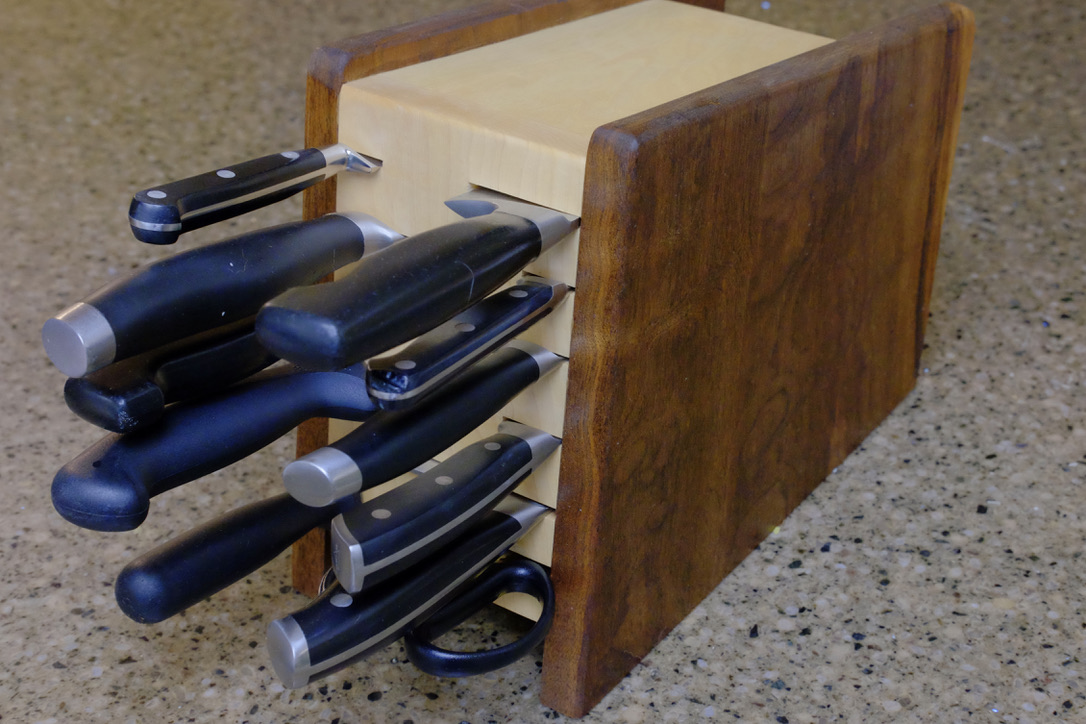
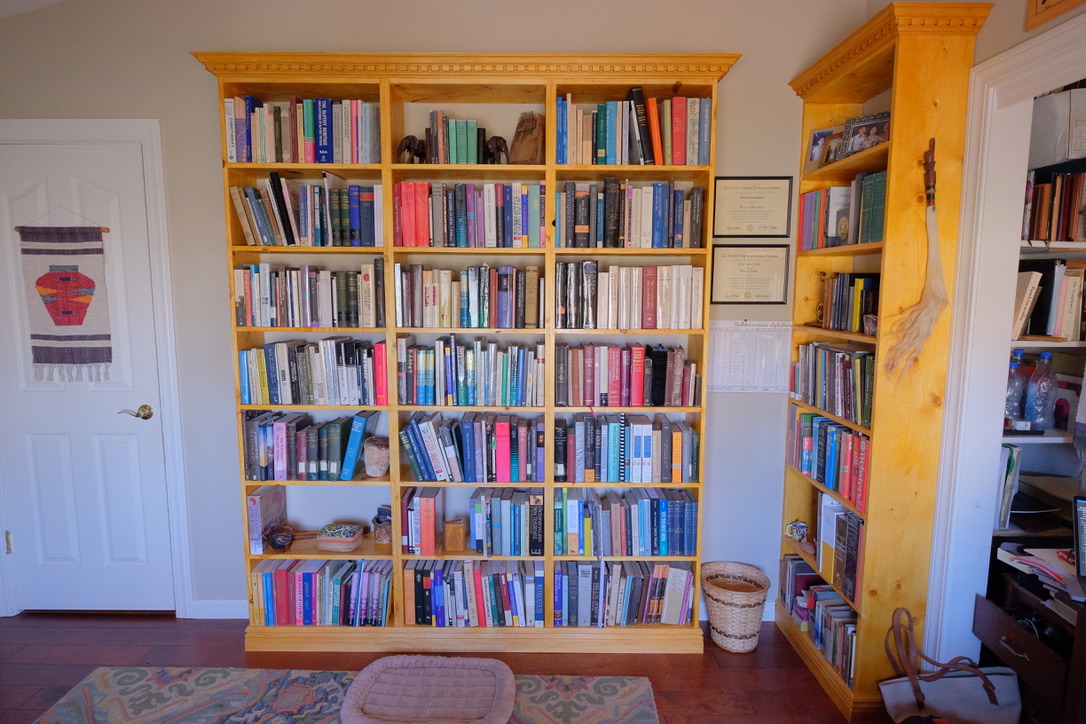
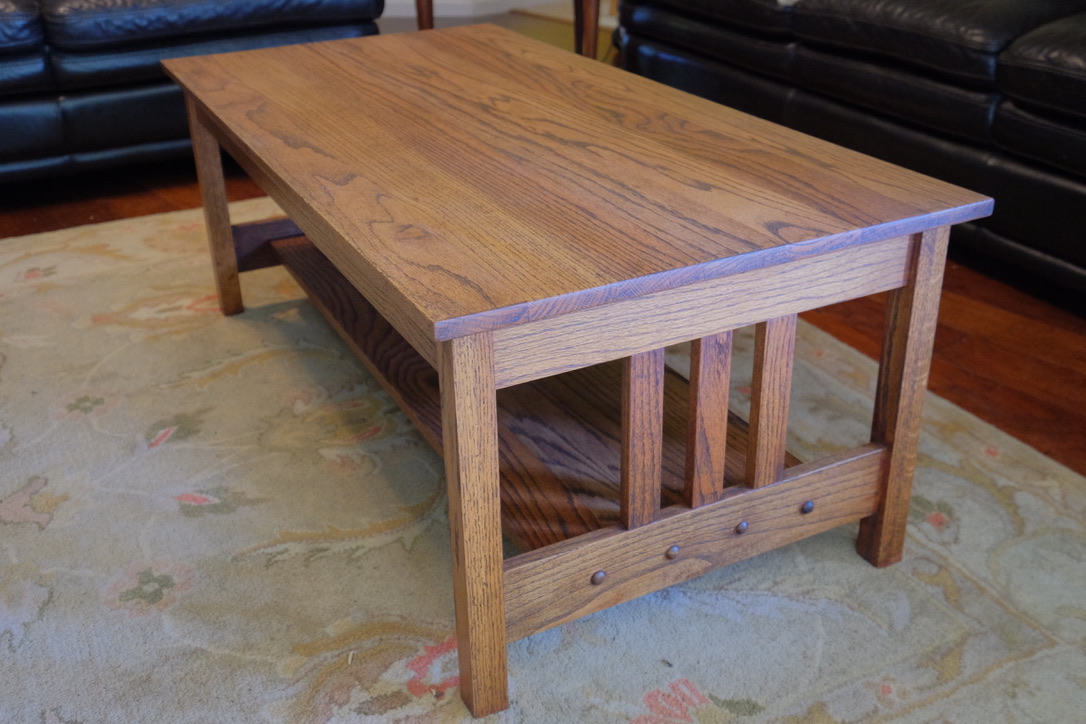
Actual projects for my home or for others has an entirely different approach. No matter the project, I have always had some sort of perfect ideal in mind. Not that any wood project is ever perfect, but the ideal remains. And that approach has served me well. When I look at my kitchen table, or coffee table, or bed, or bookshelves, or any other smaller projects around the house, my satisfaction runs deep because of the intertwining of function with beauty. Up to this point, beauty has been a combination of design, strength, and finish. It looks nice, is stable, and feels exceptional to the touch. Design and strength to me are the easy parts. Yet so much of both are unseen. The project is only getting started when the main construction is done. Getting to that beautiful finish is what takes time, though, through planing and sanding, to finish details such as chamfering, rounding, and doweling, to selecting and applying the right stain and finish, and then final waxing to that fine sheen of a nice new piece of furniture. Every step along the way takes attentive concentration, and even then some backtracking at points, all for that ideal that is in the imagination regarding perfection.


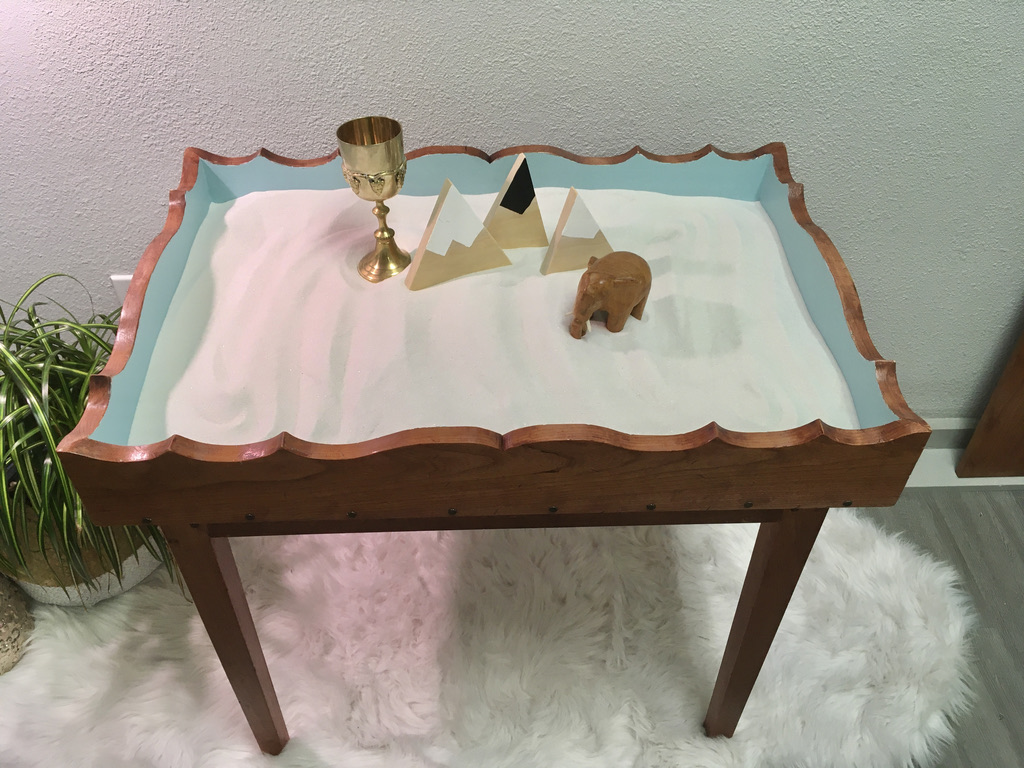
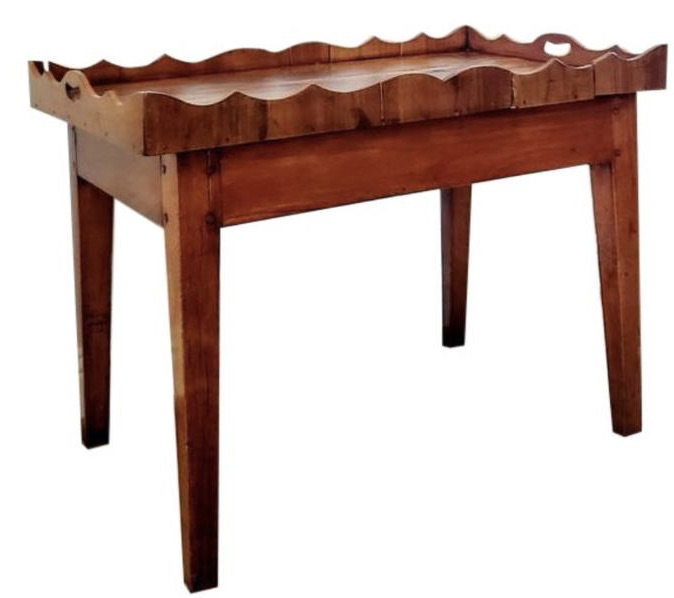
On a recent project a new reality was thrust upon me—some projects call for imperfection, aka distressing. I recently built a tray table for a customer who wanted it to closely replicate a nineteenth century French country piece, but used as a therapeutic sand tray. Upon looking at photos of the piece, I agreed that I could do a reasonable job according to her needs. The original piece was quite worn, with some cracking, blackening at points, scratches and dents, but with a rich patina from so many years of care and waxing. I knew I had the ability to build the piece as new, but replicating the aging was another story. And indeed, the customer wanted the aging too. I told her I would try, but that it would be a new technique for me. Here is the original:
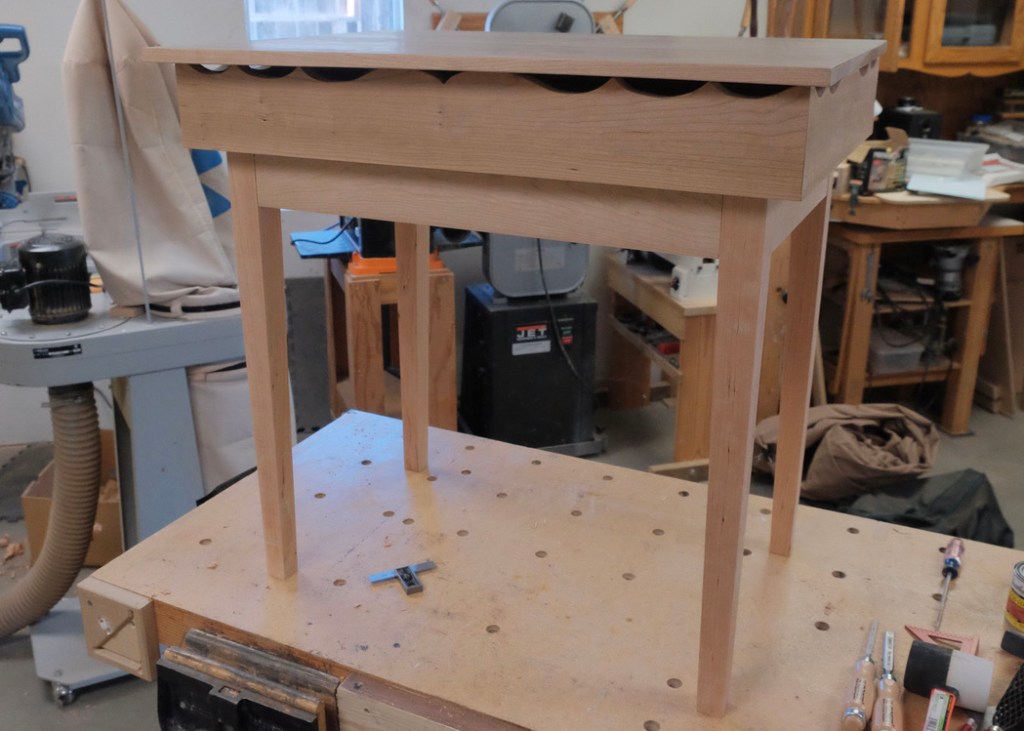
Sure enough, the build toward new perfection was easy enough. I had done it before, even though this piece had some particular design challenges that pushed my skills. One was joining a rectangular box with mitered ends. I used biscuits and glue to good effect and rabbeted the inside bottom edges for a baltic birch bottom that would not be visible. Another was doweling the mortise and tenons (something in the original) which I discovered made easier work of gluing and clamping the legs to the aprons for the base. The function and the beauty aligned well.
When time to finish the piece came, I realized that distressing a piece did not preclude the perfection of a new piece to begin with. I still needed to create a fine surface as though the piece would look new. All of the planing, sanding, and rounding edges was just as necessary. Only then would the distressing look authentic. Of course, deciding how to distress the piece was another step. So much of what is called distressing today has to do with painting techniques. Yet only the inside of the tray was painted; the rest was stained and finished. The distressing was of a physical nature by creating dents, pits, and scratches to replicate years of use and moving around. After reading a particular take from some article, I took screw-drivers, hammers, chisels, nails, screws, kitchen mallets, and chains to numerous pieces of scrap wood to come up with a suitable distressing technique and look. I finally settled on a large screw-driver, a hammer, and a chain.
But that first whack was personally distressing! The “perfection” of the piece was now defined by how well I made it imperfect. Gouging, hammering, and throwing a chain at a piece of furniture was something I had not needed before for my own work. It was actually enjoyable when I got in the swing of things. In the end, I believe the piece had a conservative yet sufficient take on the distressing. At that point I added some penciling in dents to darken them as well as some around some nails at the base of the tray, before and after the applying of the stain. A three coat application of clear shellac and then wax finished the process.


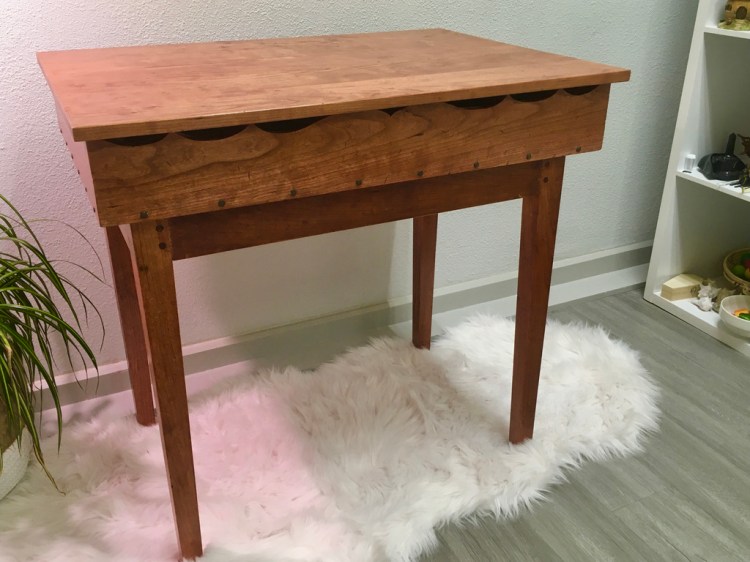
To say I was pleased with the result would be an understatement, and so was the recipient. The piece not only replicated the form of the original, but had much of the character, though designed for a different use. Needless to say, this type of distressing is now part of my arsenal of furniture techniques. And my ideal of perfection has a deeper meaning than before.
